Quick Summary
To put a collar on a dog: hold the collar open with both hands, approach the dog calmly from the front or side, slip the collar over the head and around the neck, buckle or fasten it securely, then apply the two-finger check and two flat fingers should slide between the collar and the neck with light resistance. That is the complete physical process. The challenge is rarely the mechanics; it is the dog’s reaction. Excitable dogs need a calm pre-collar routine. Reluctant or fearful dogs need gradual introduction with positive reinforcement before the collar goes anywhere near their neck. This guide covers both scenarios step by step.
Placing a collar on a dog might seem straightforward, but there are a few factors that make it more nuanced, particularly if your pup is excitable, reluctant, or new to wearing one. Making sure you have the right approach is the best way to ensure their safety and comfort, and to build a positive association that makes every future collar moment easier.

Why Choosing the Right Collar Matters First
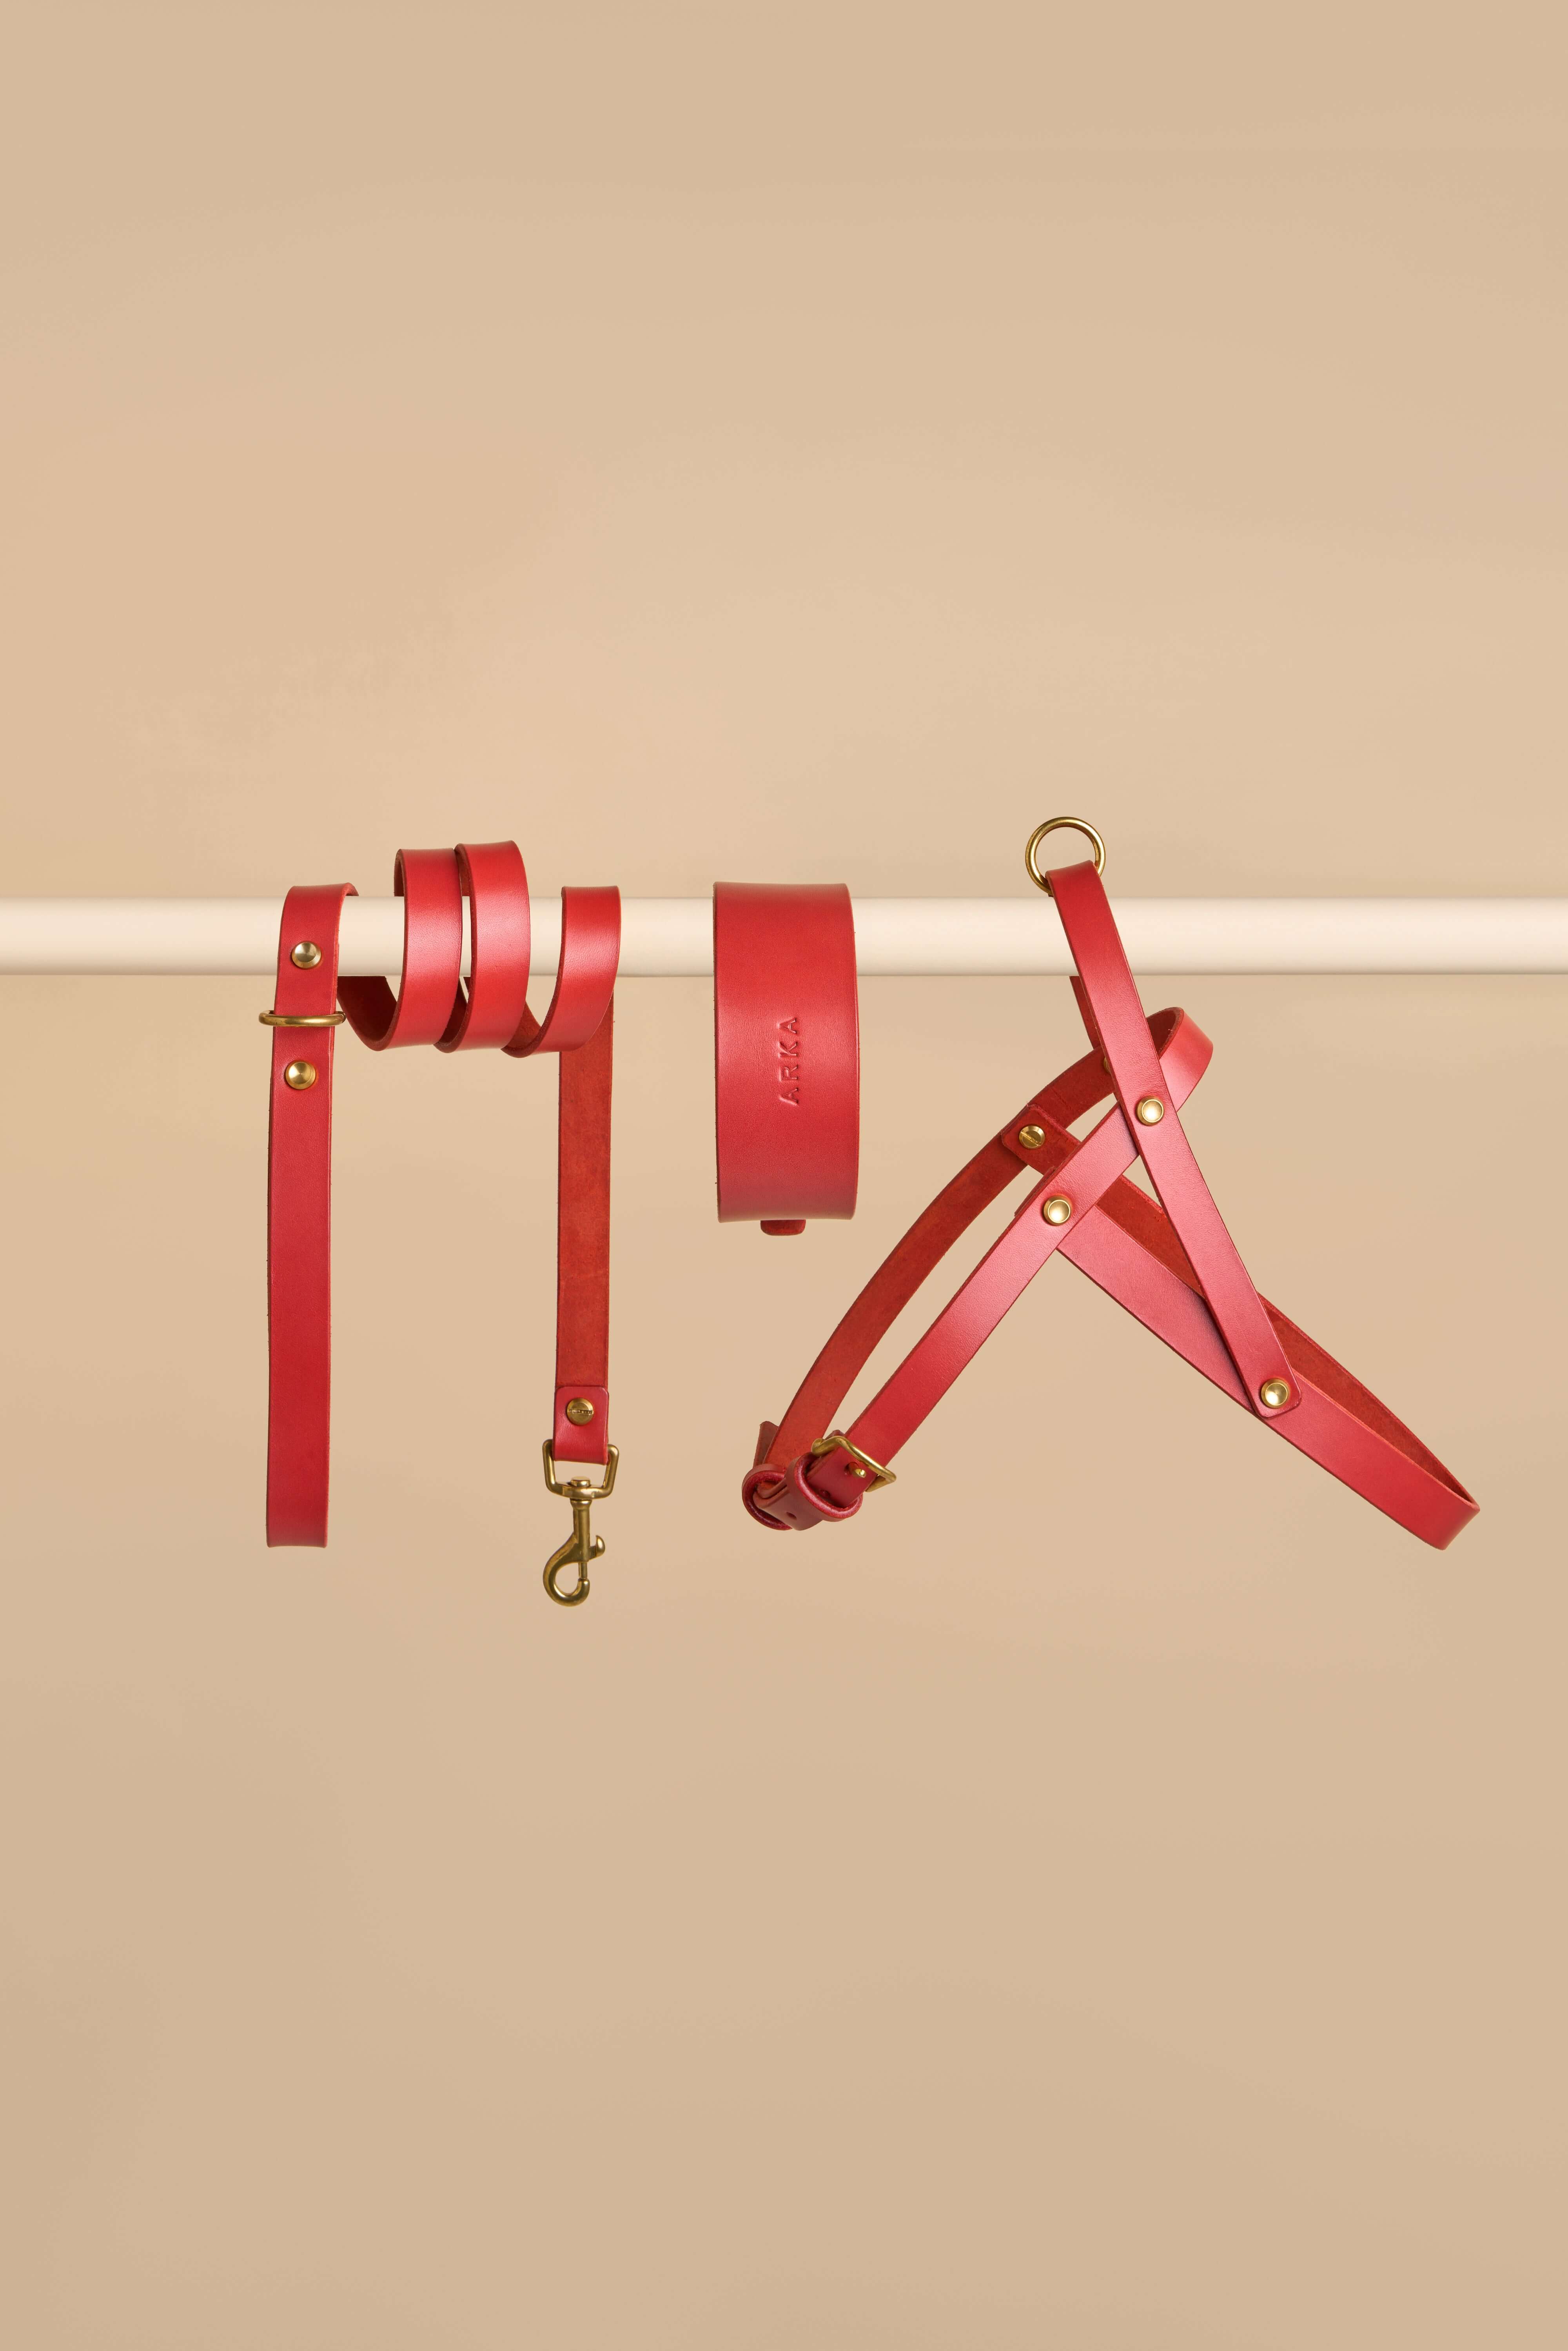
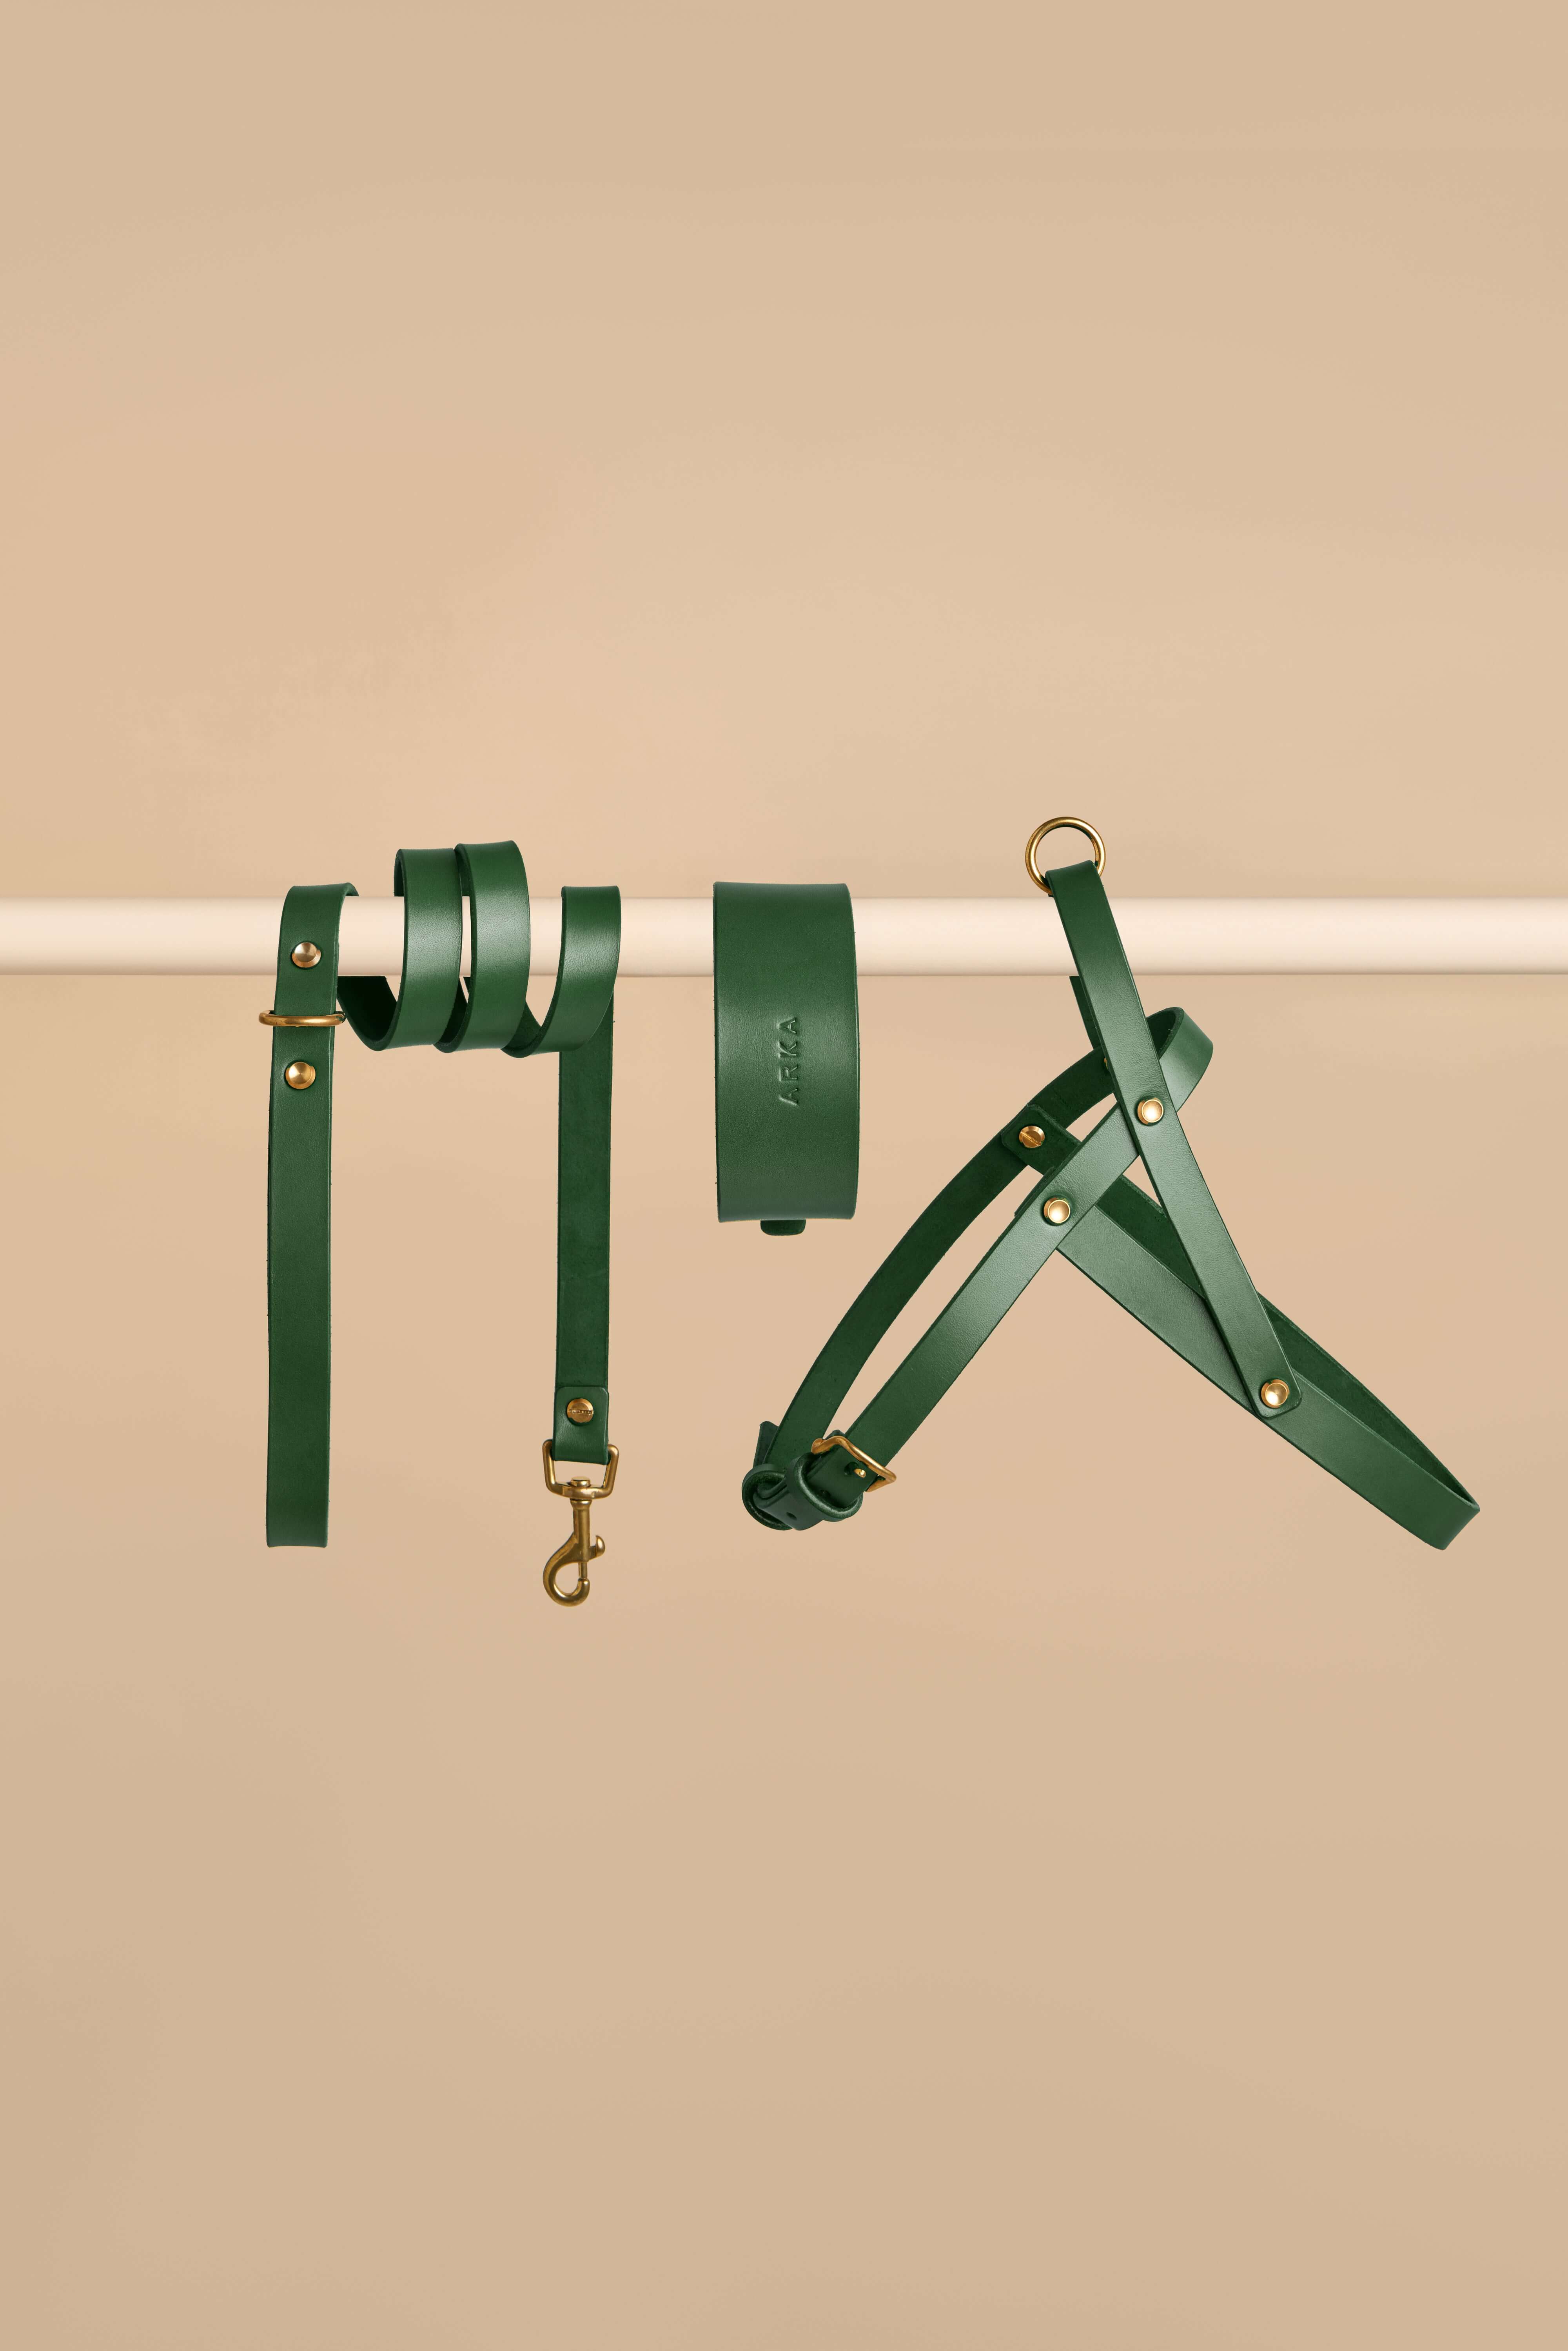
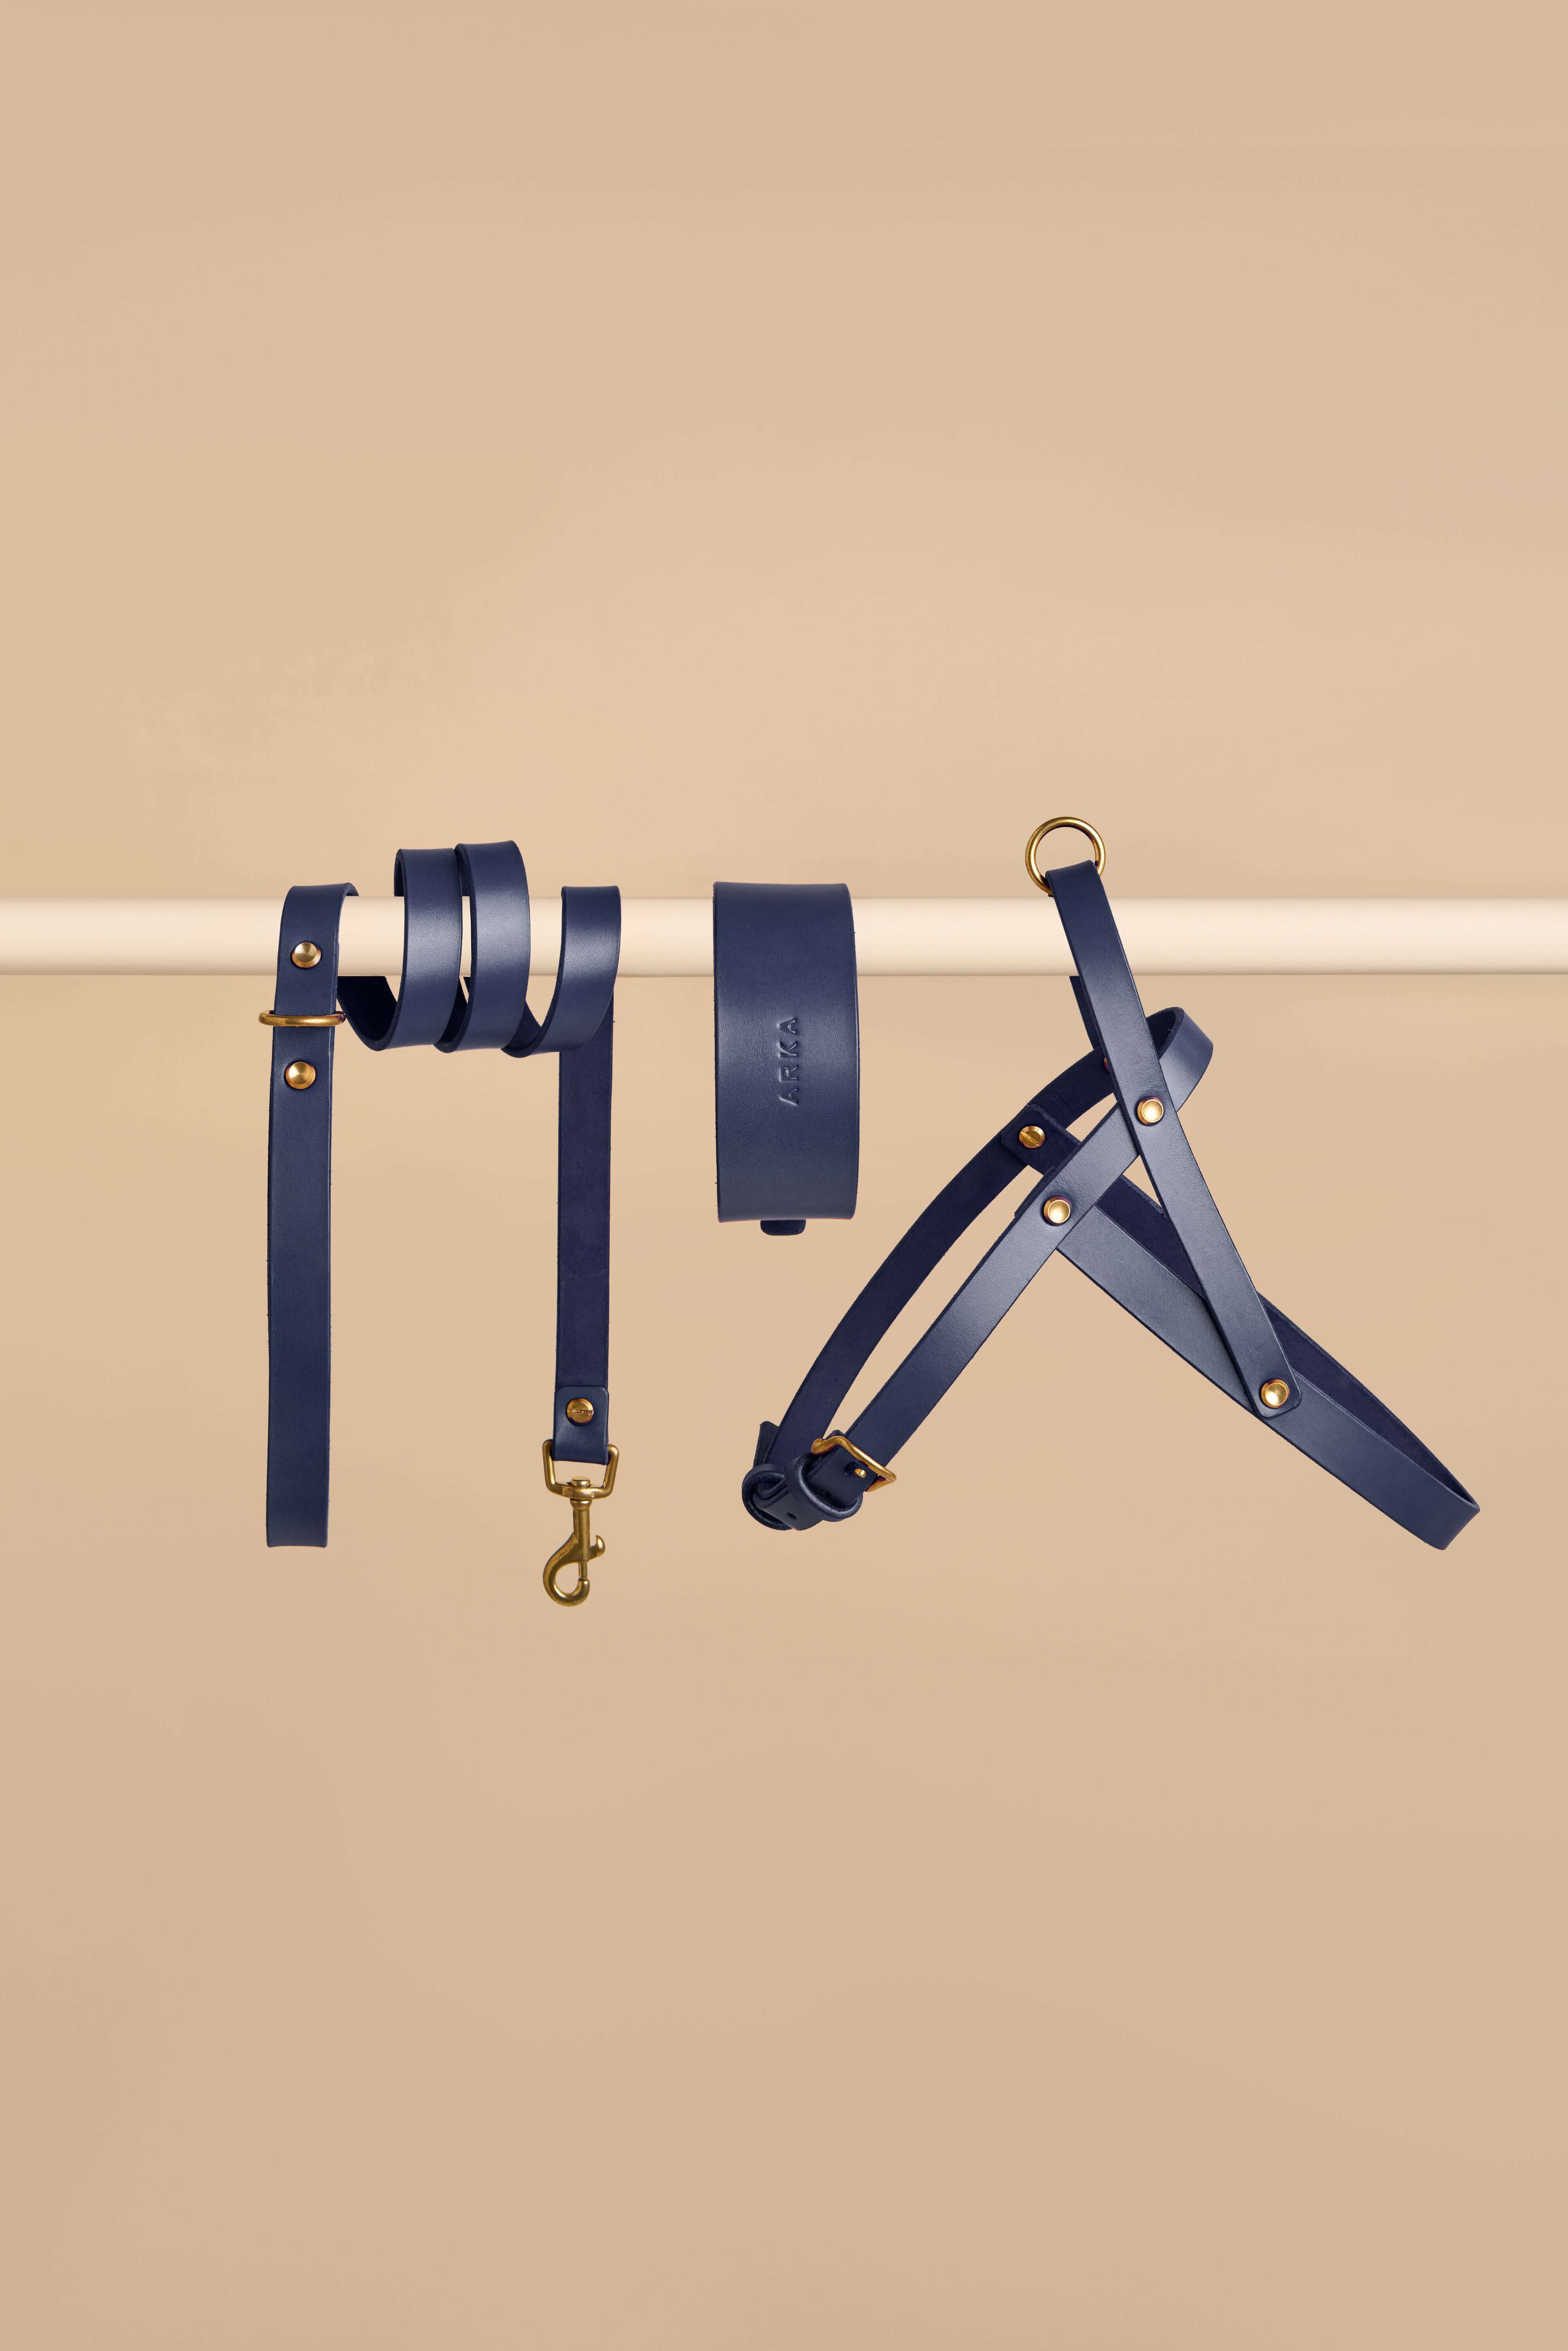
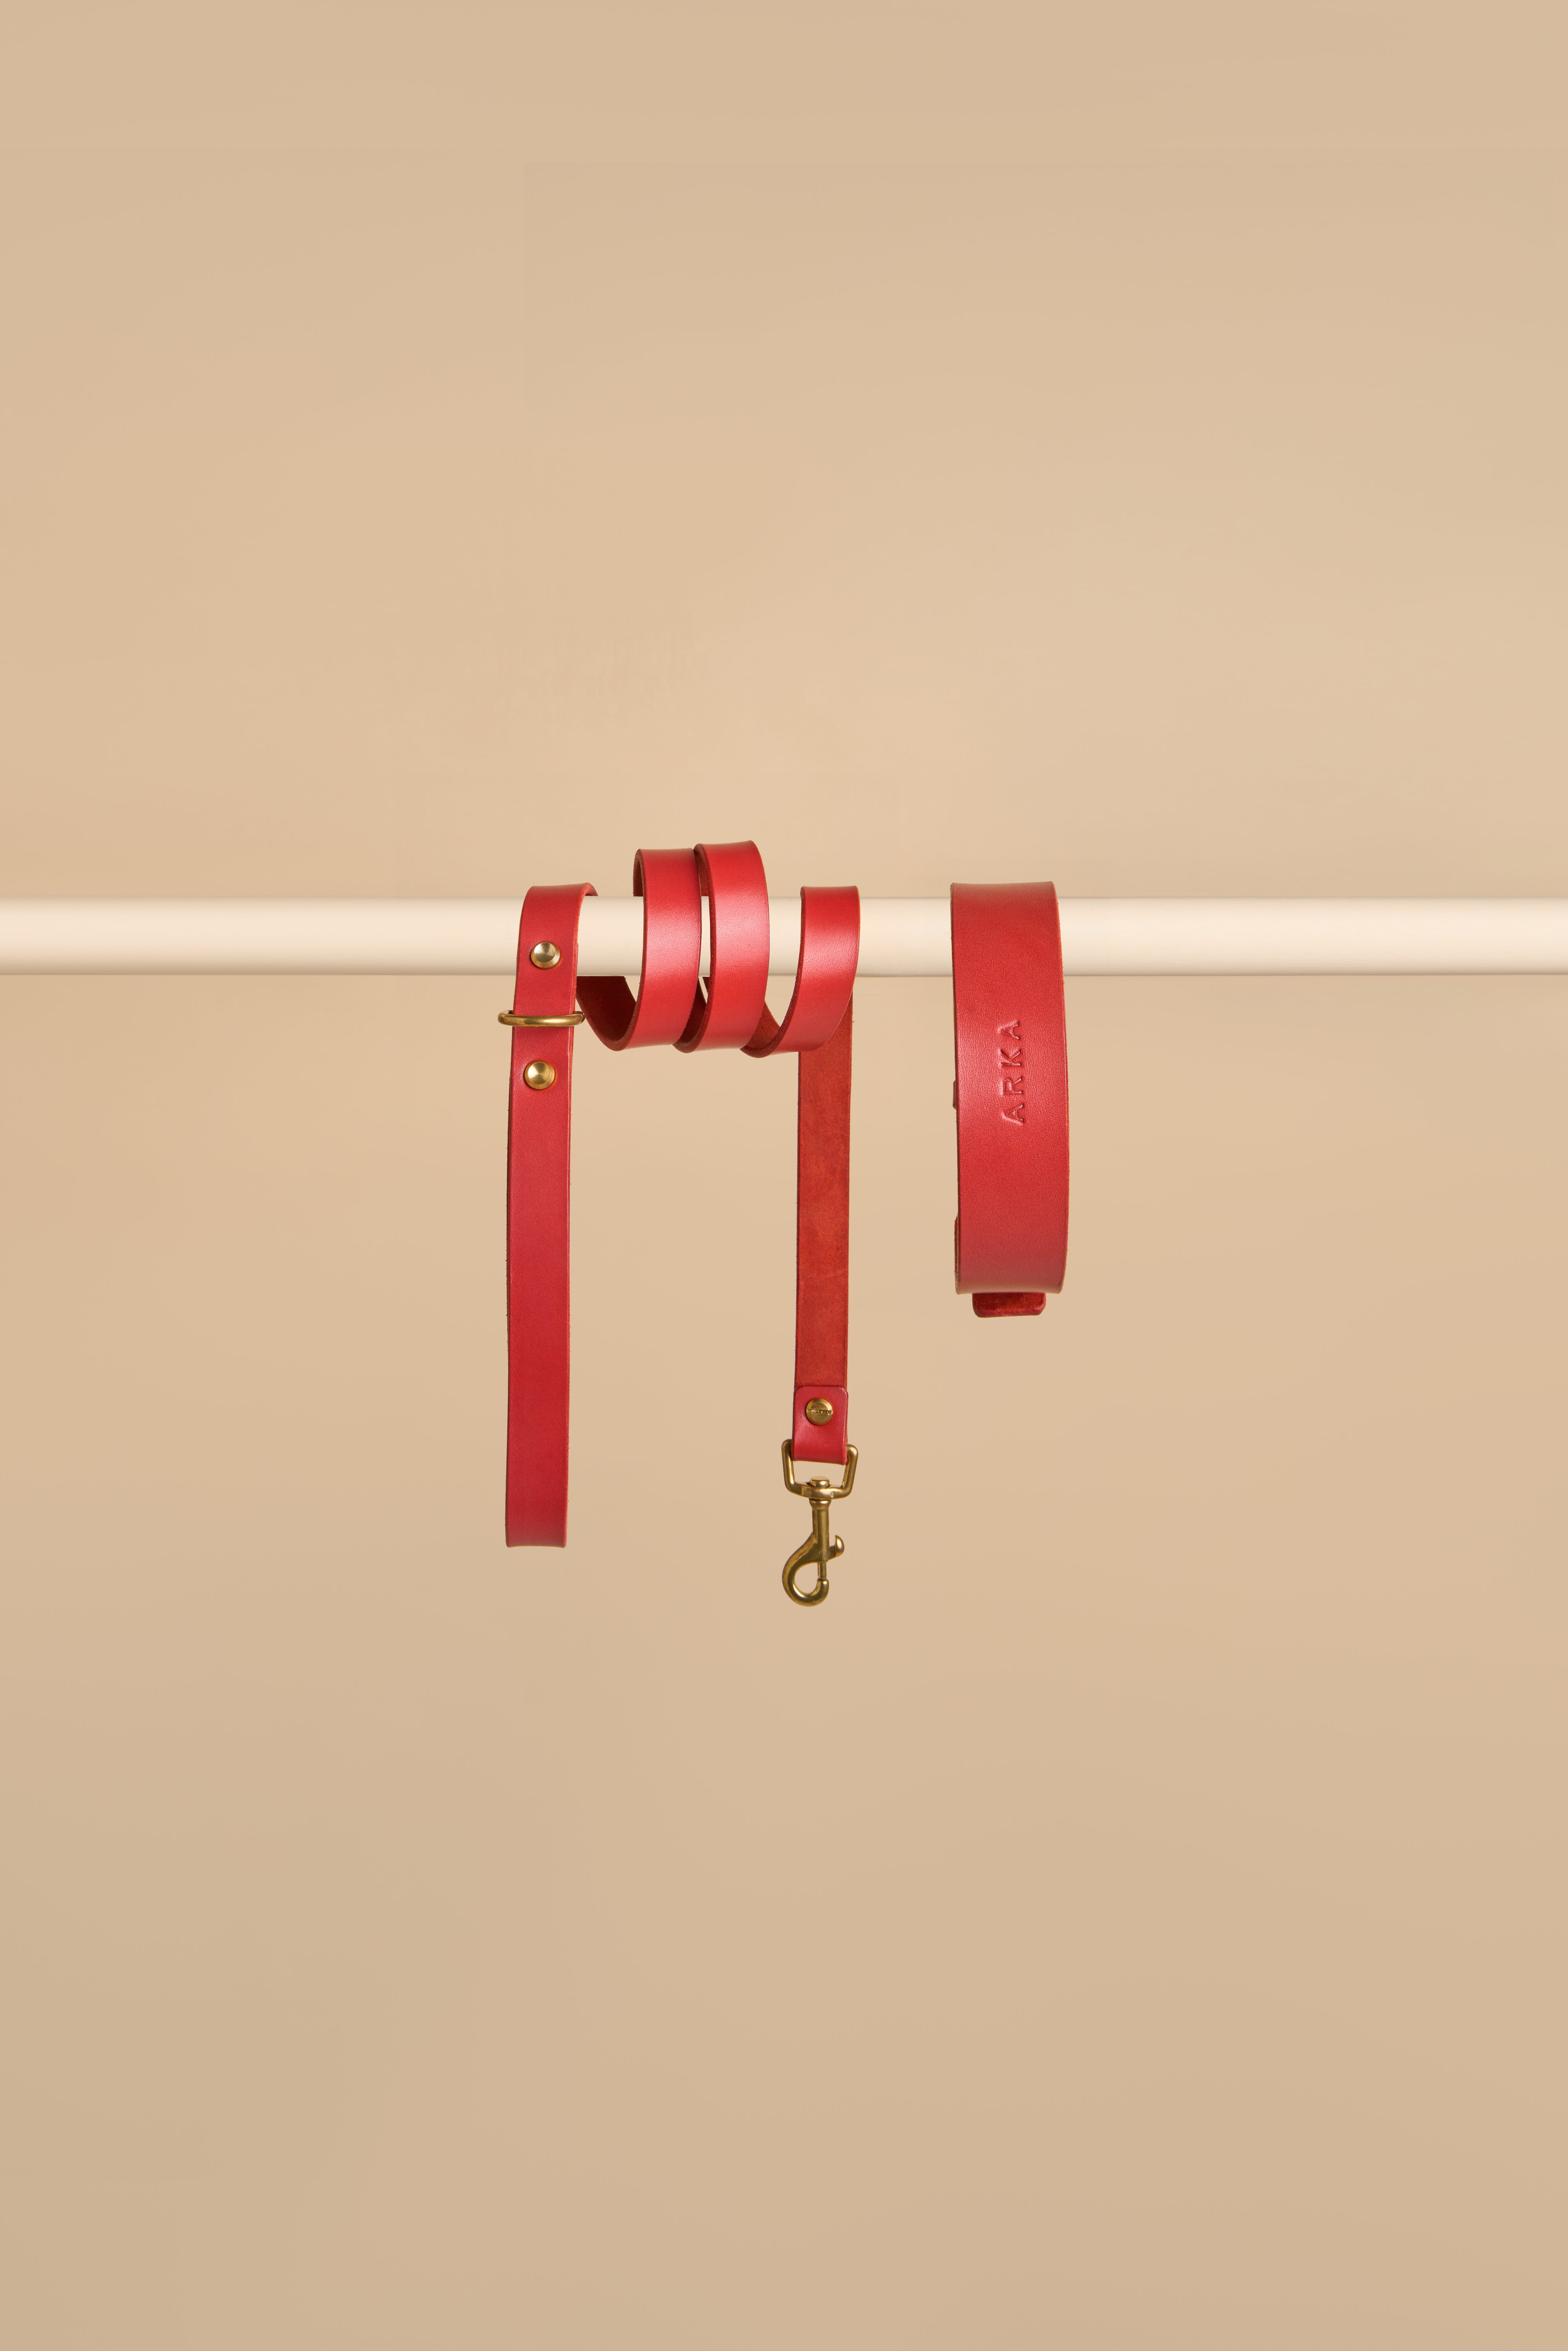
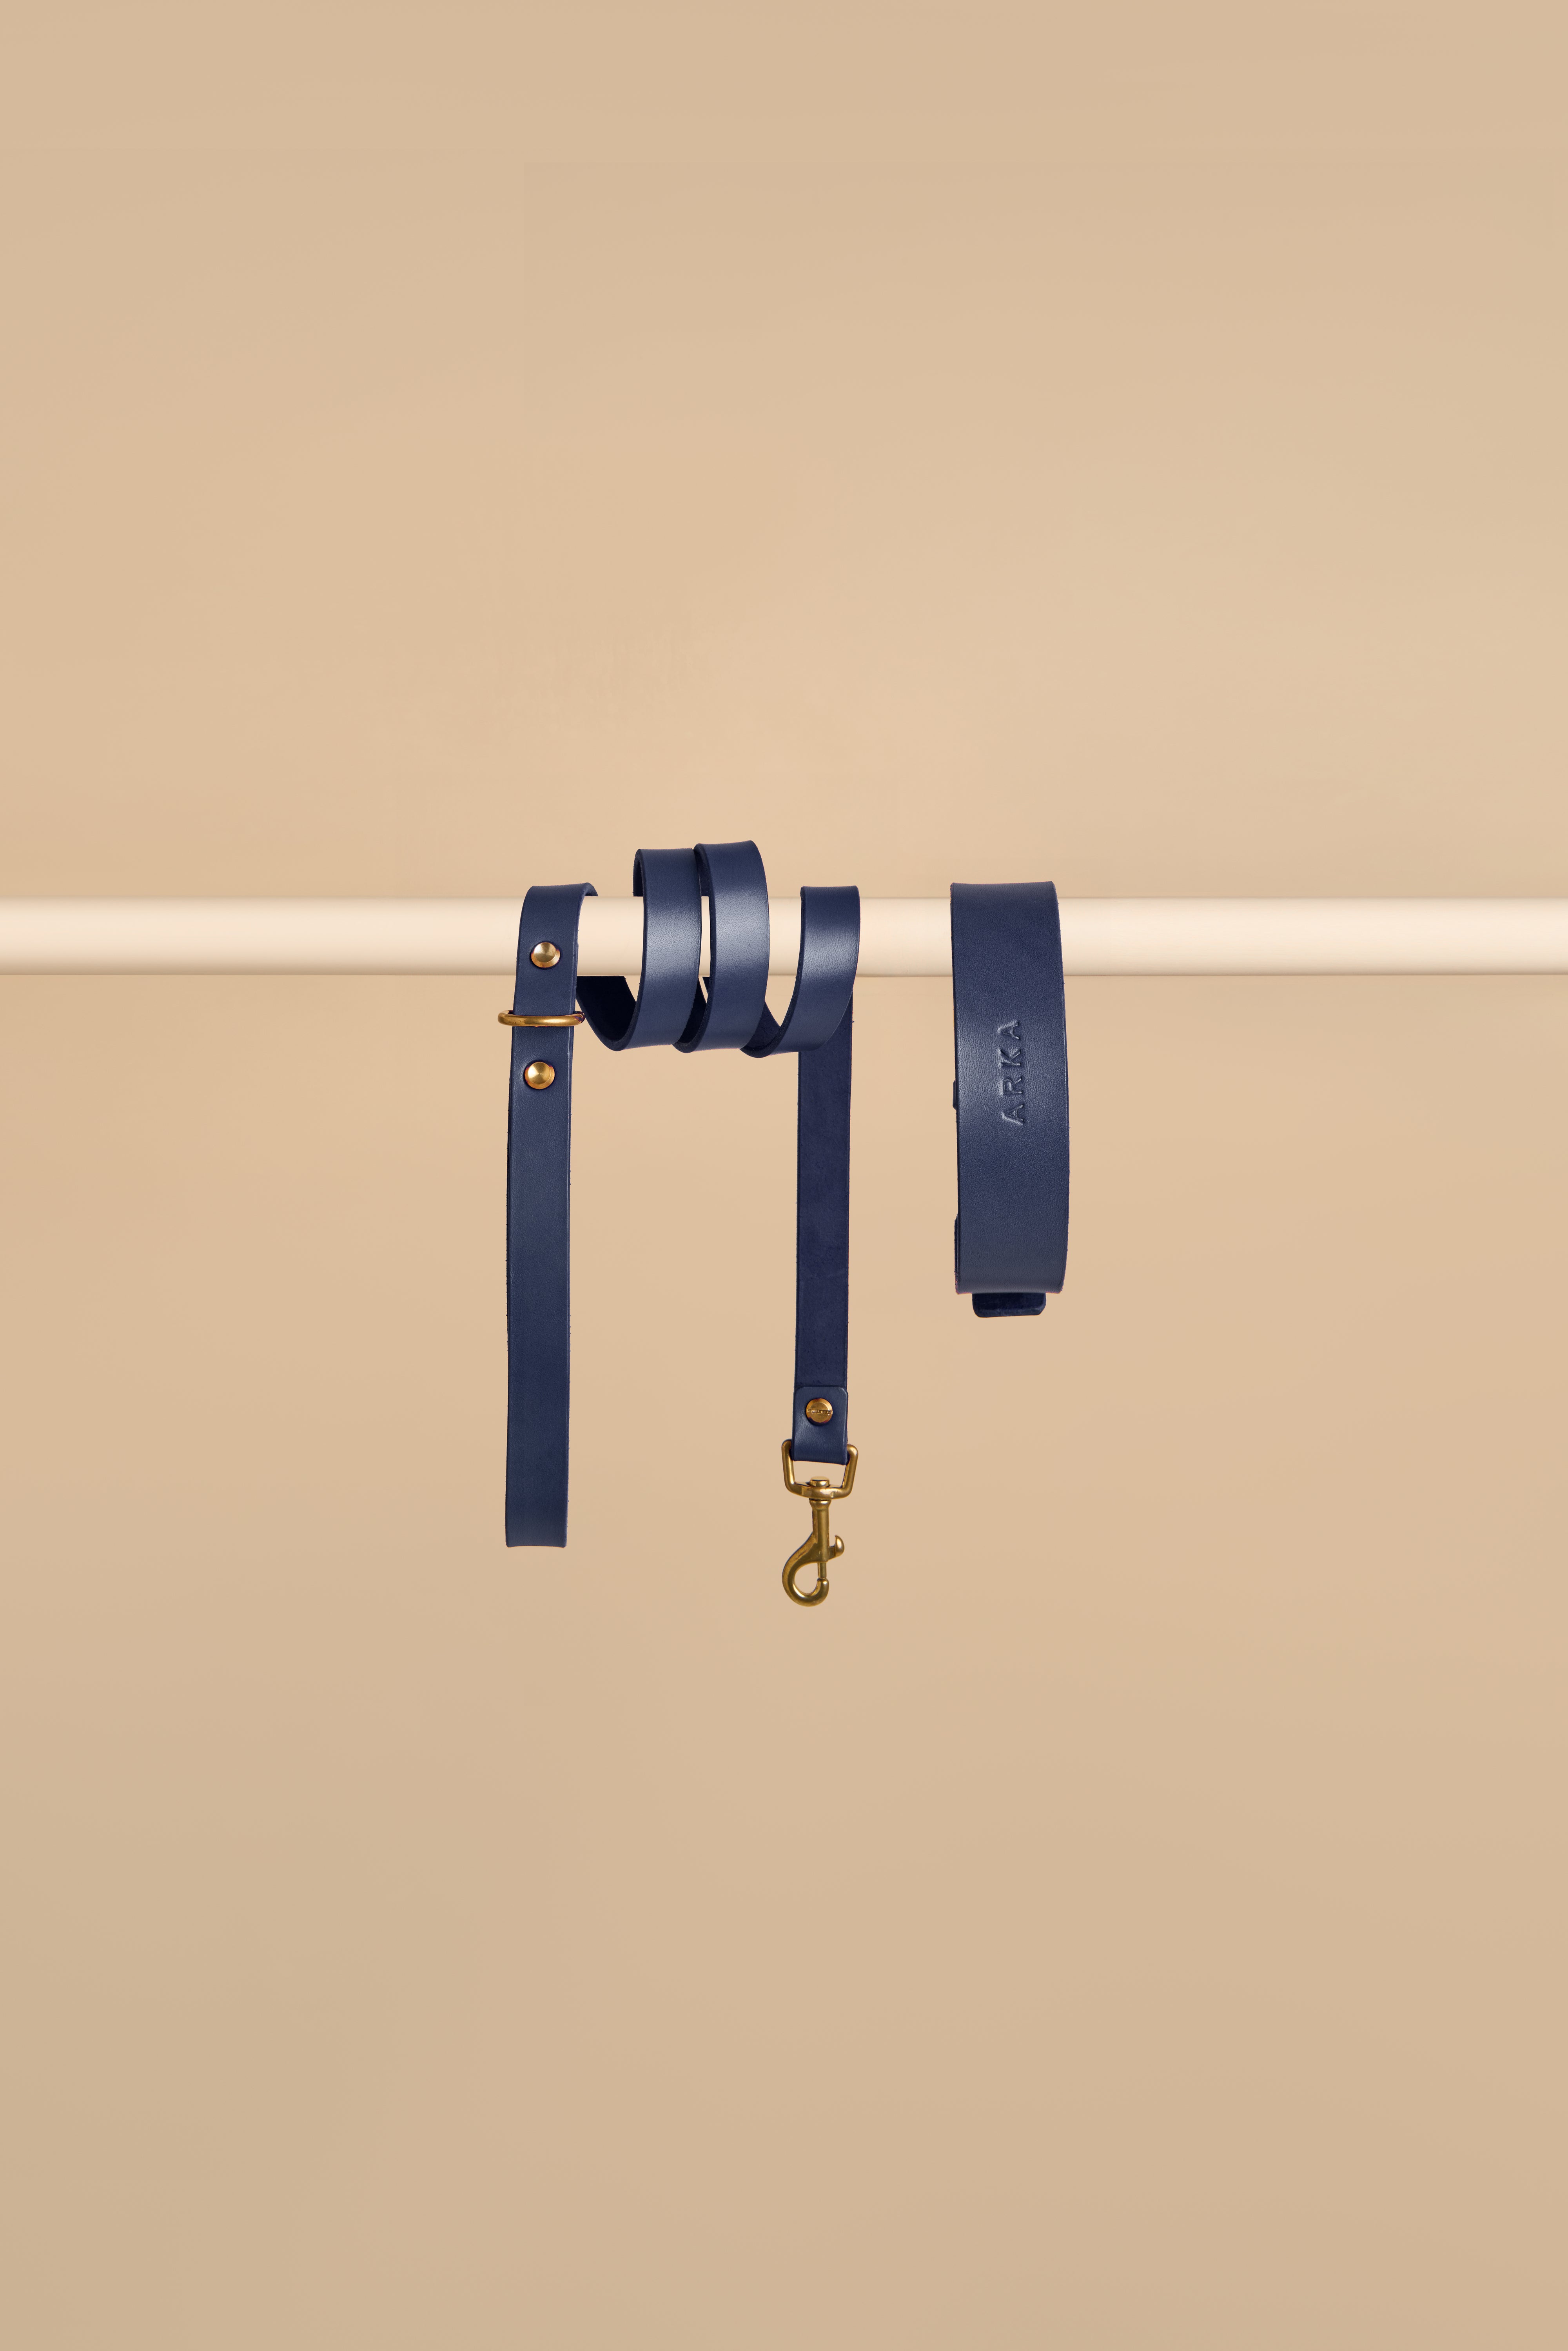
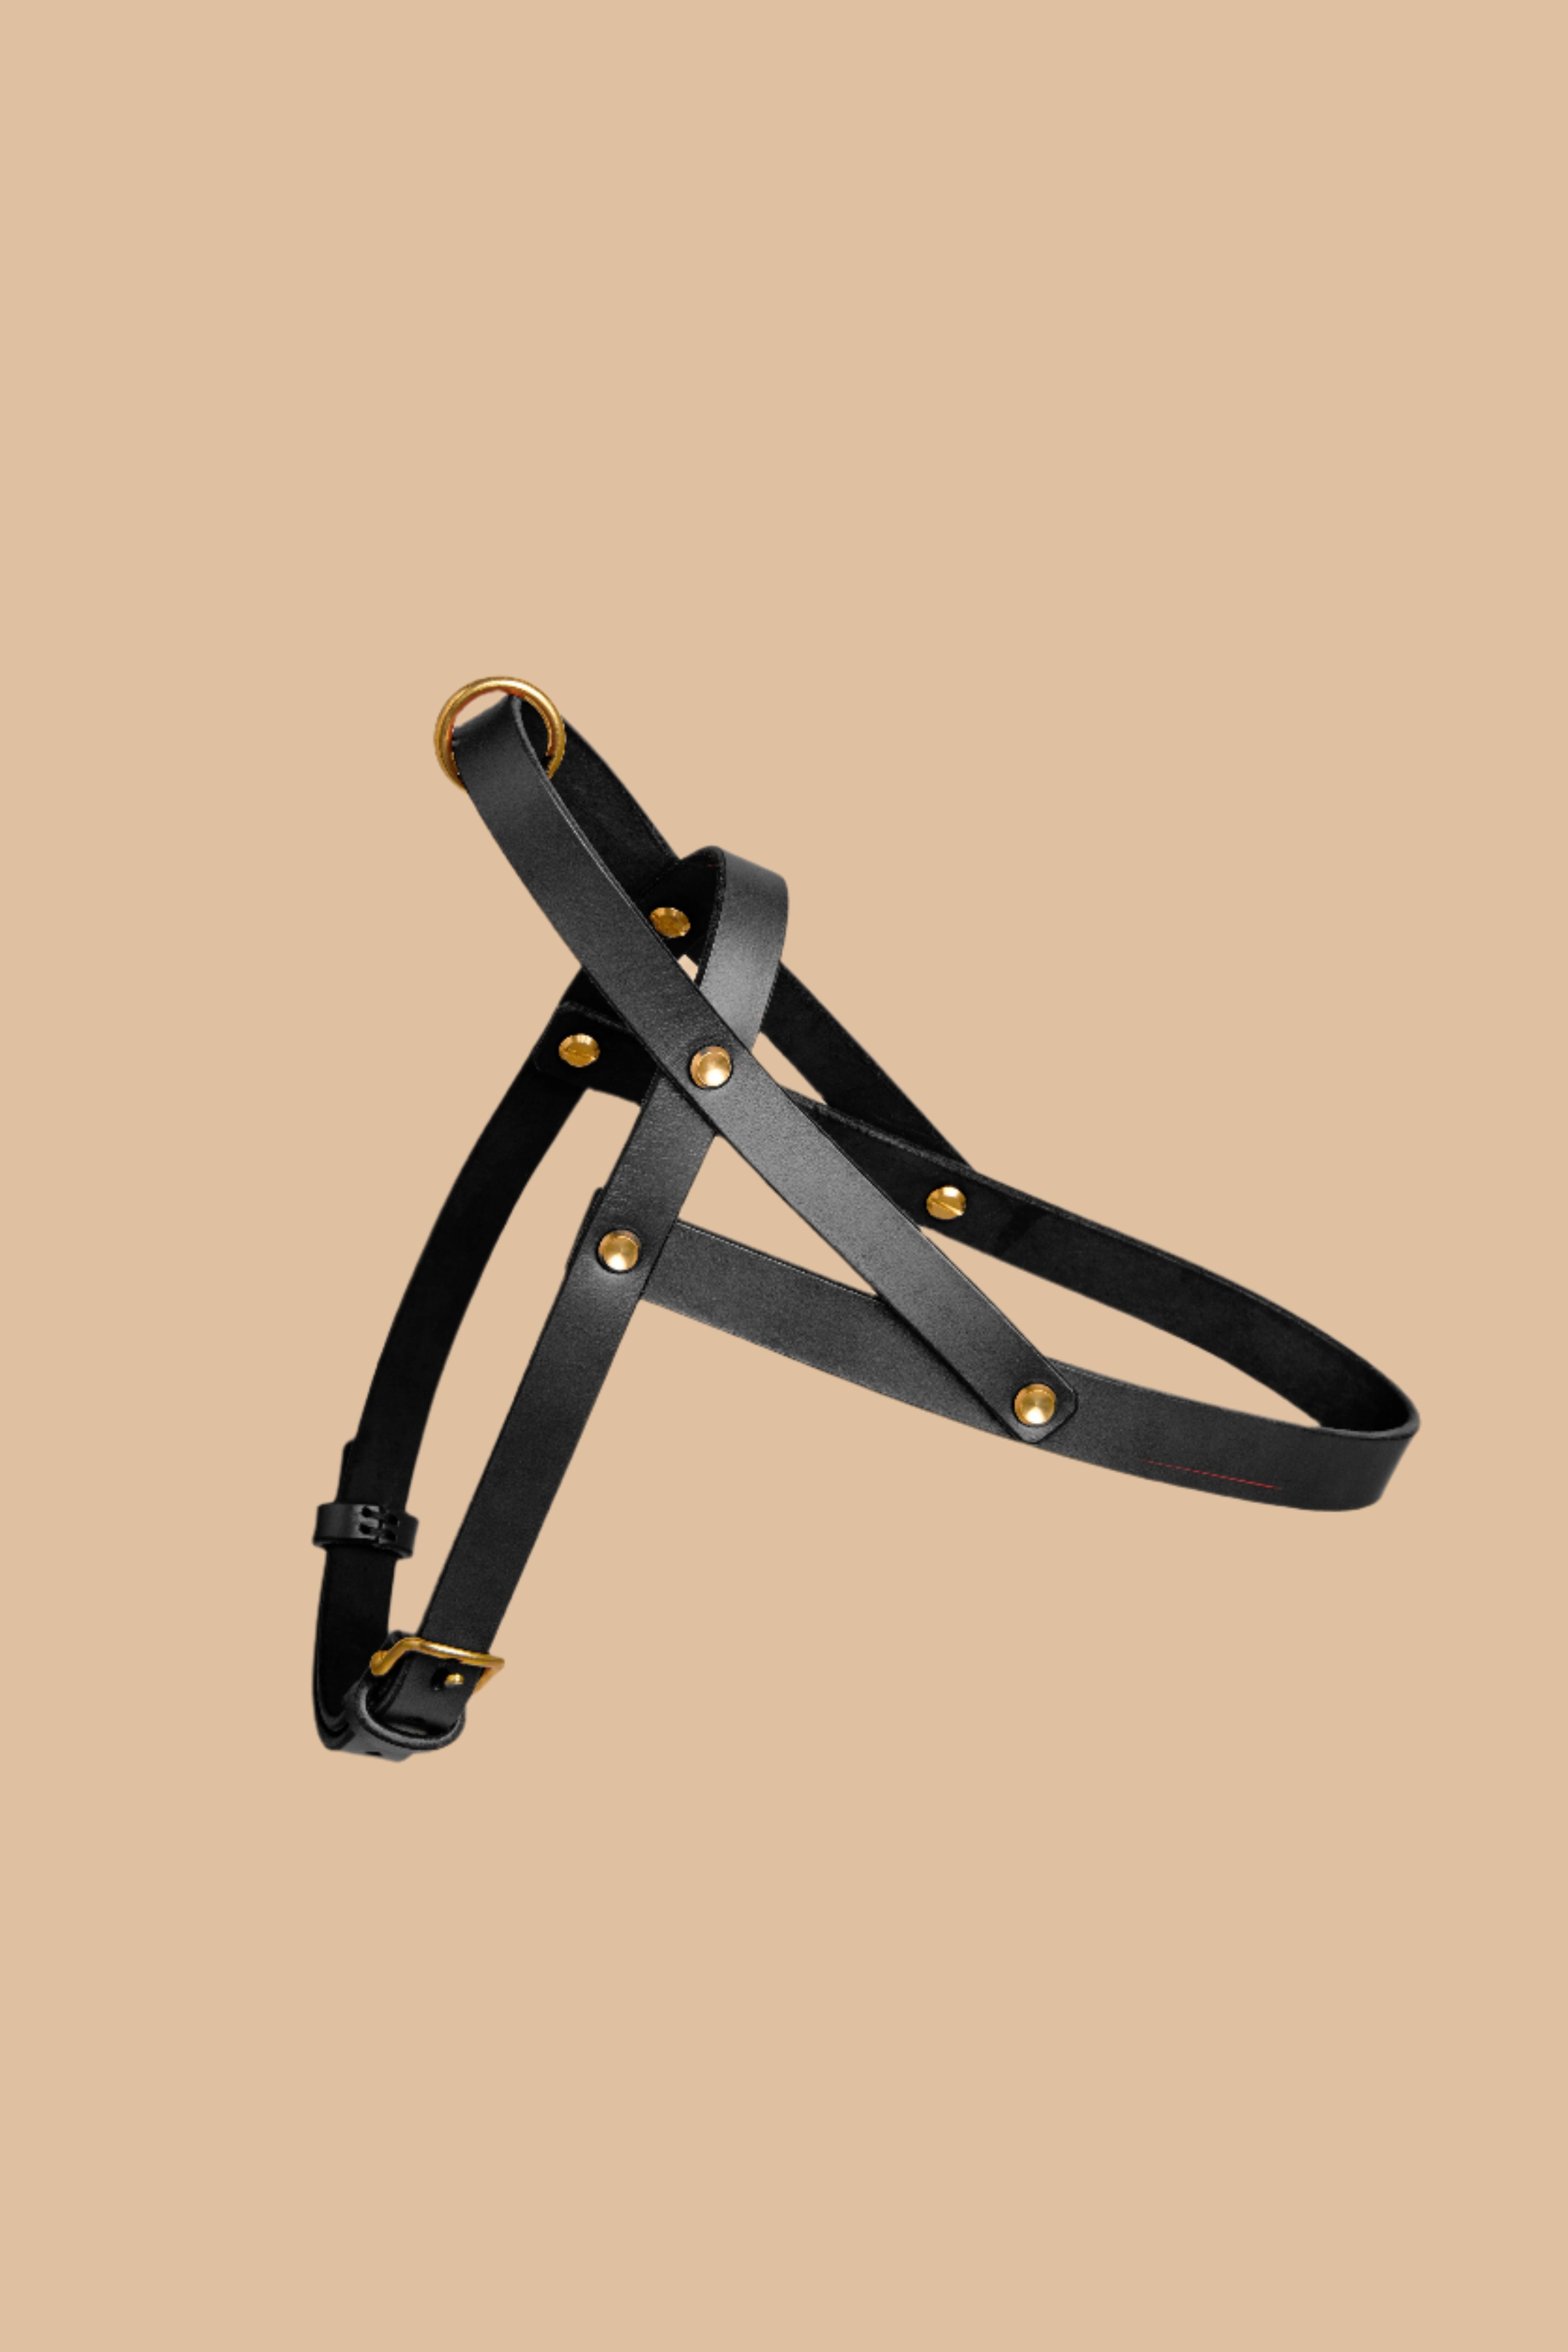
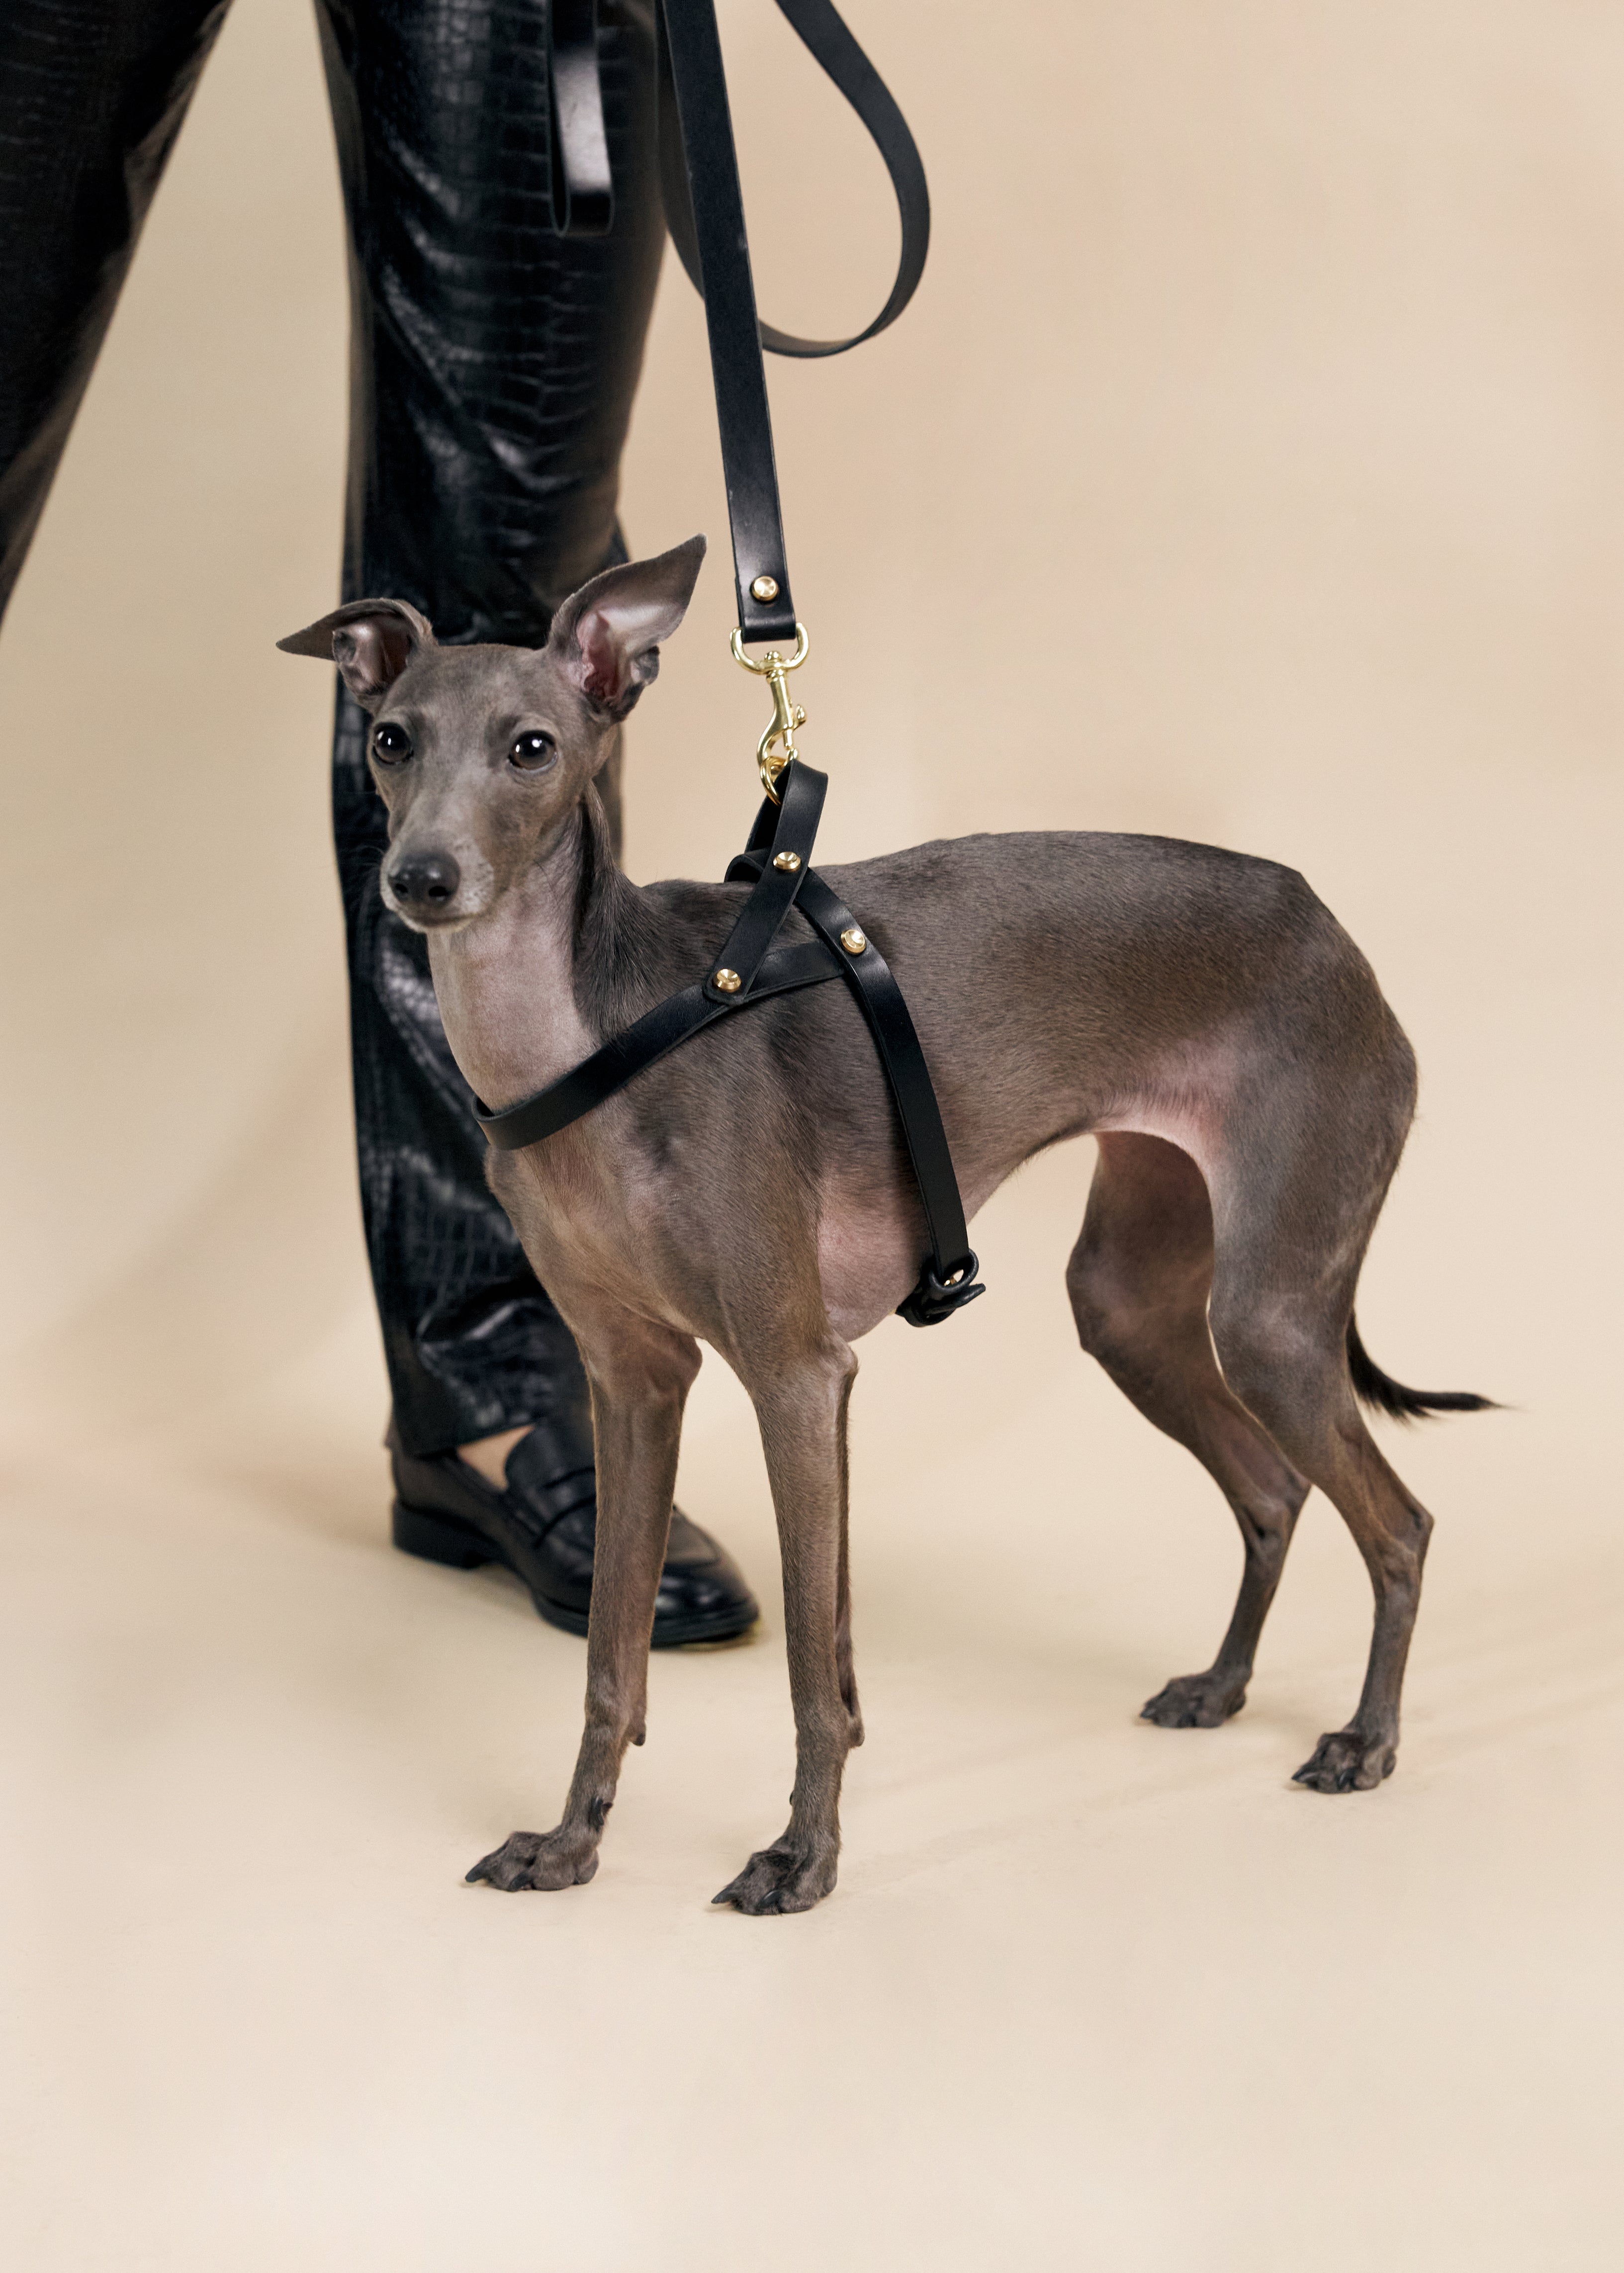
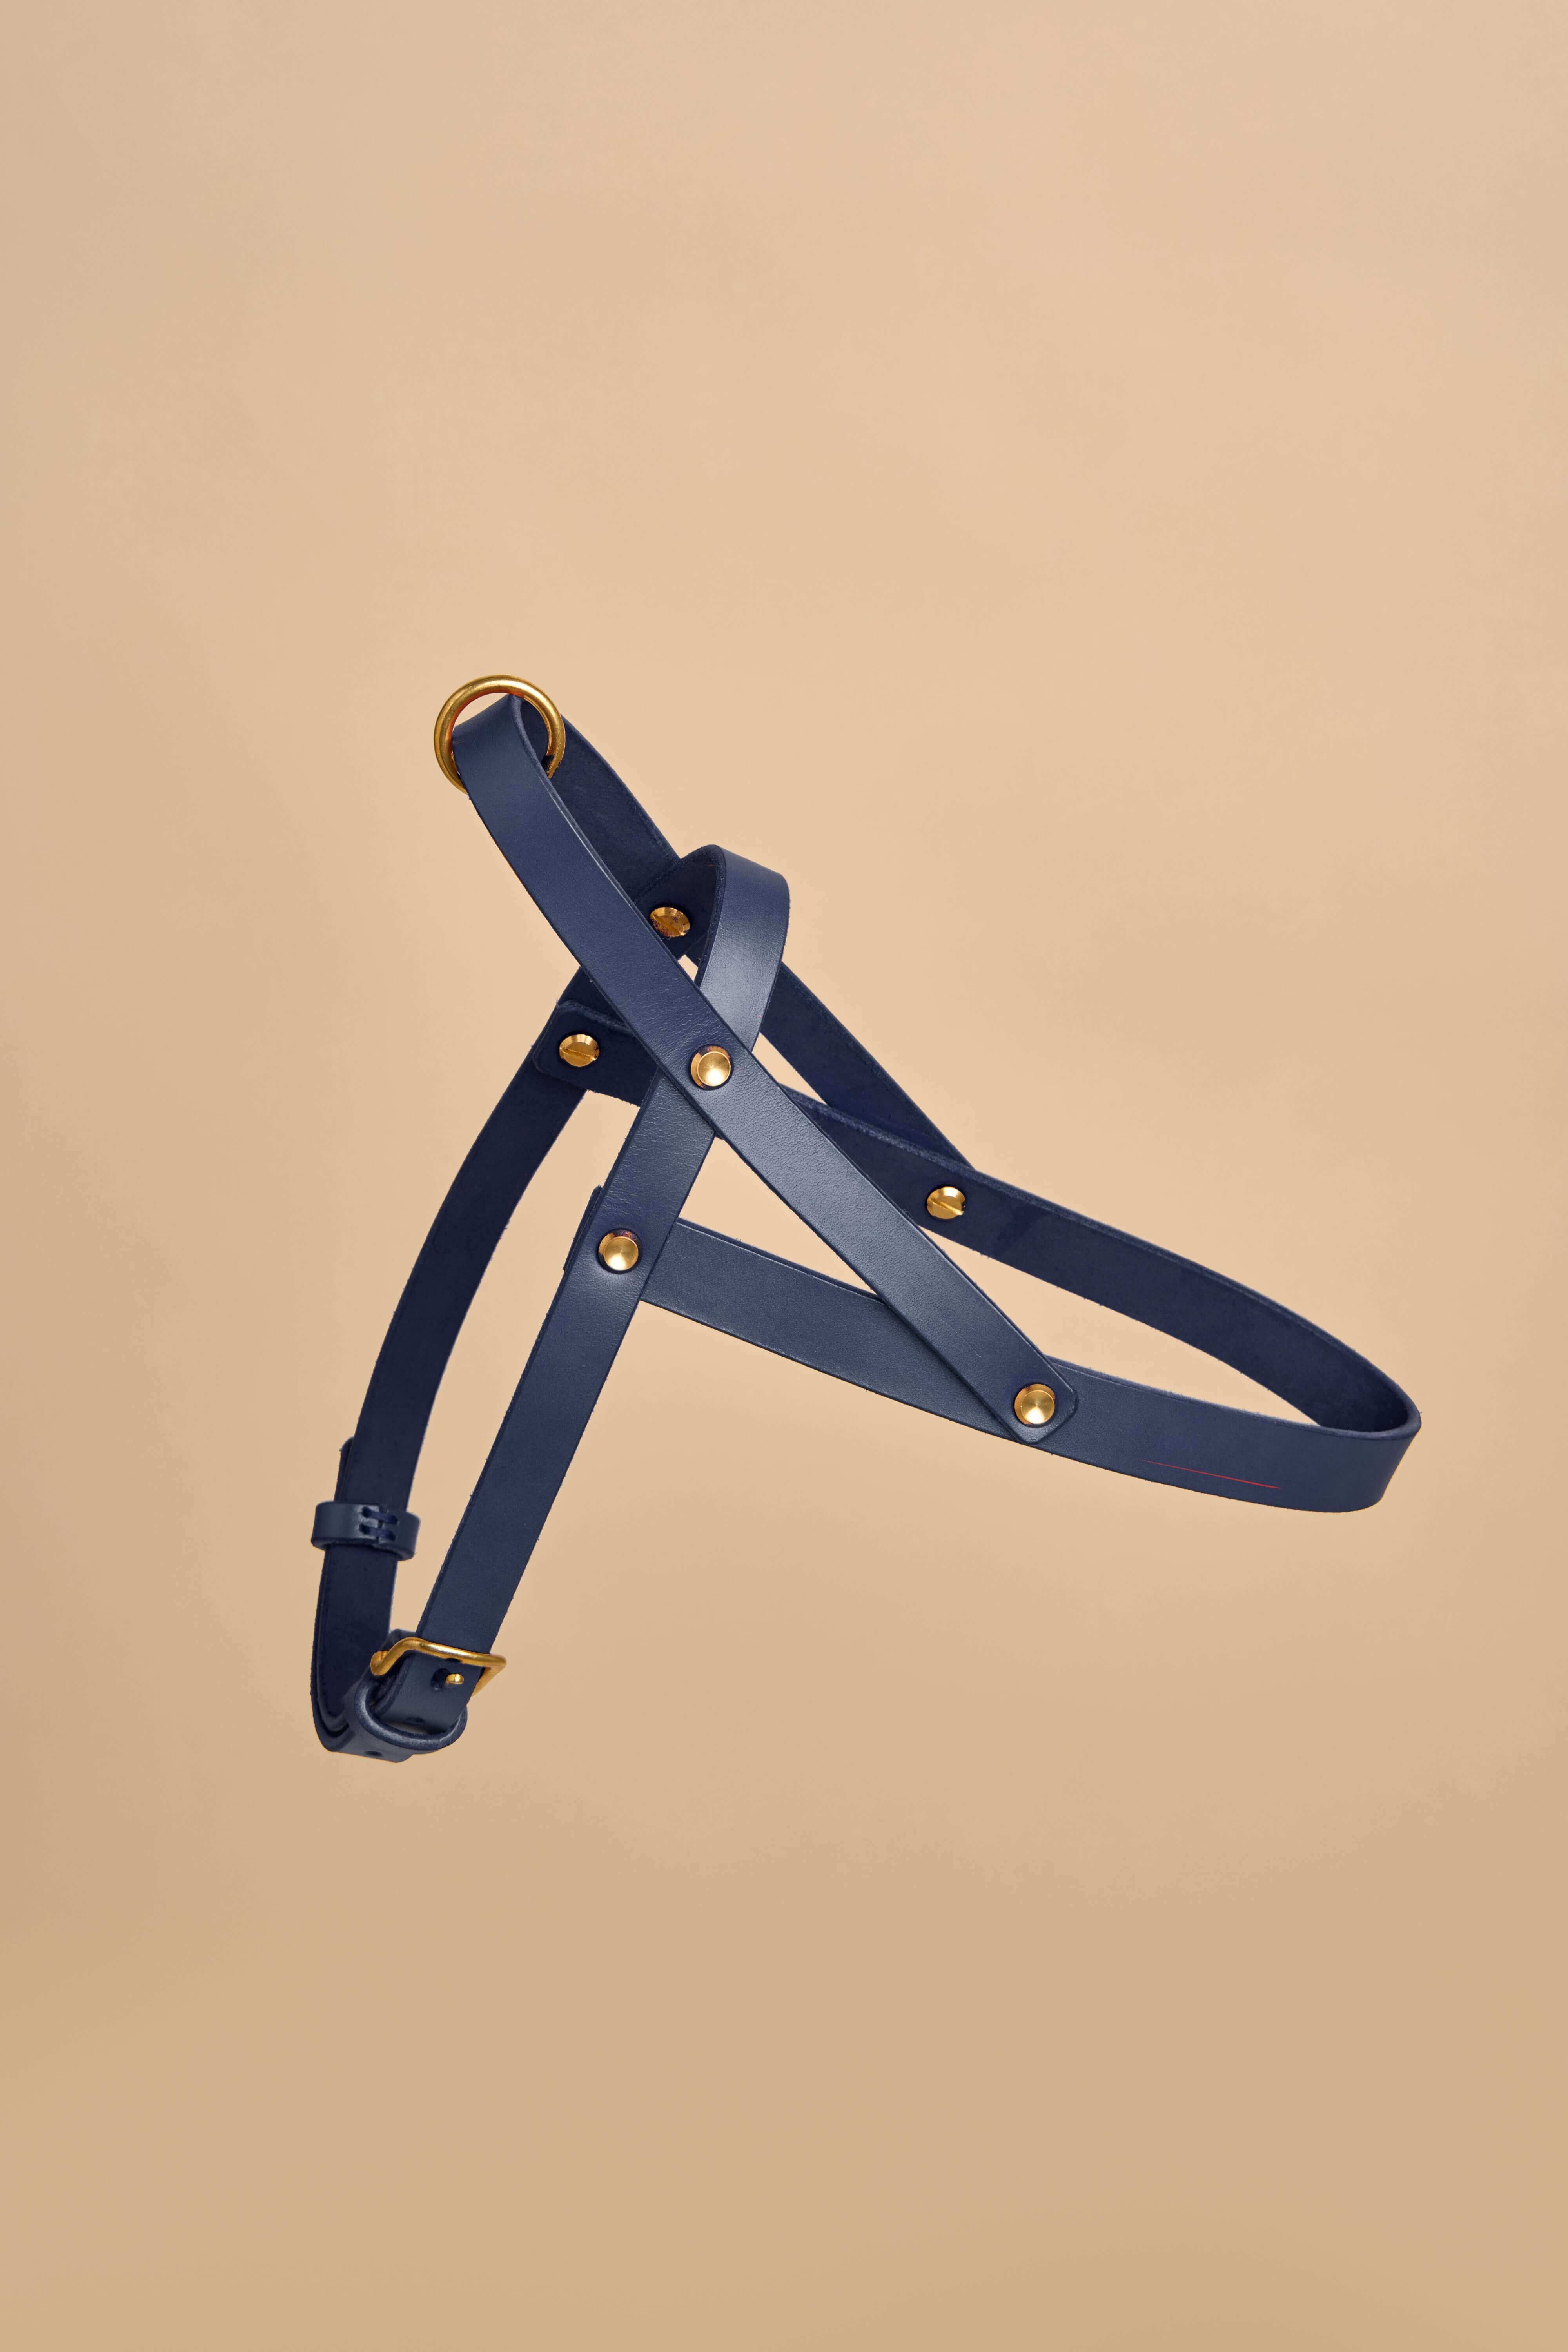
There’s no doubt that collars are one of the main ways to provide your dog with a touch of style, but it’s also important to remember that they are vital tools in their safety and comfort as well. The perfect collar will be made from material that prevents things like rashes and skin irritation, along with providing that much needed long lasting performance.
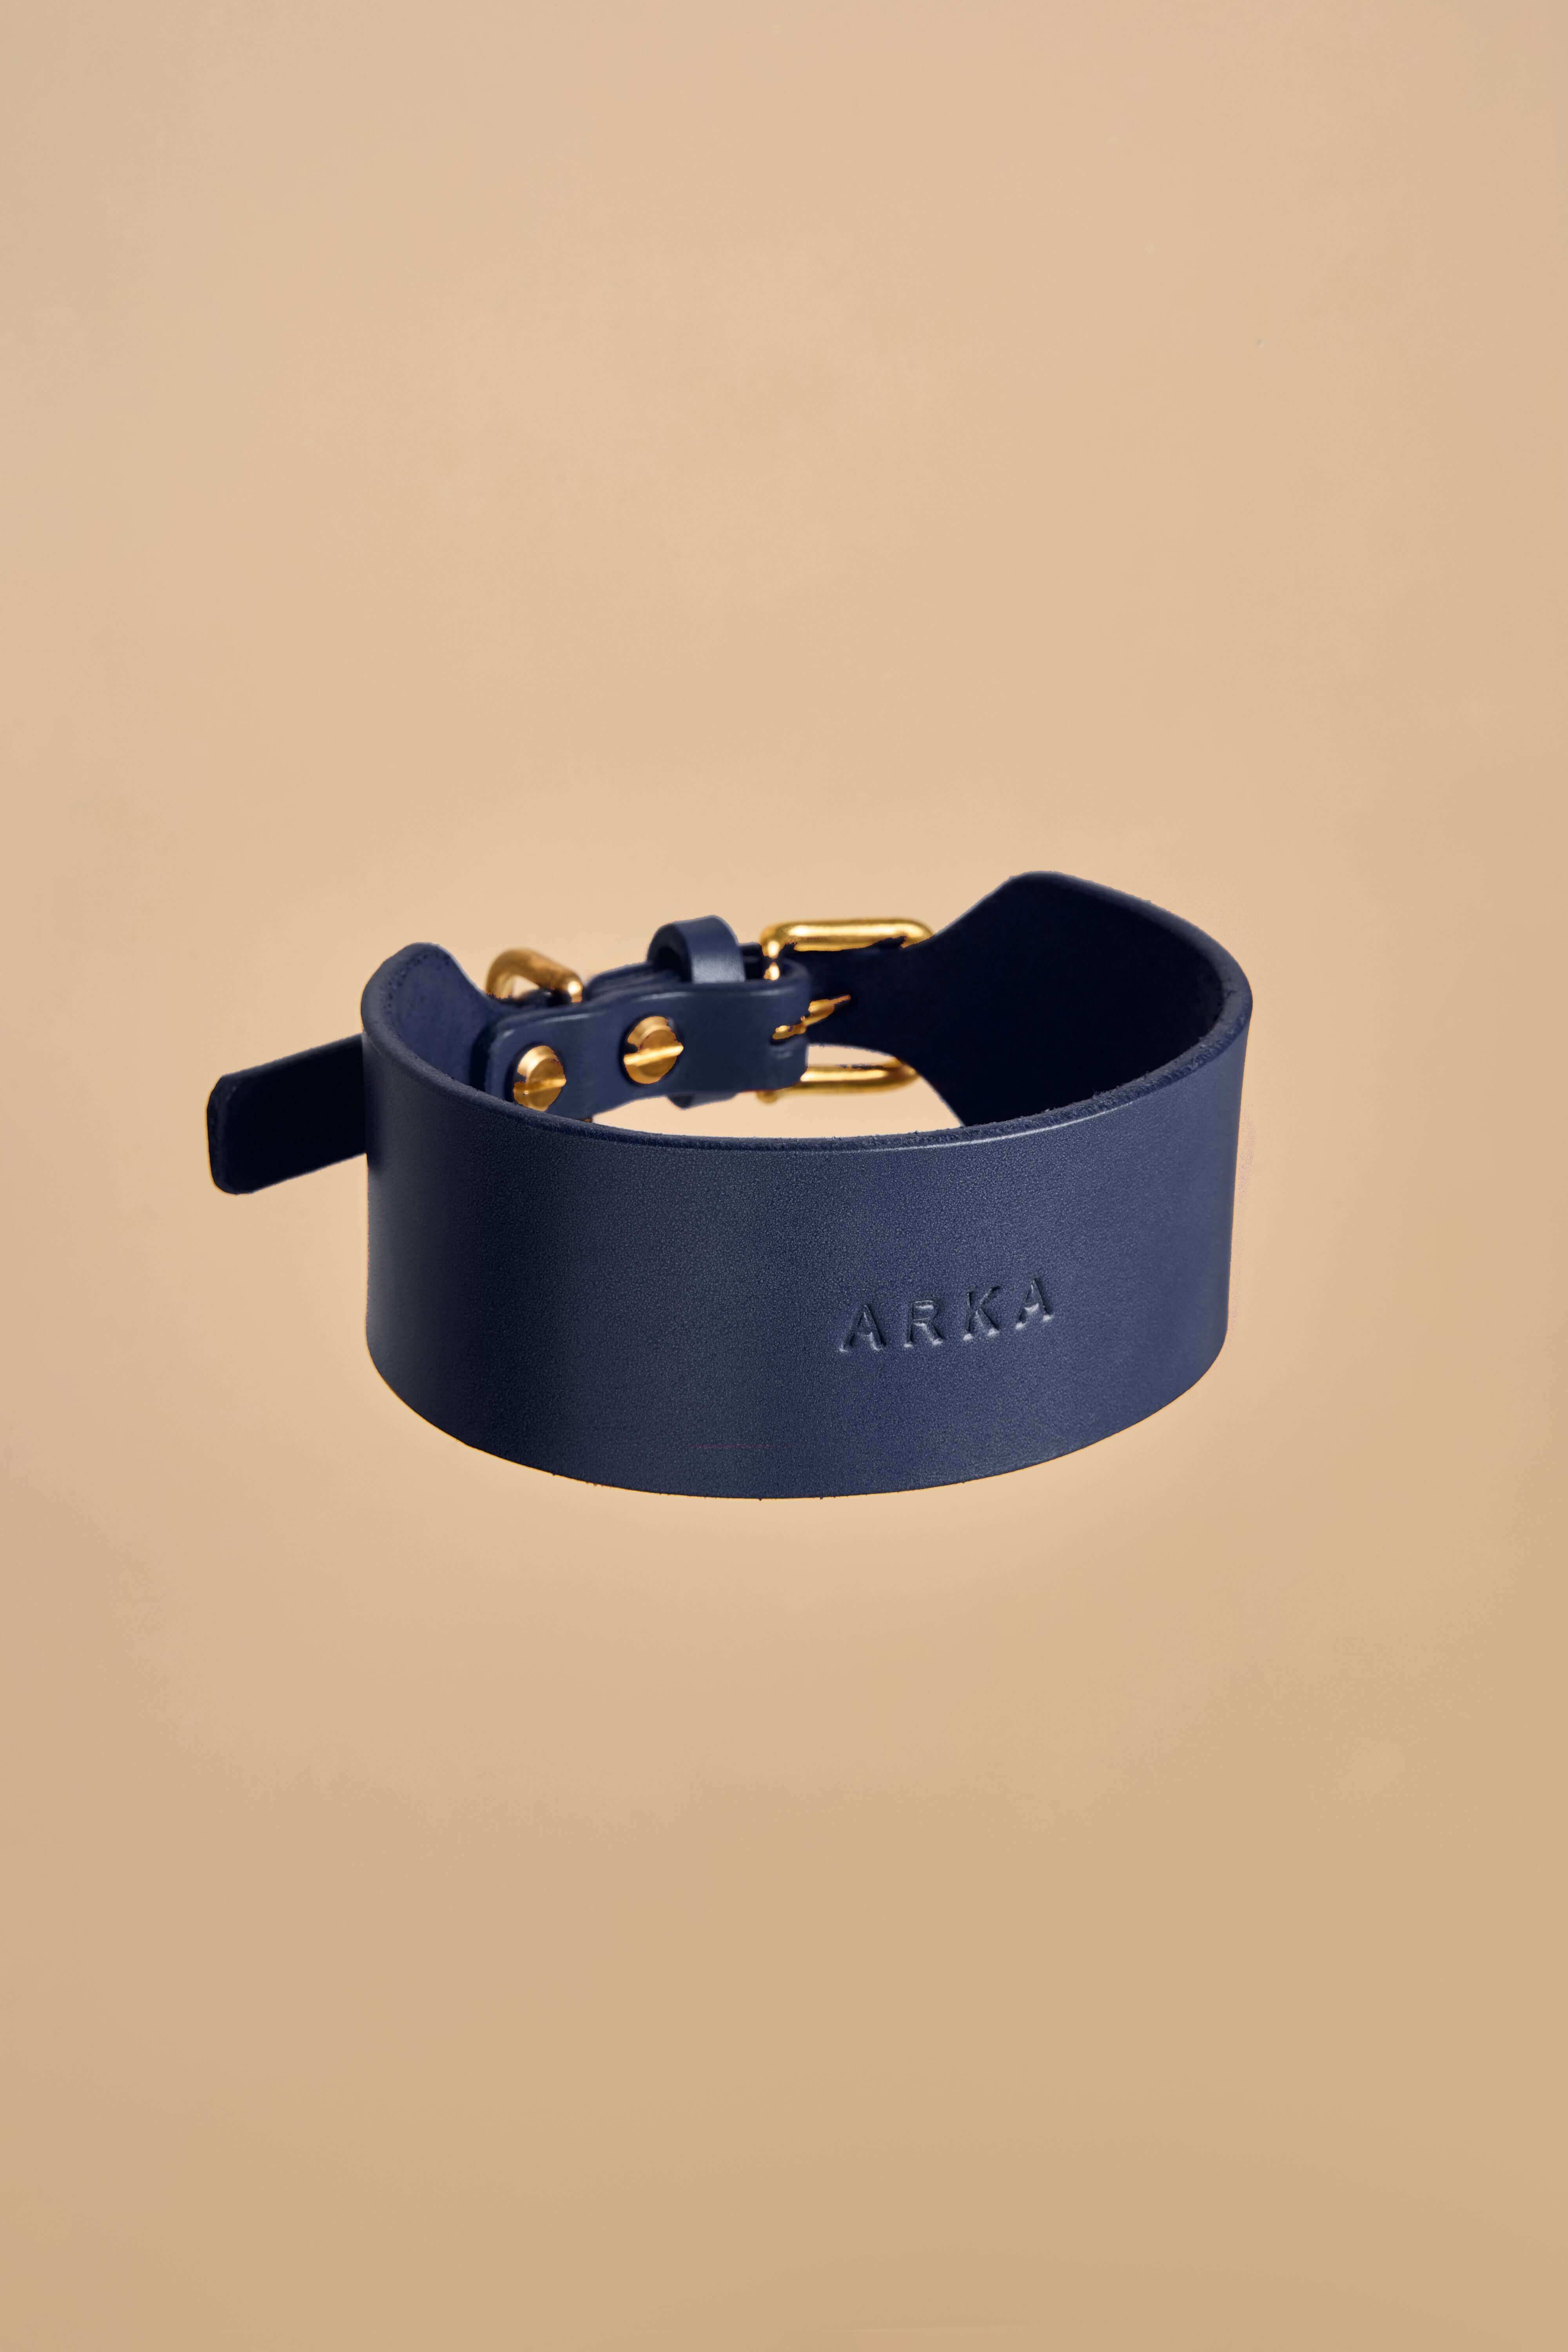
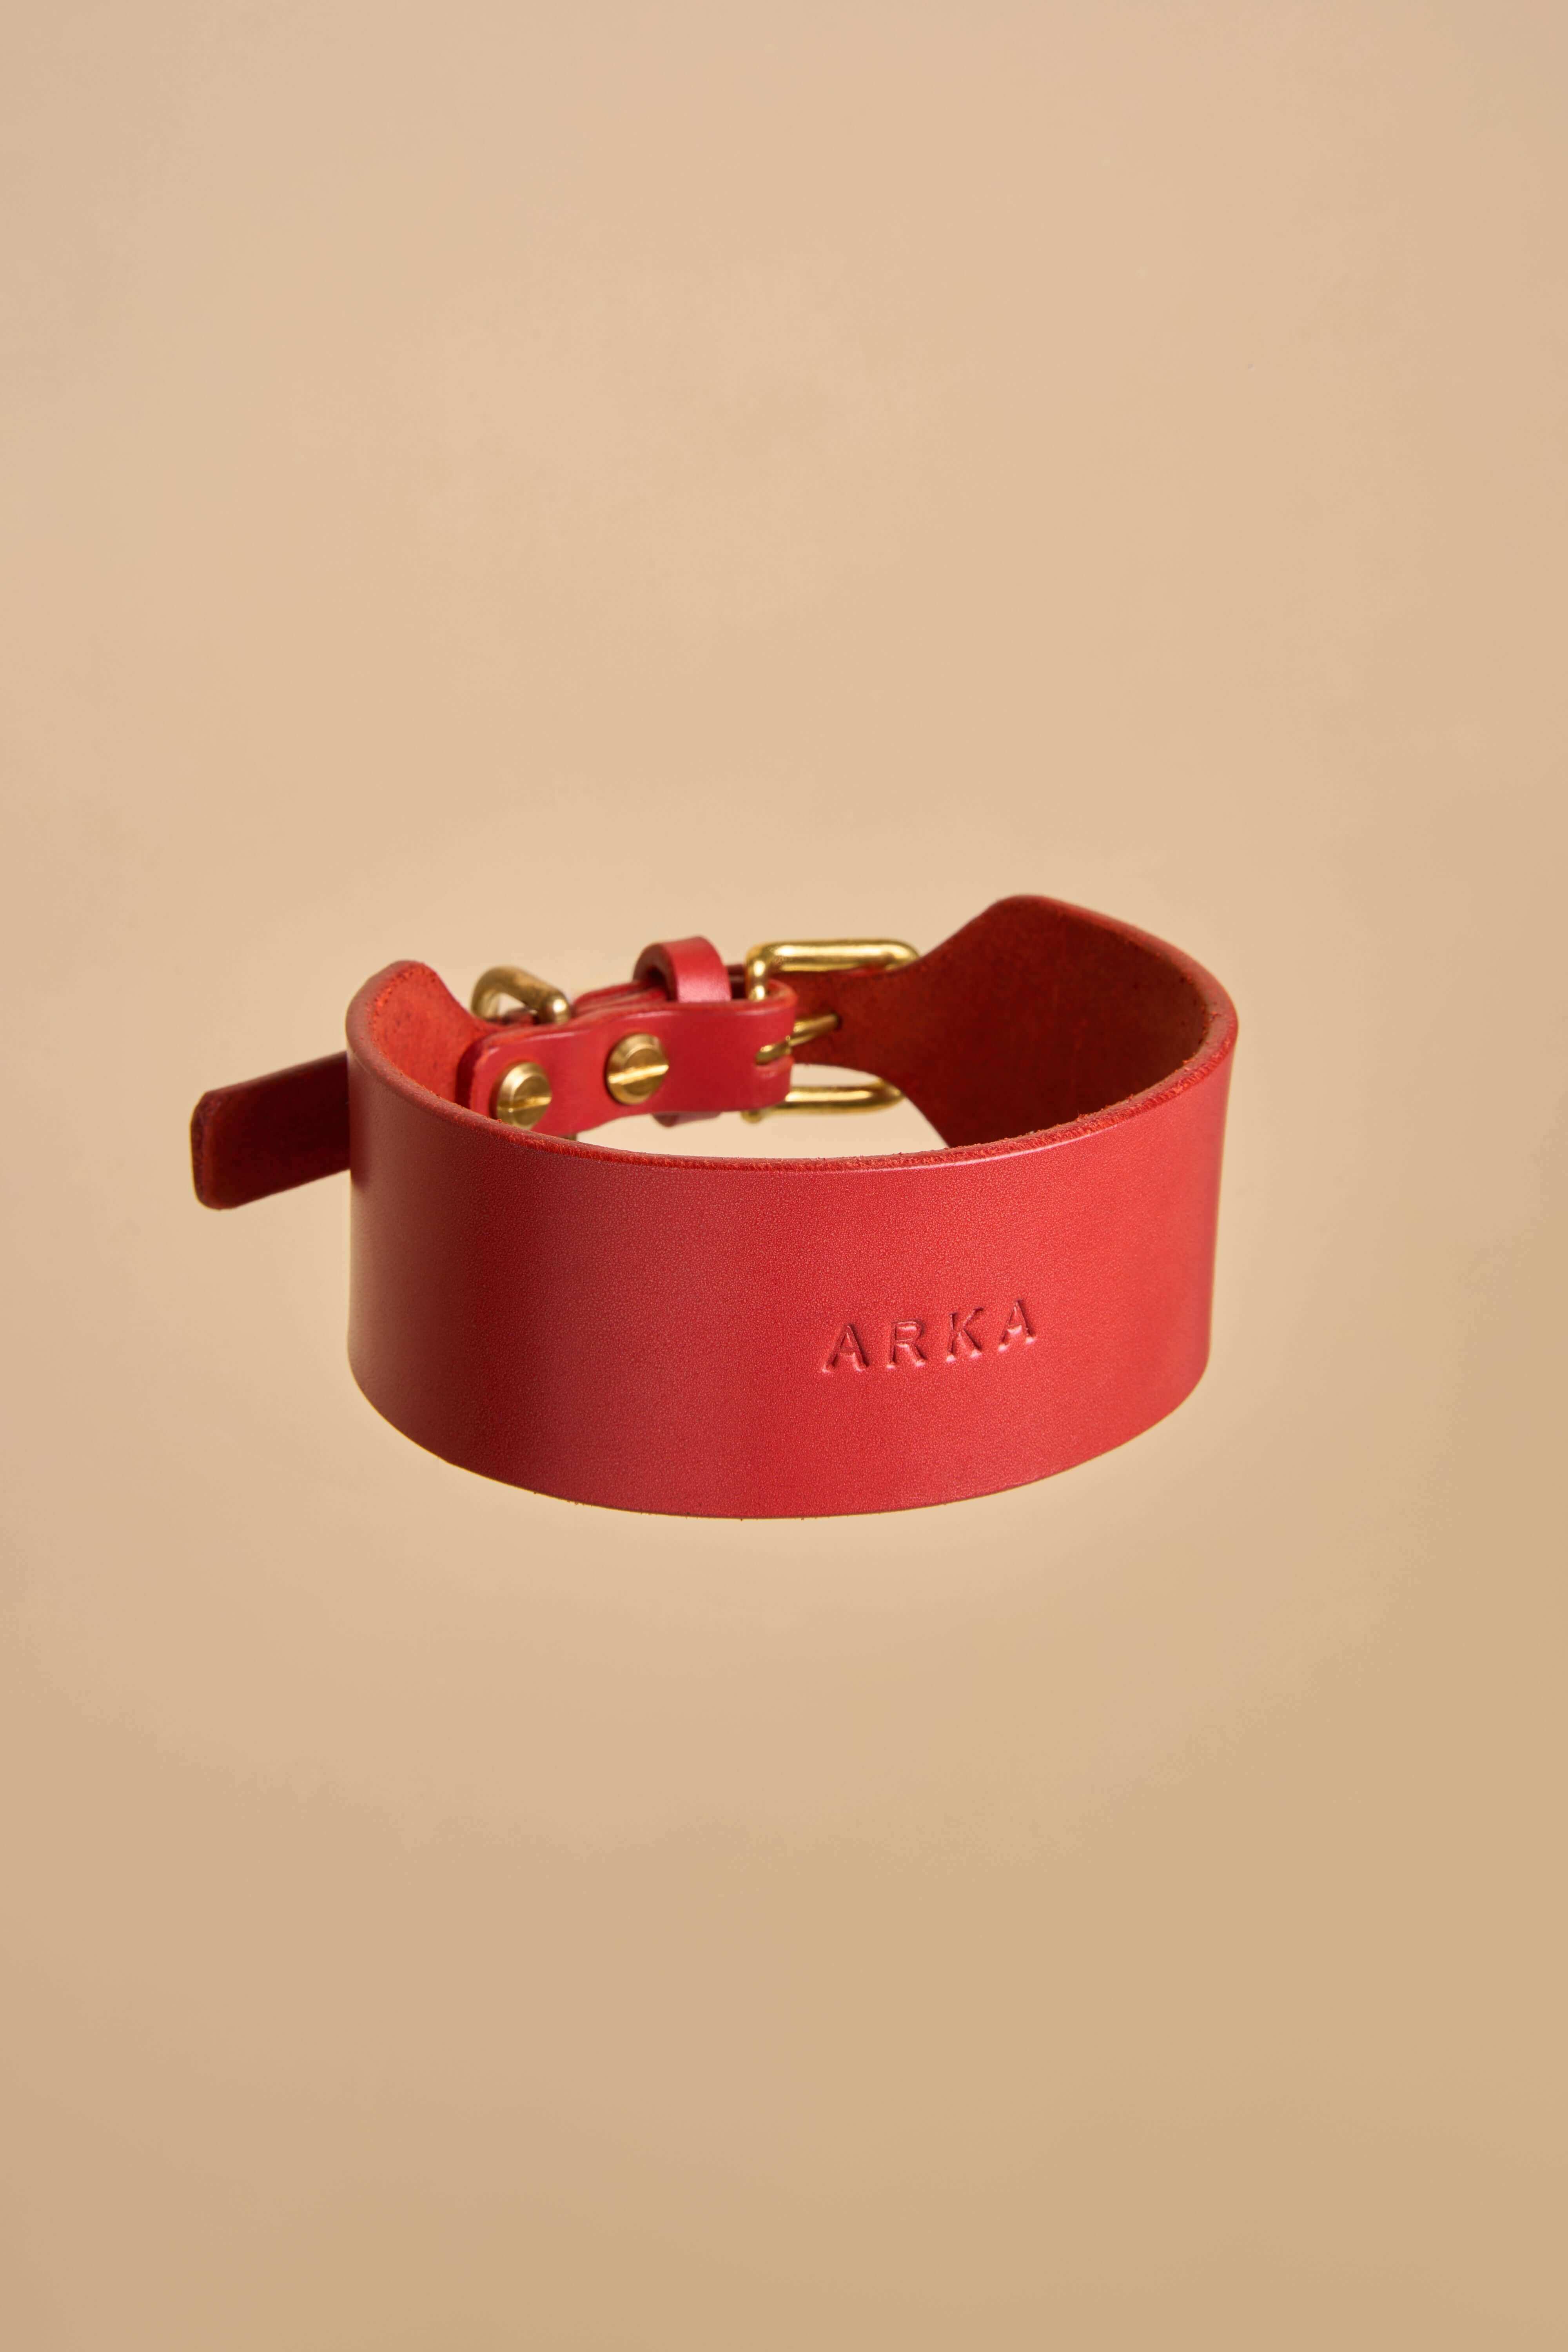
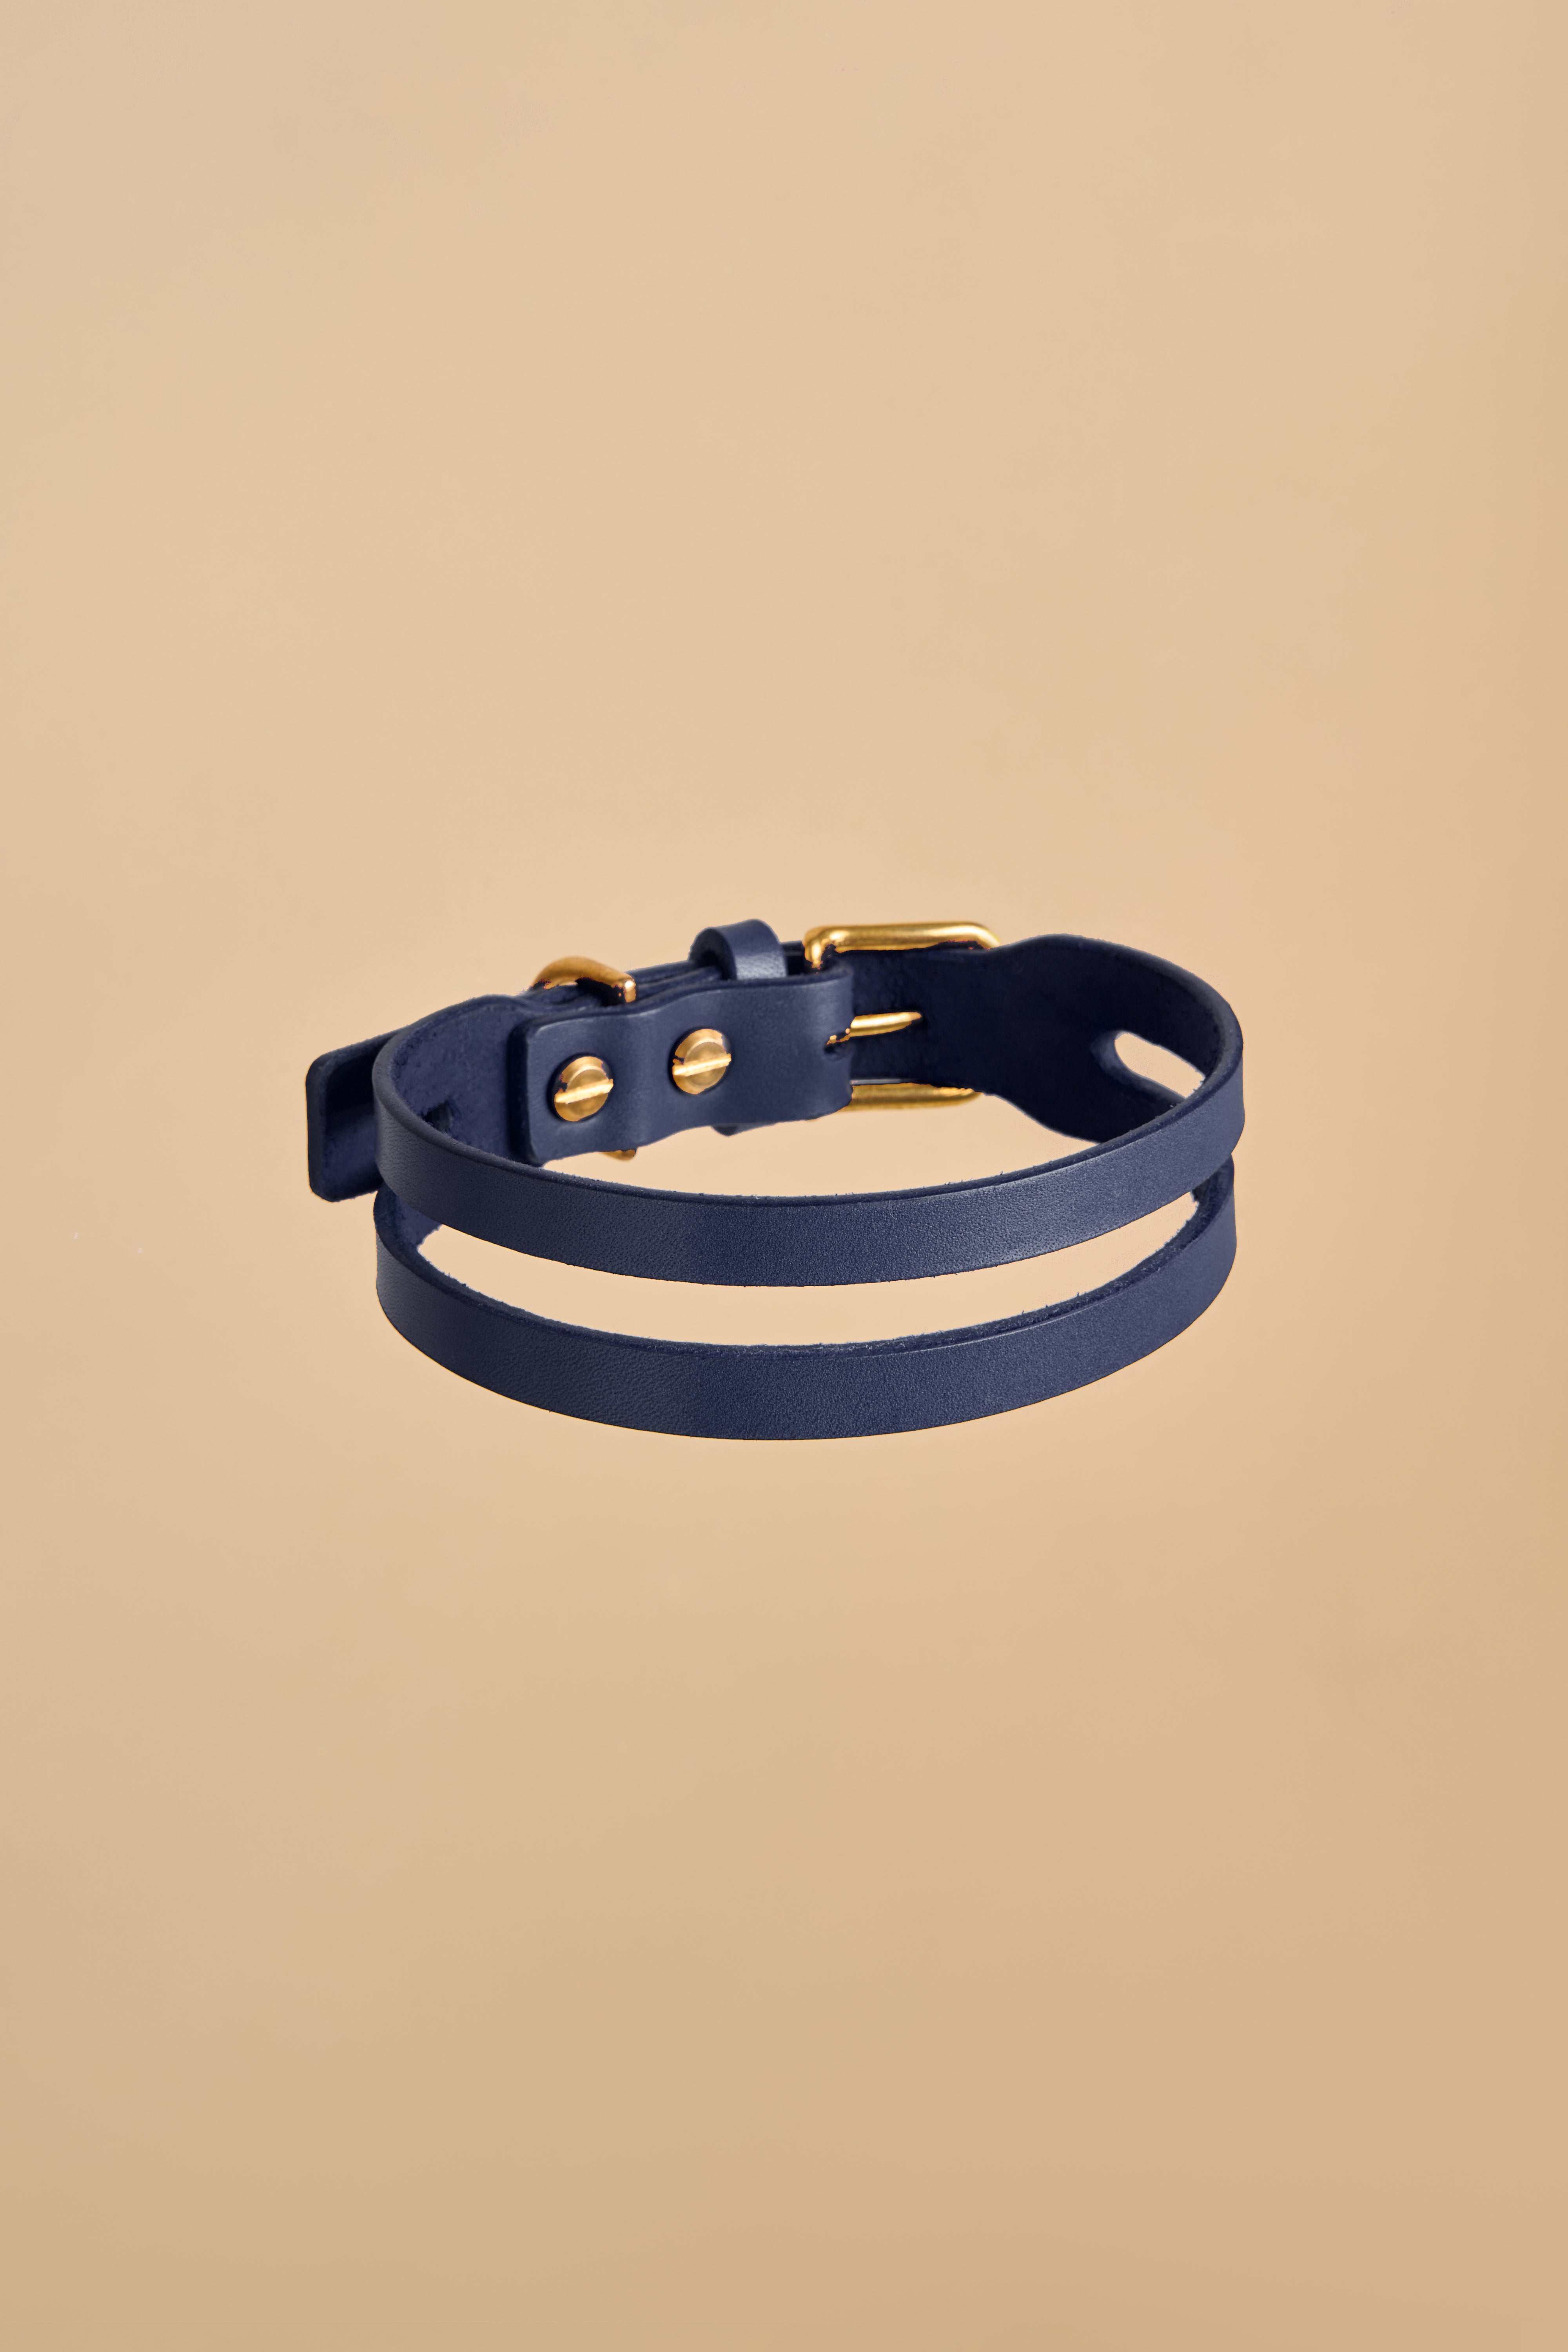
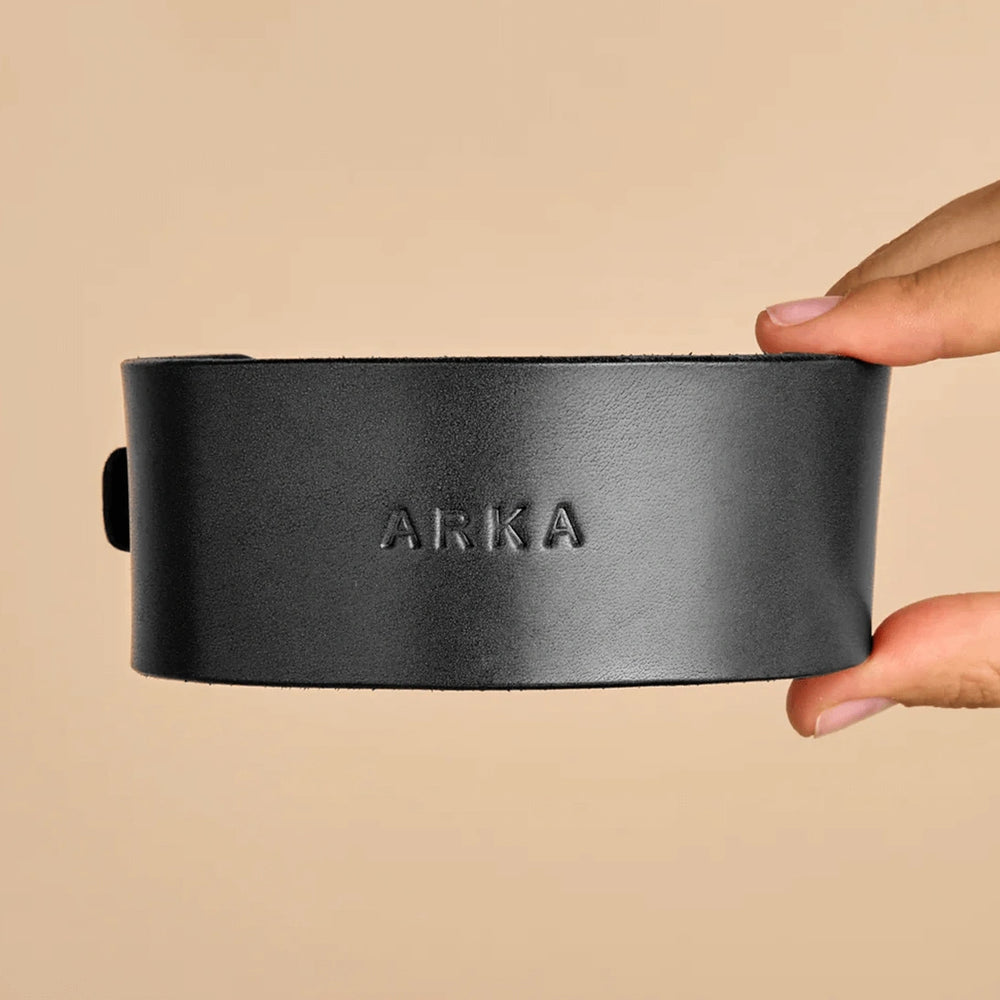
As we hinted at above, vegetable tanned leather is the ideal choice for a lot of different reasons. Unlike the majority of cheaper, chemically treated alternatives, vegetable tanned leather has hypoallergenic qualities that greatly reduce any risk of reaction. The durability is also another massive winning factor, as the collar will maintain its strength over time even with the most regular usage.
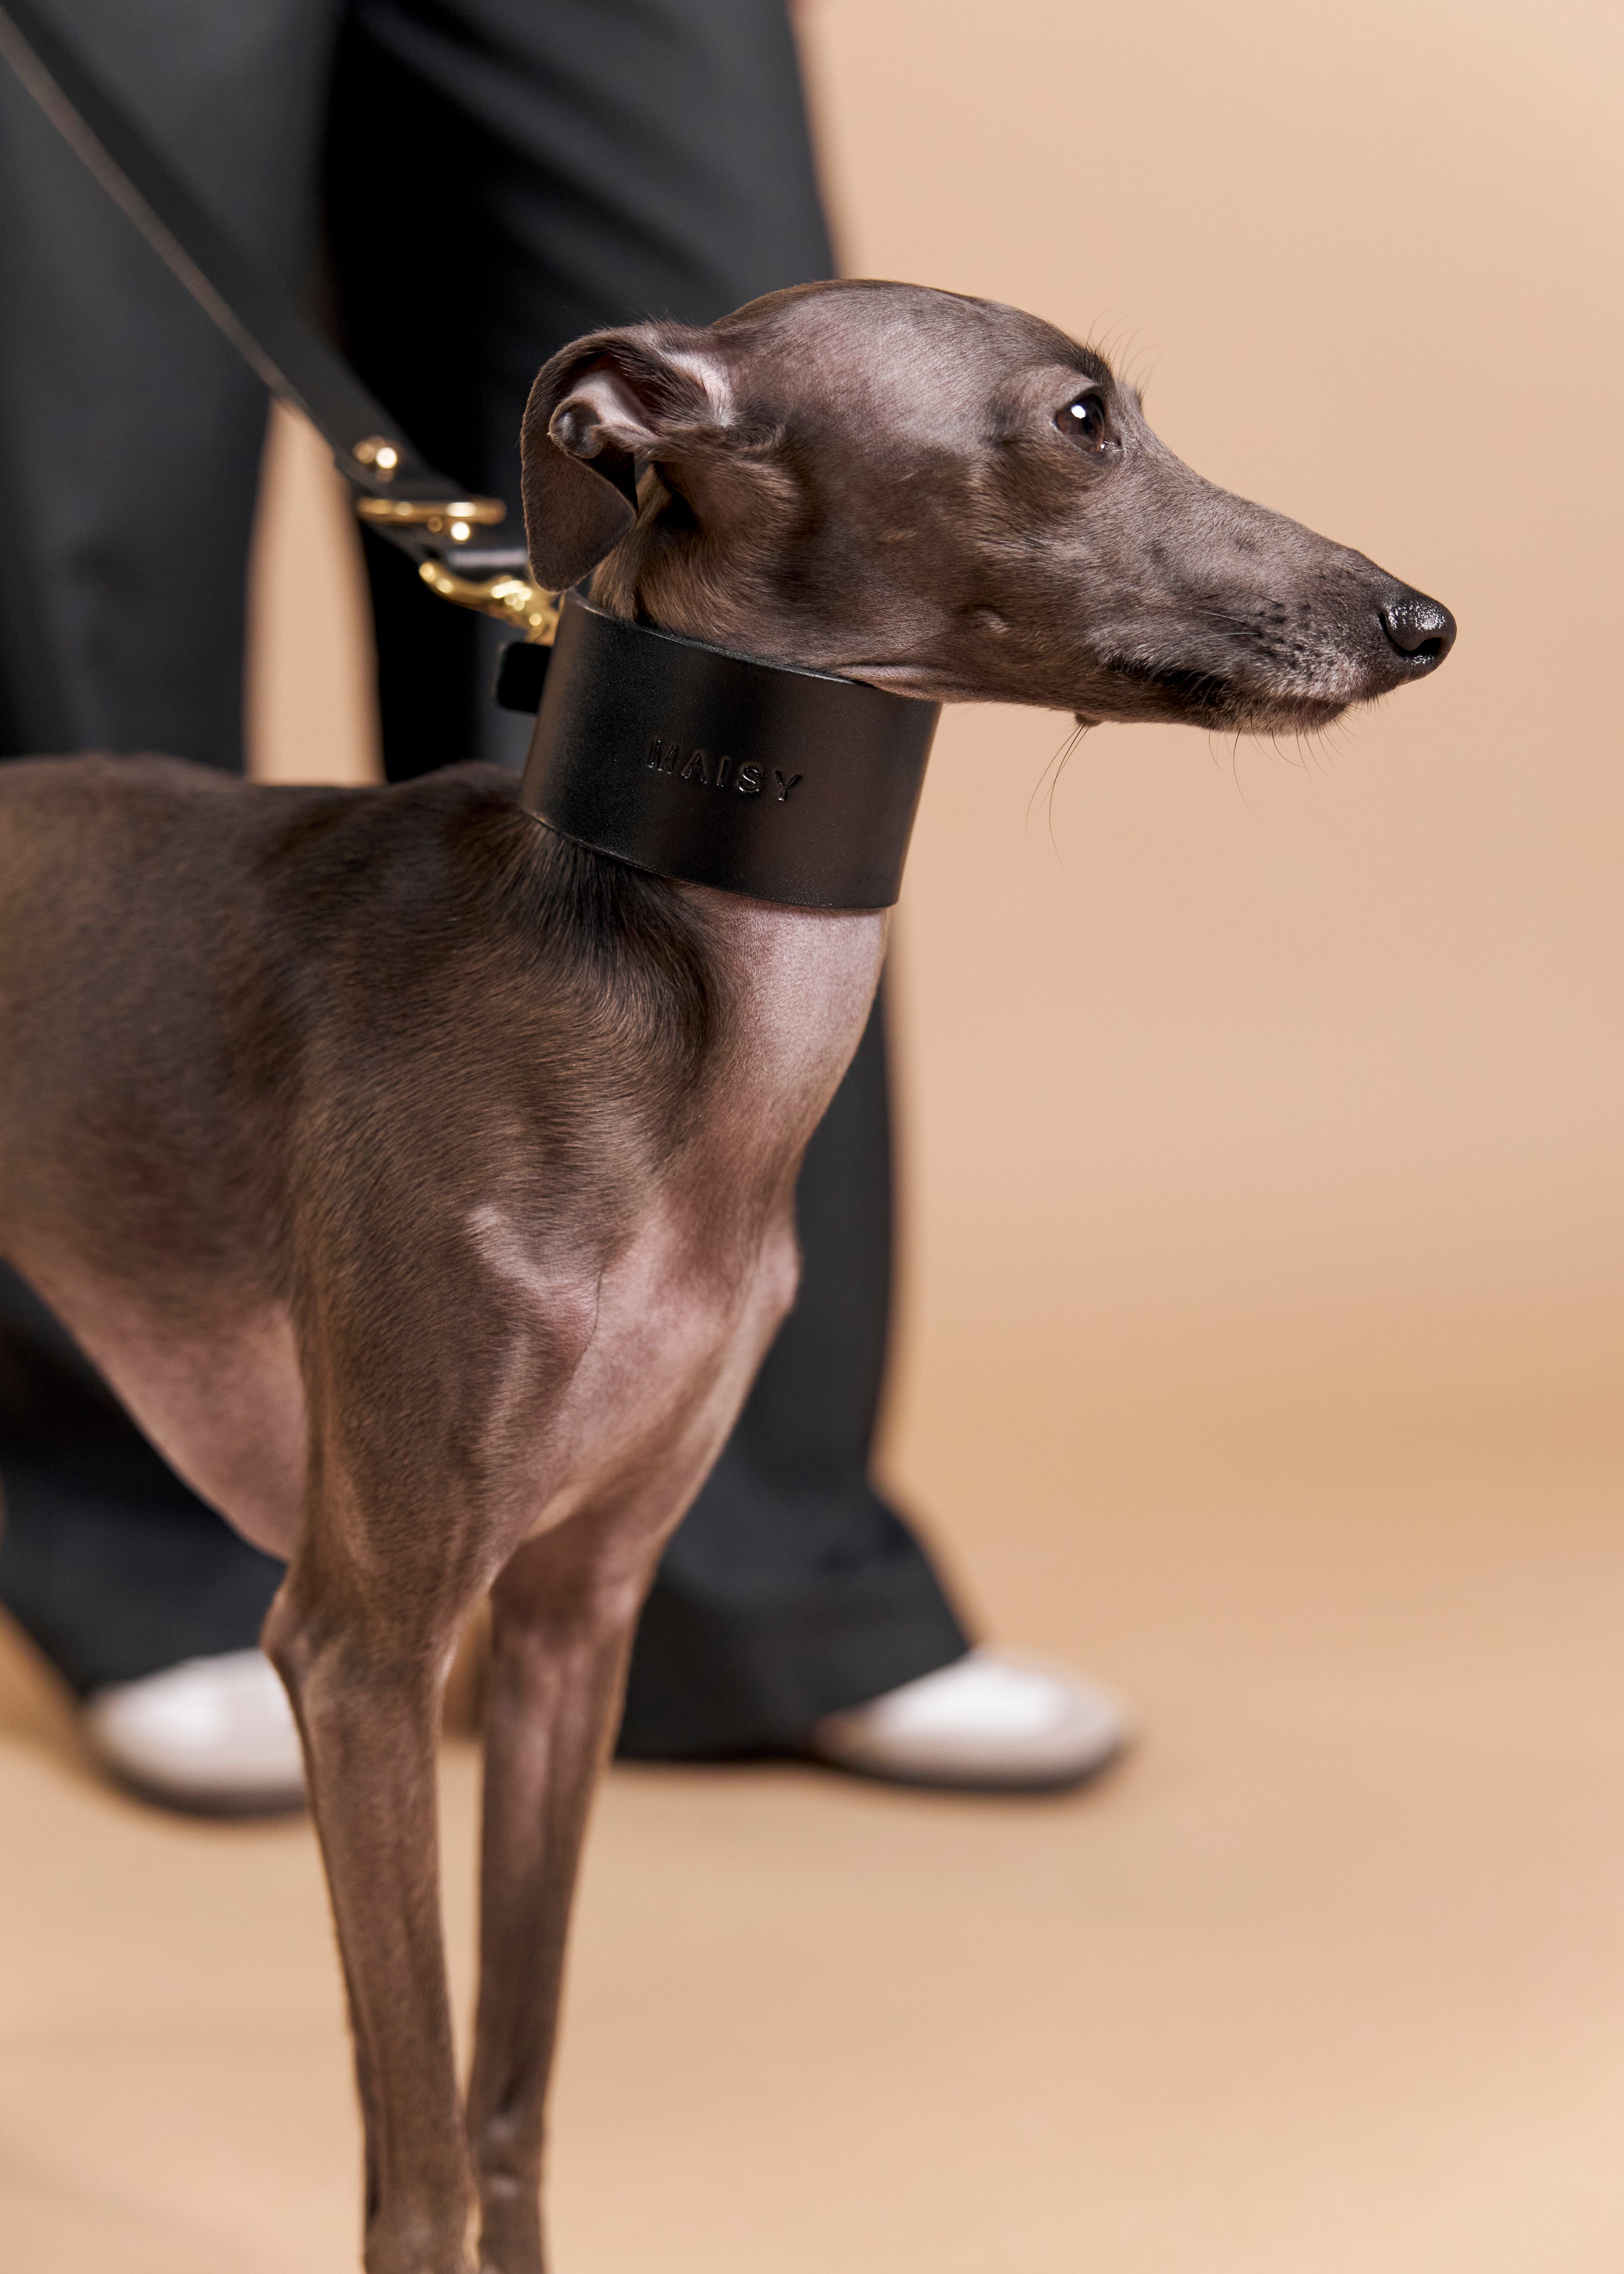
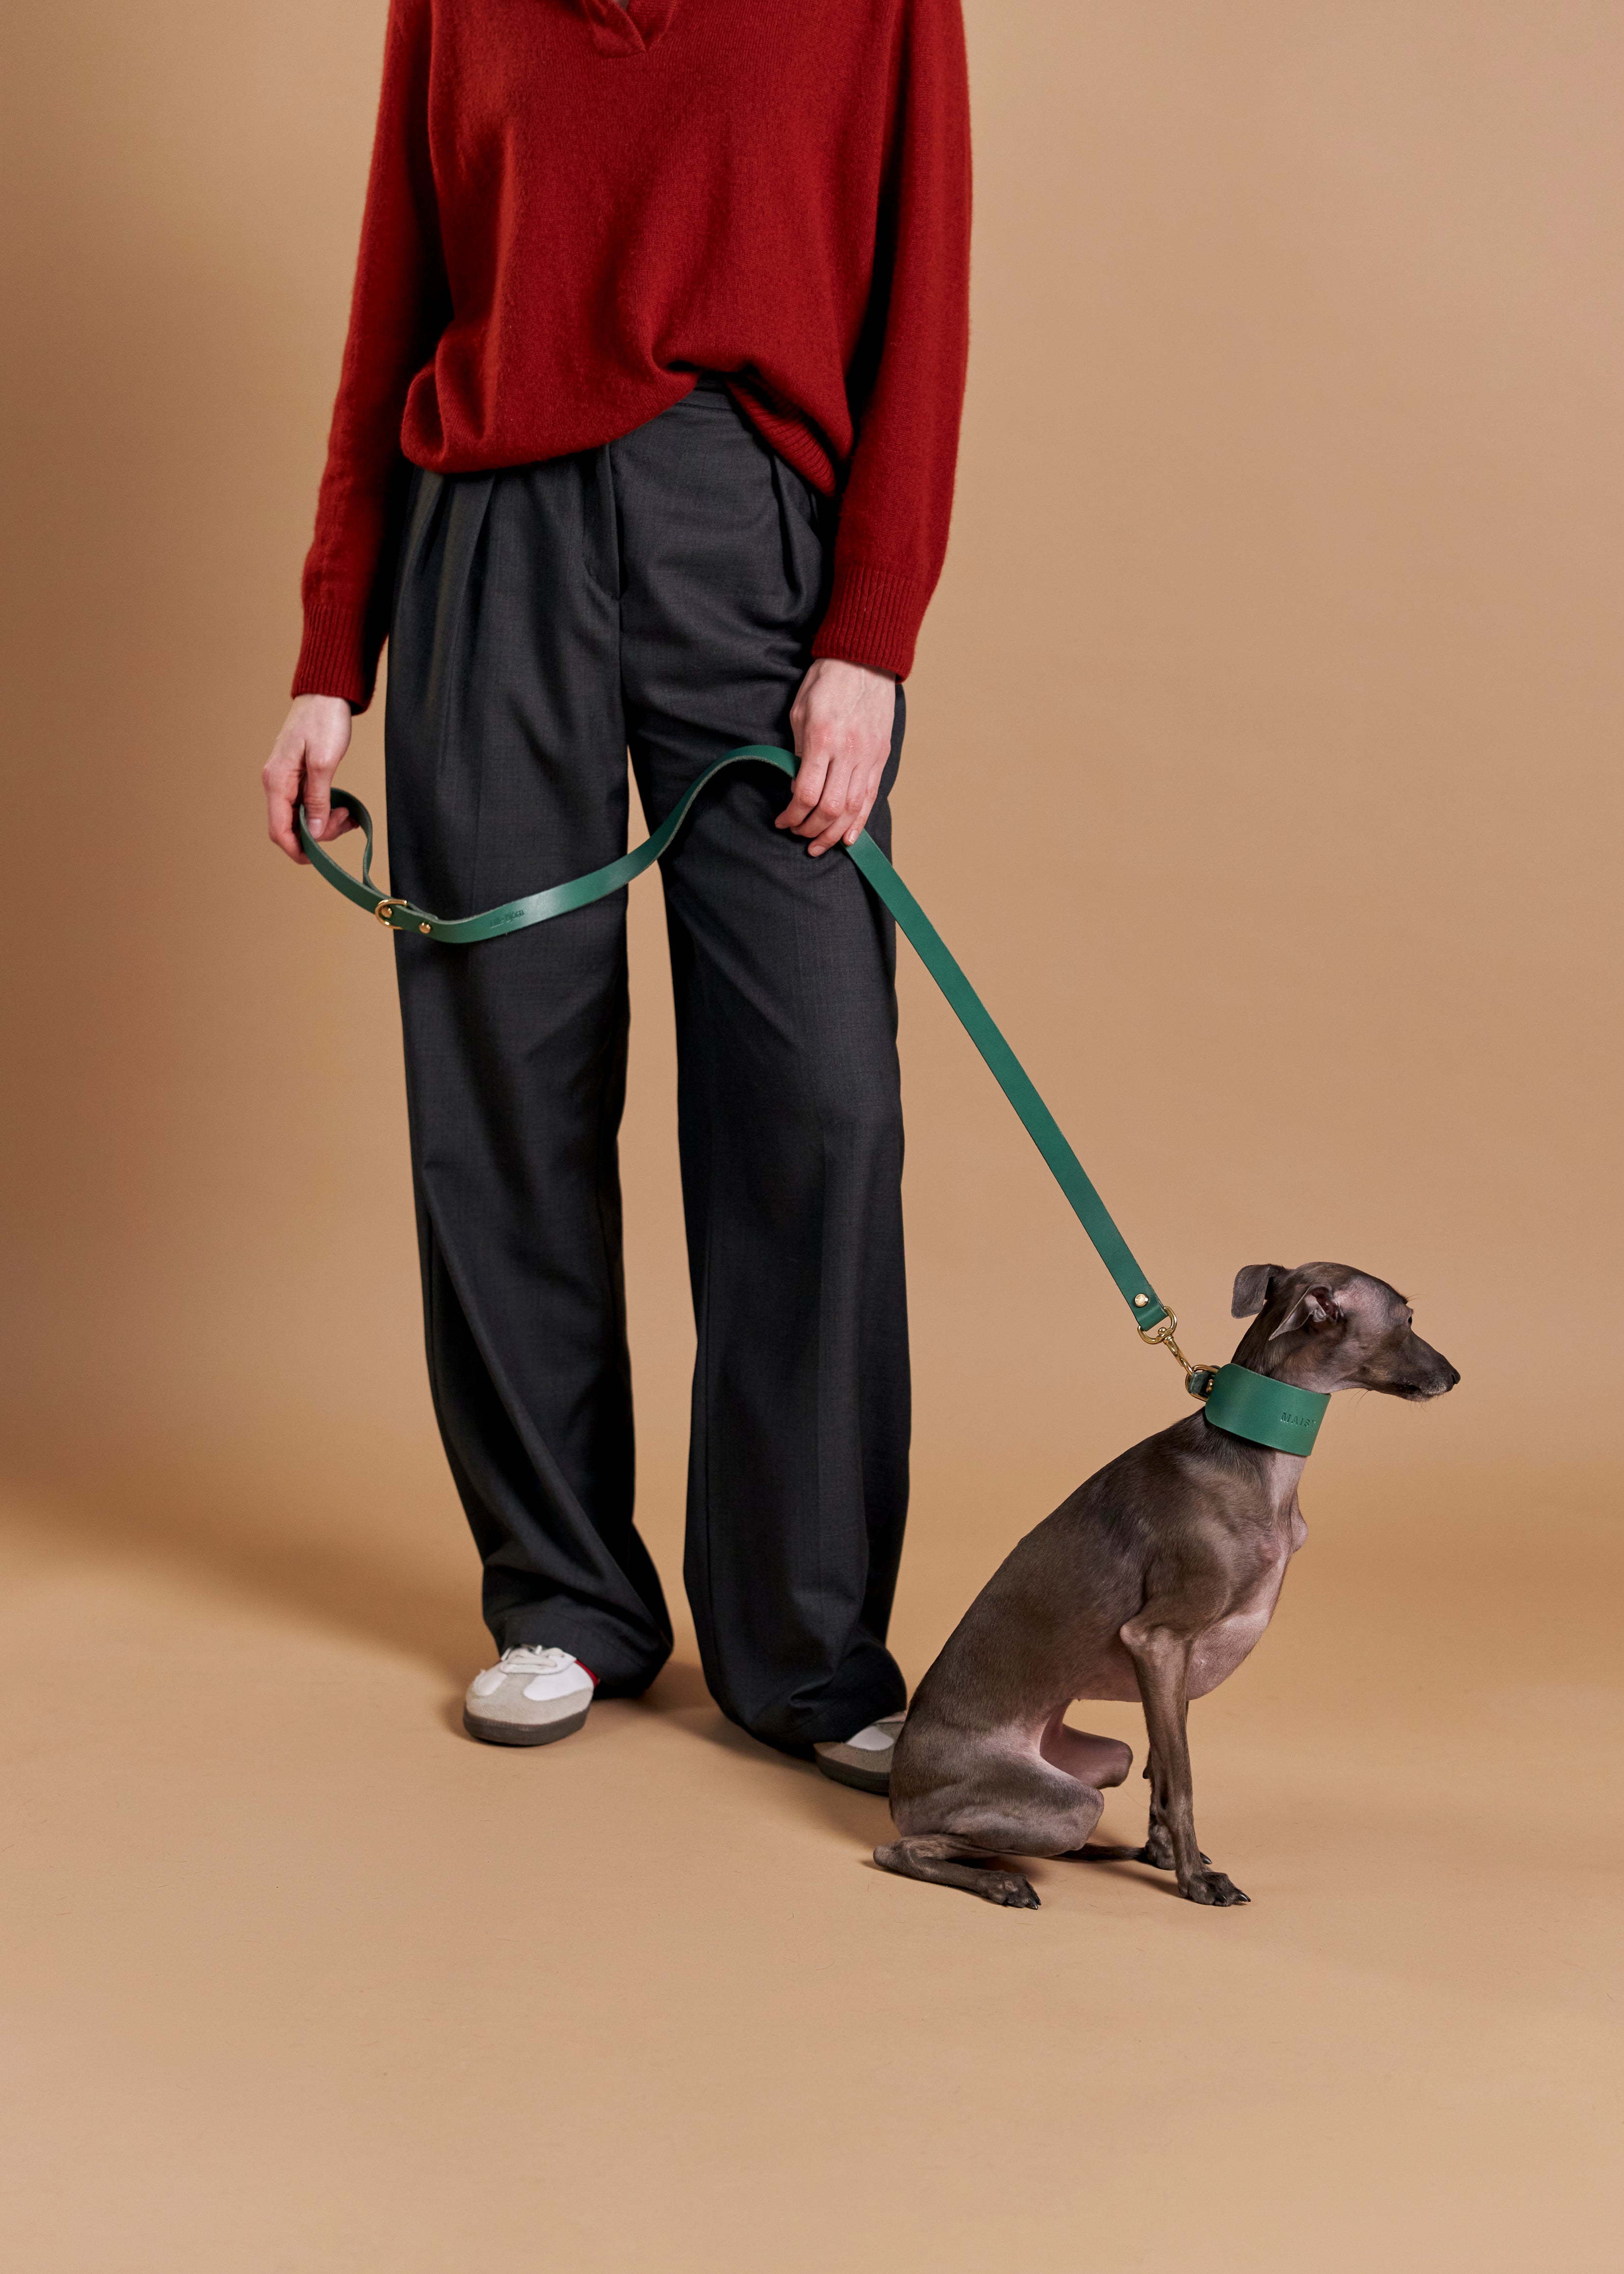
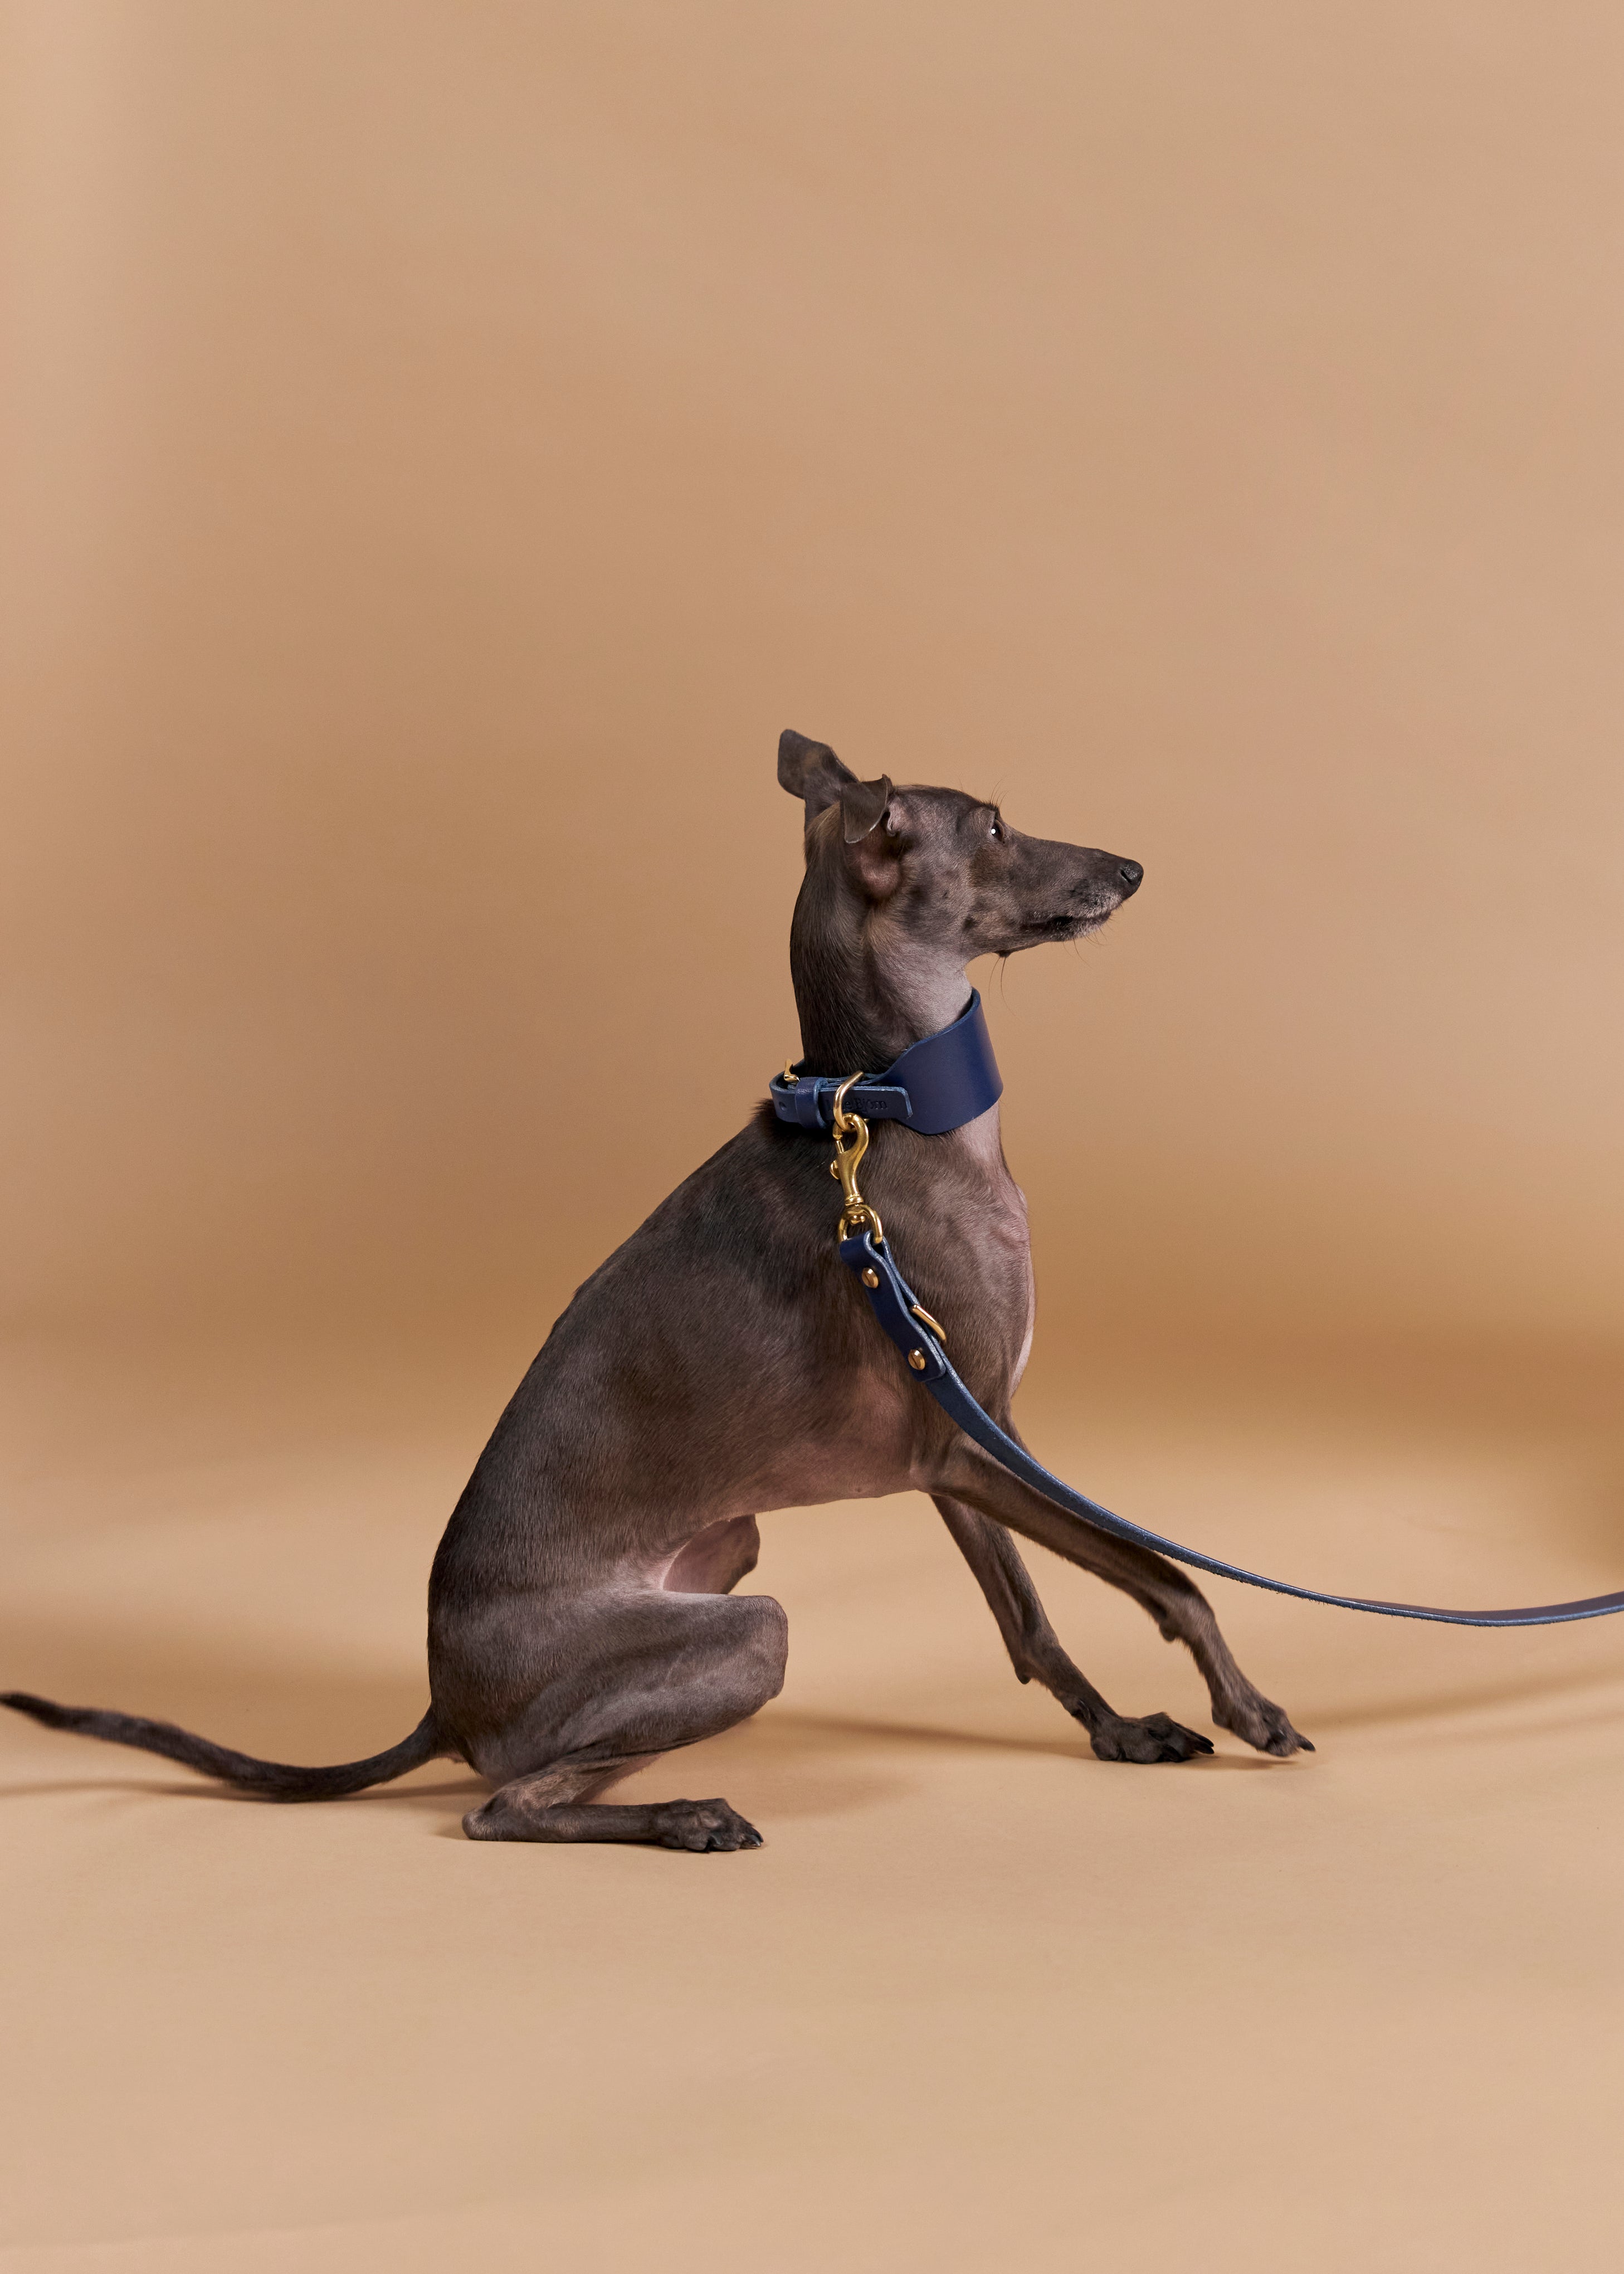
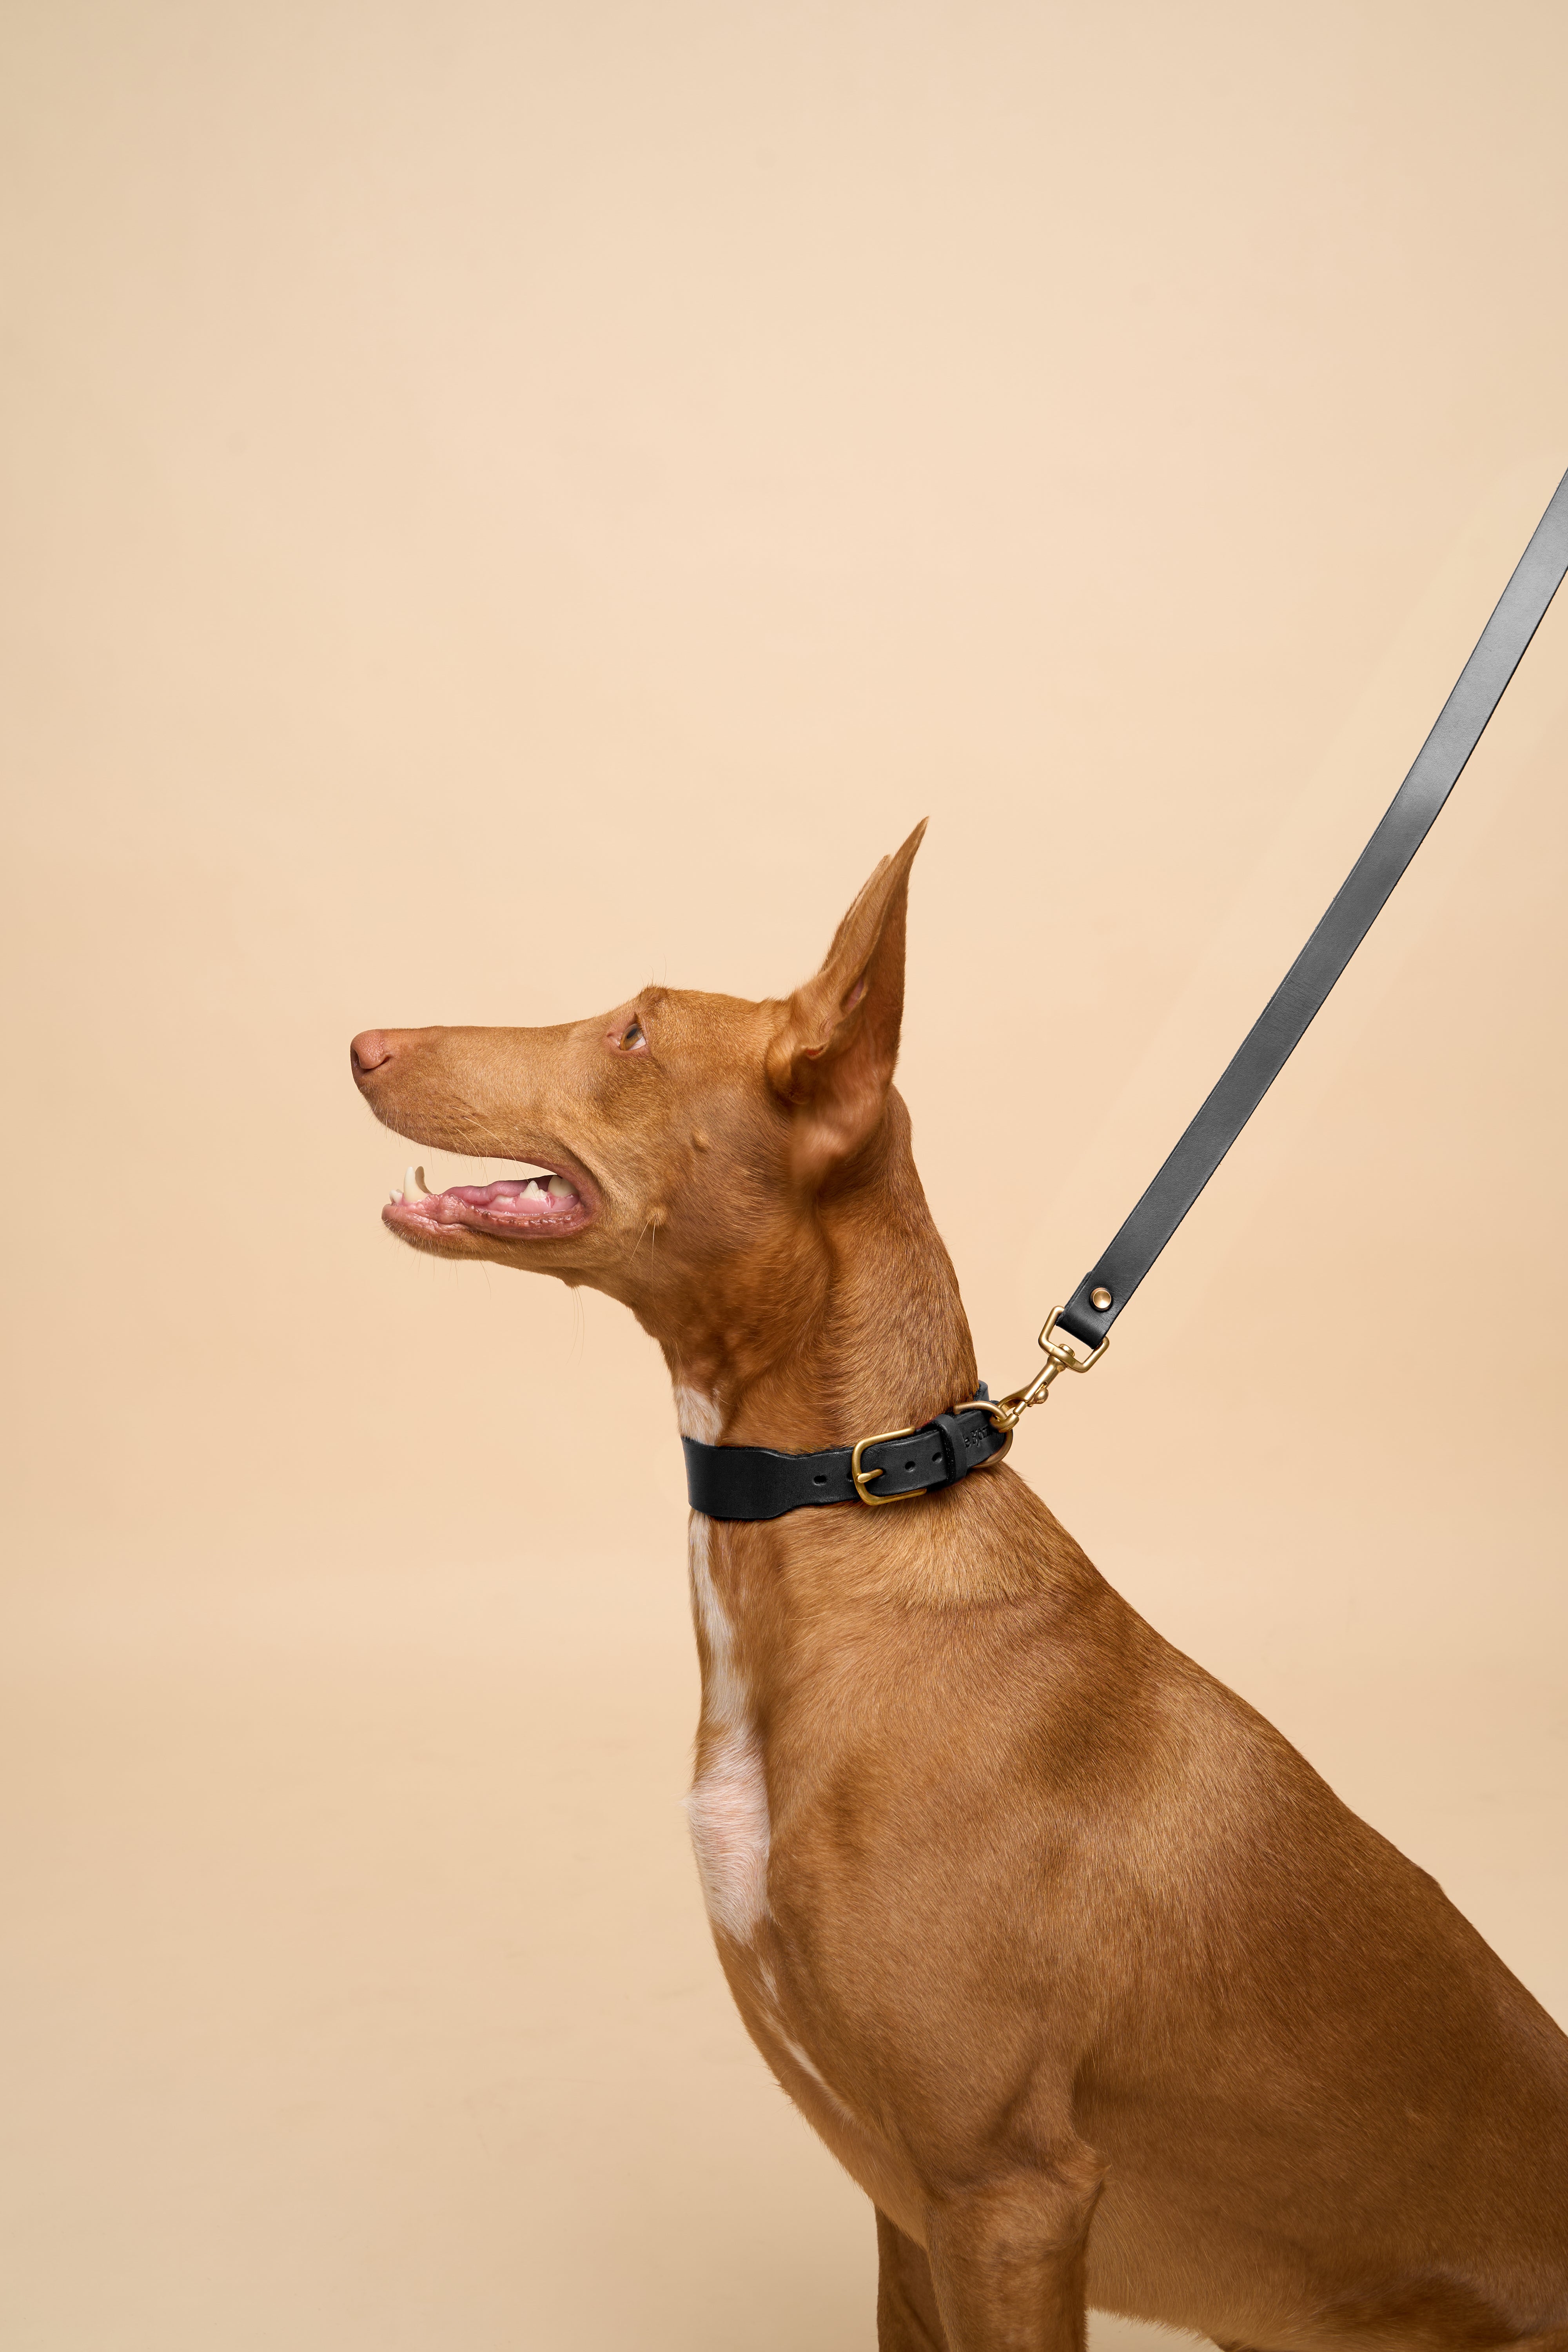
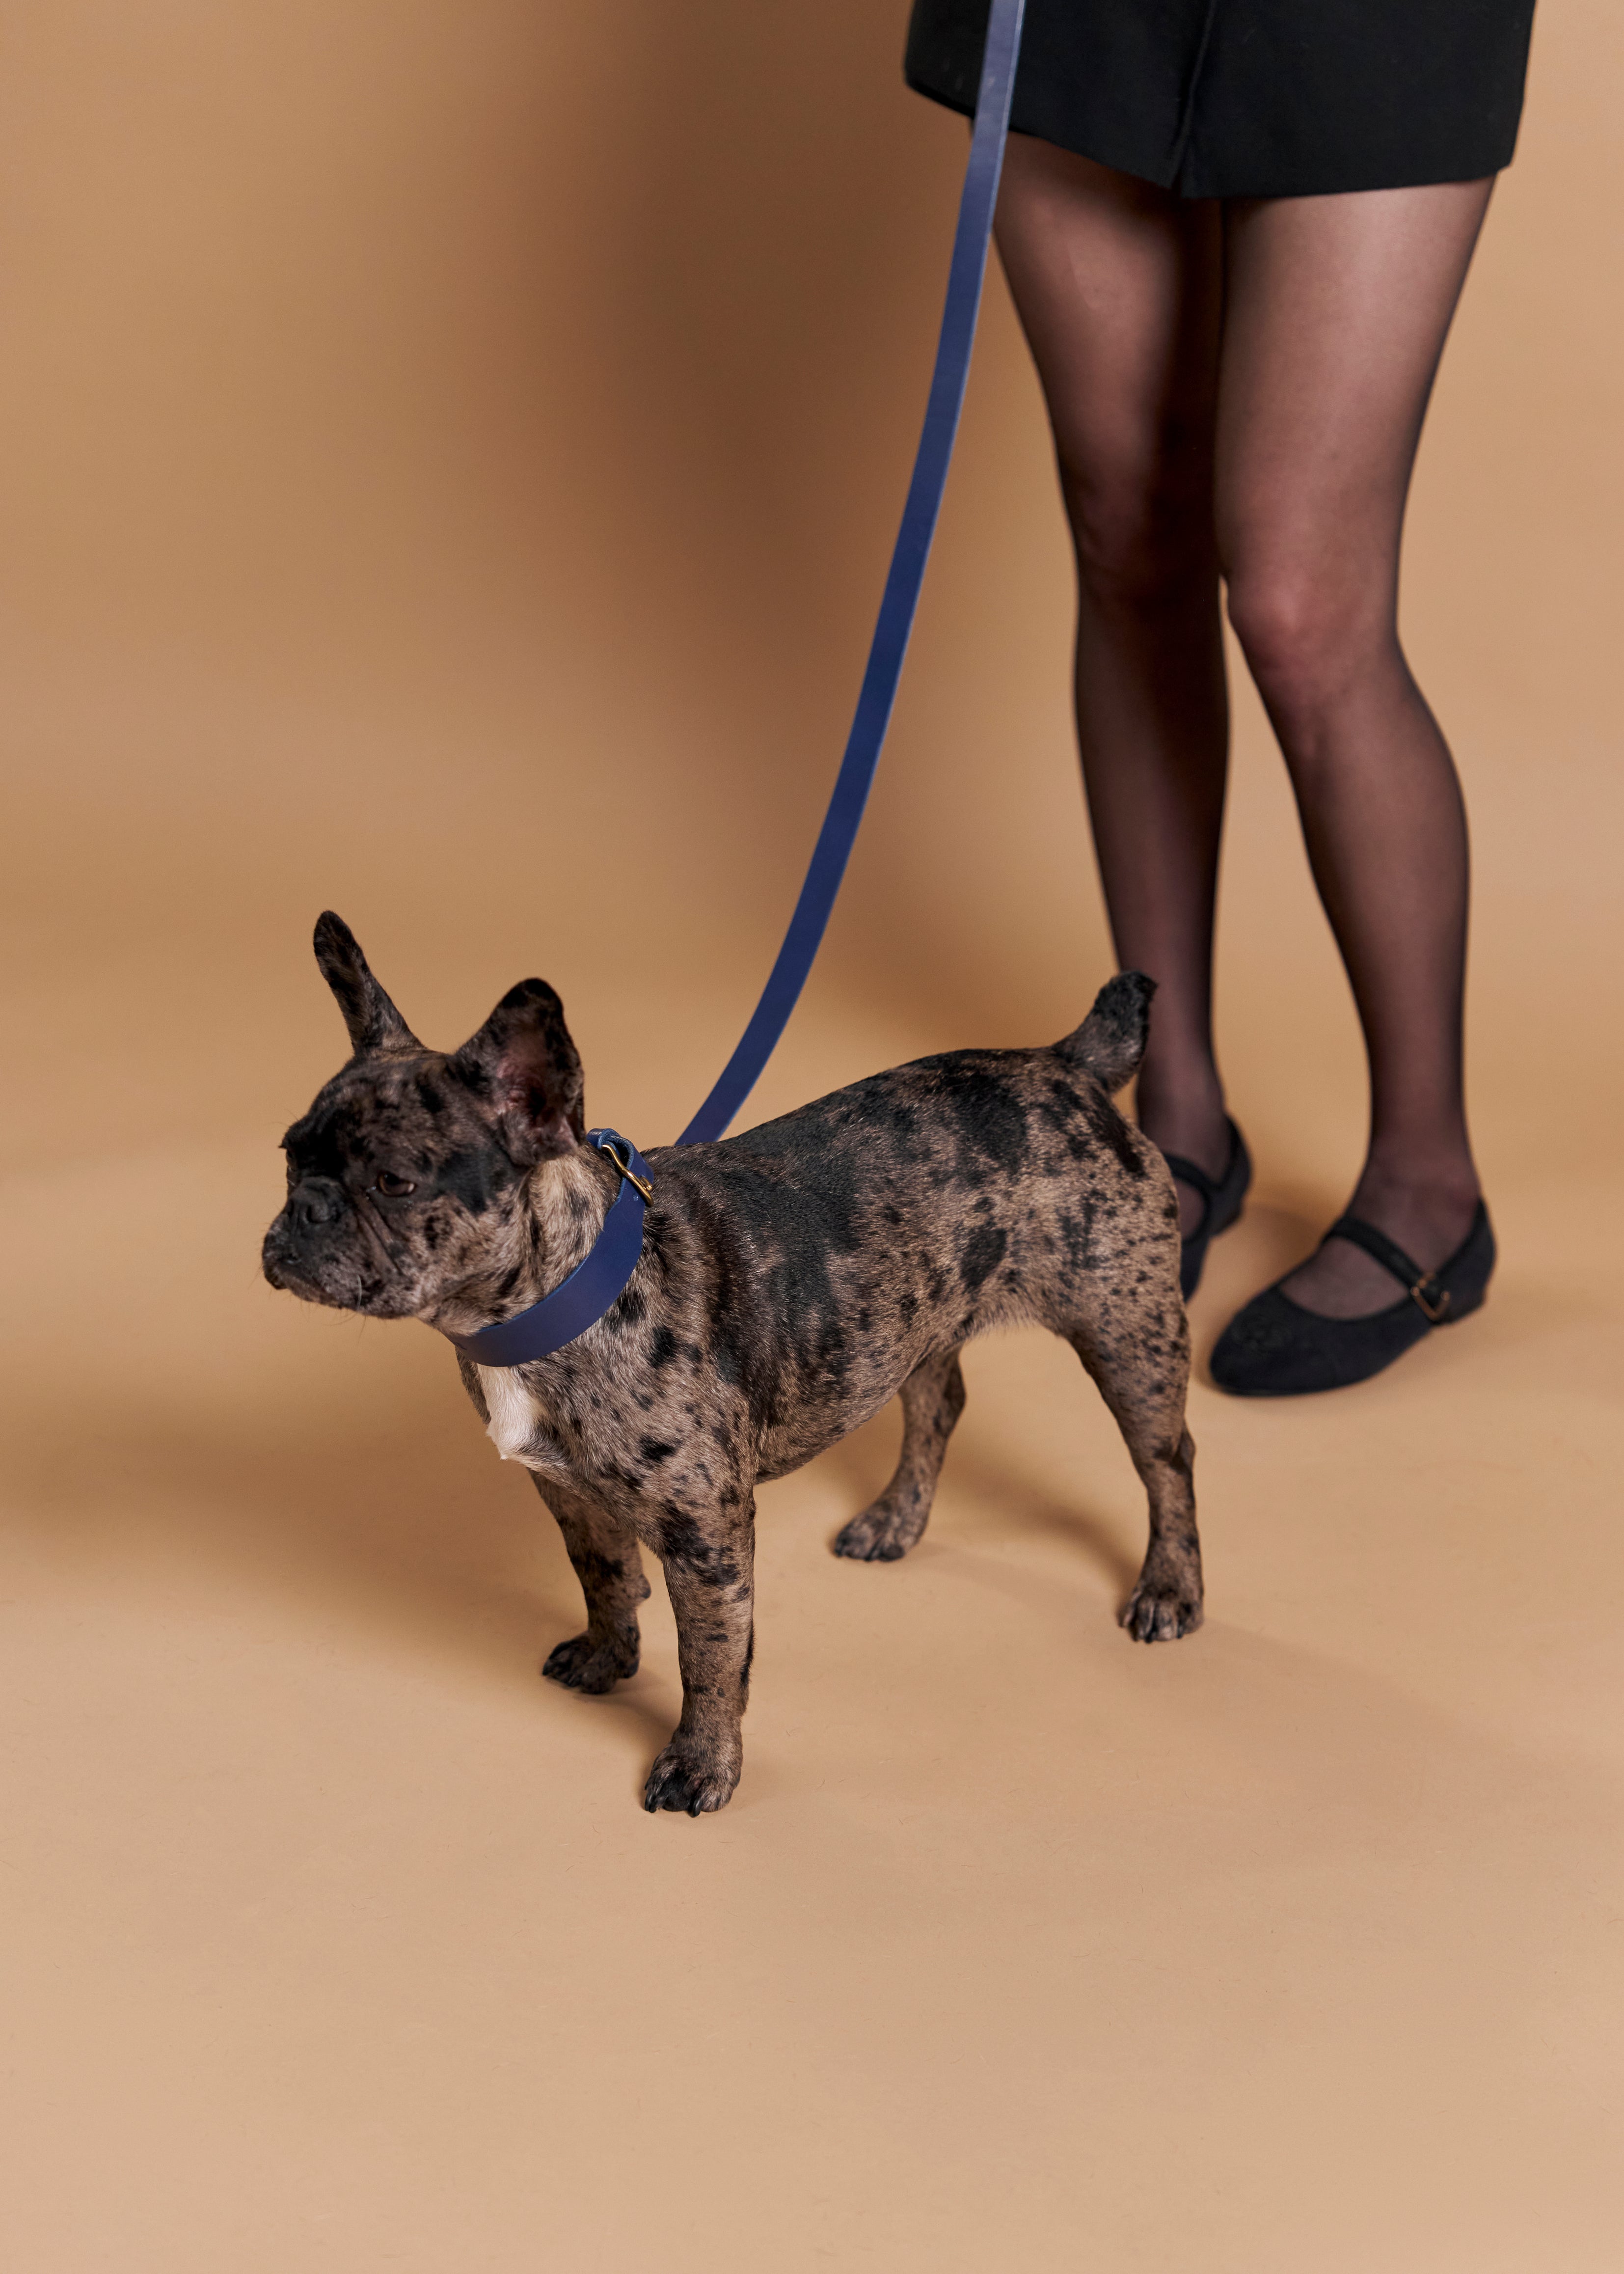
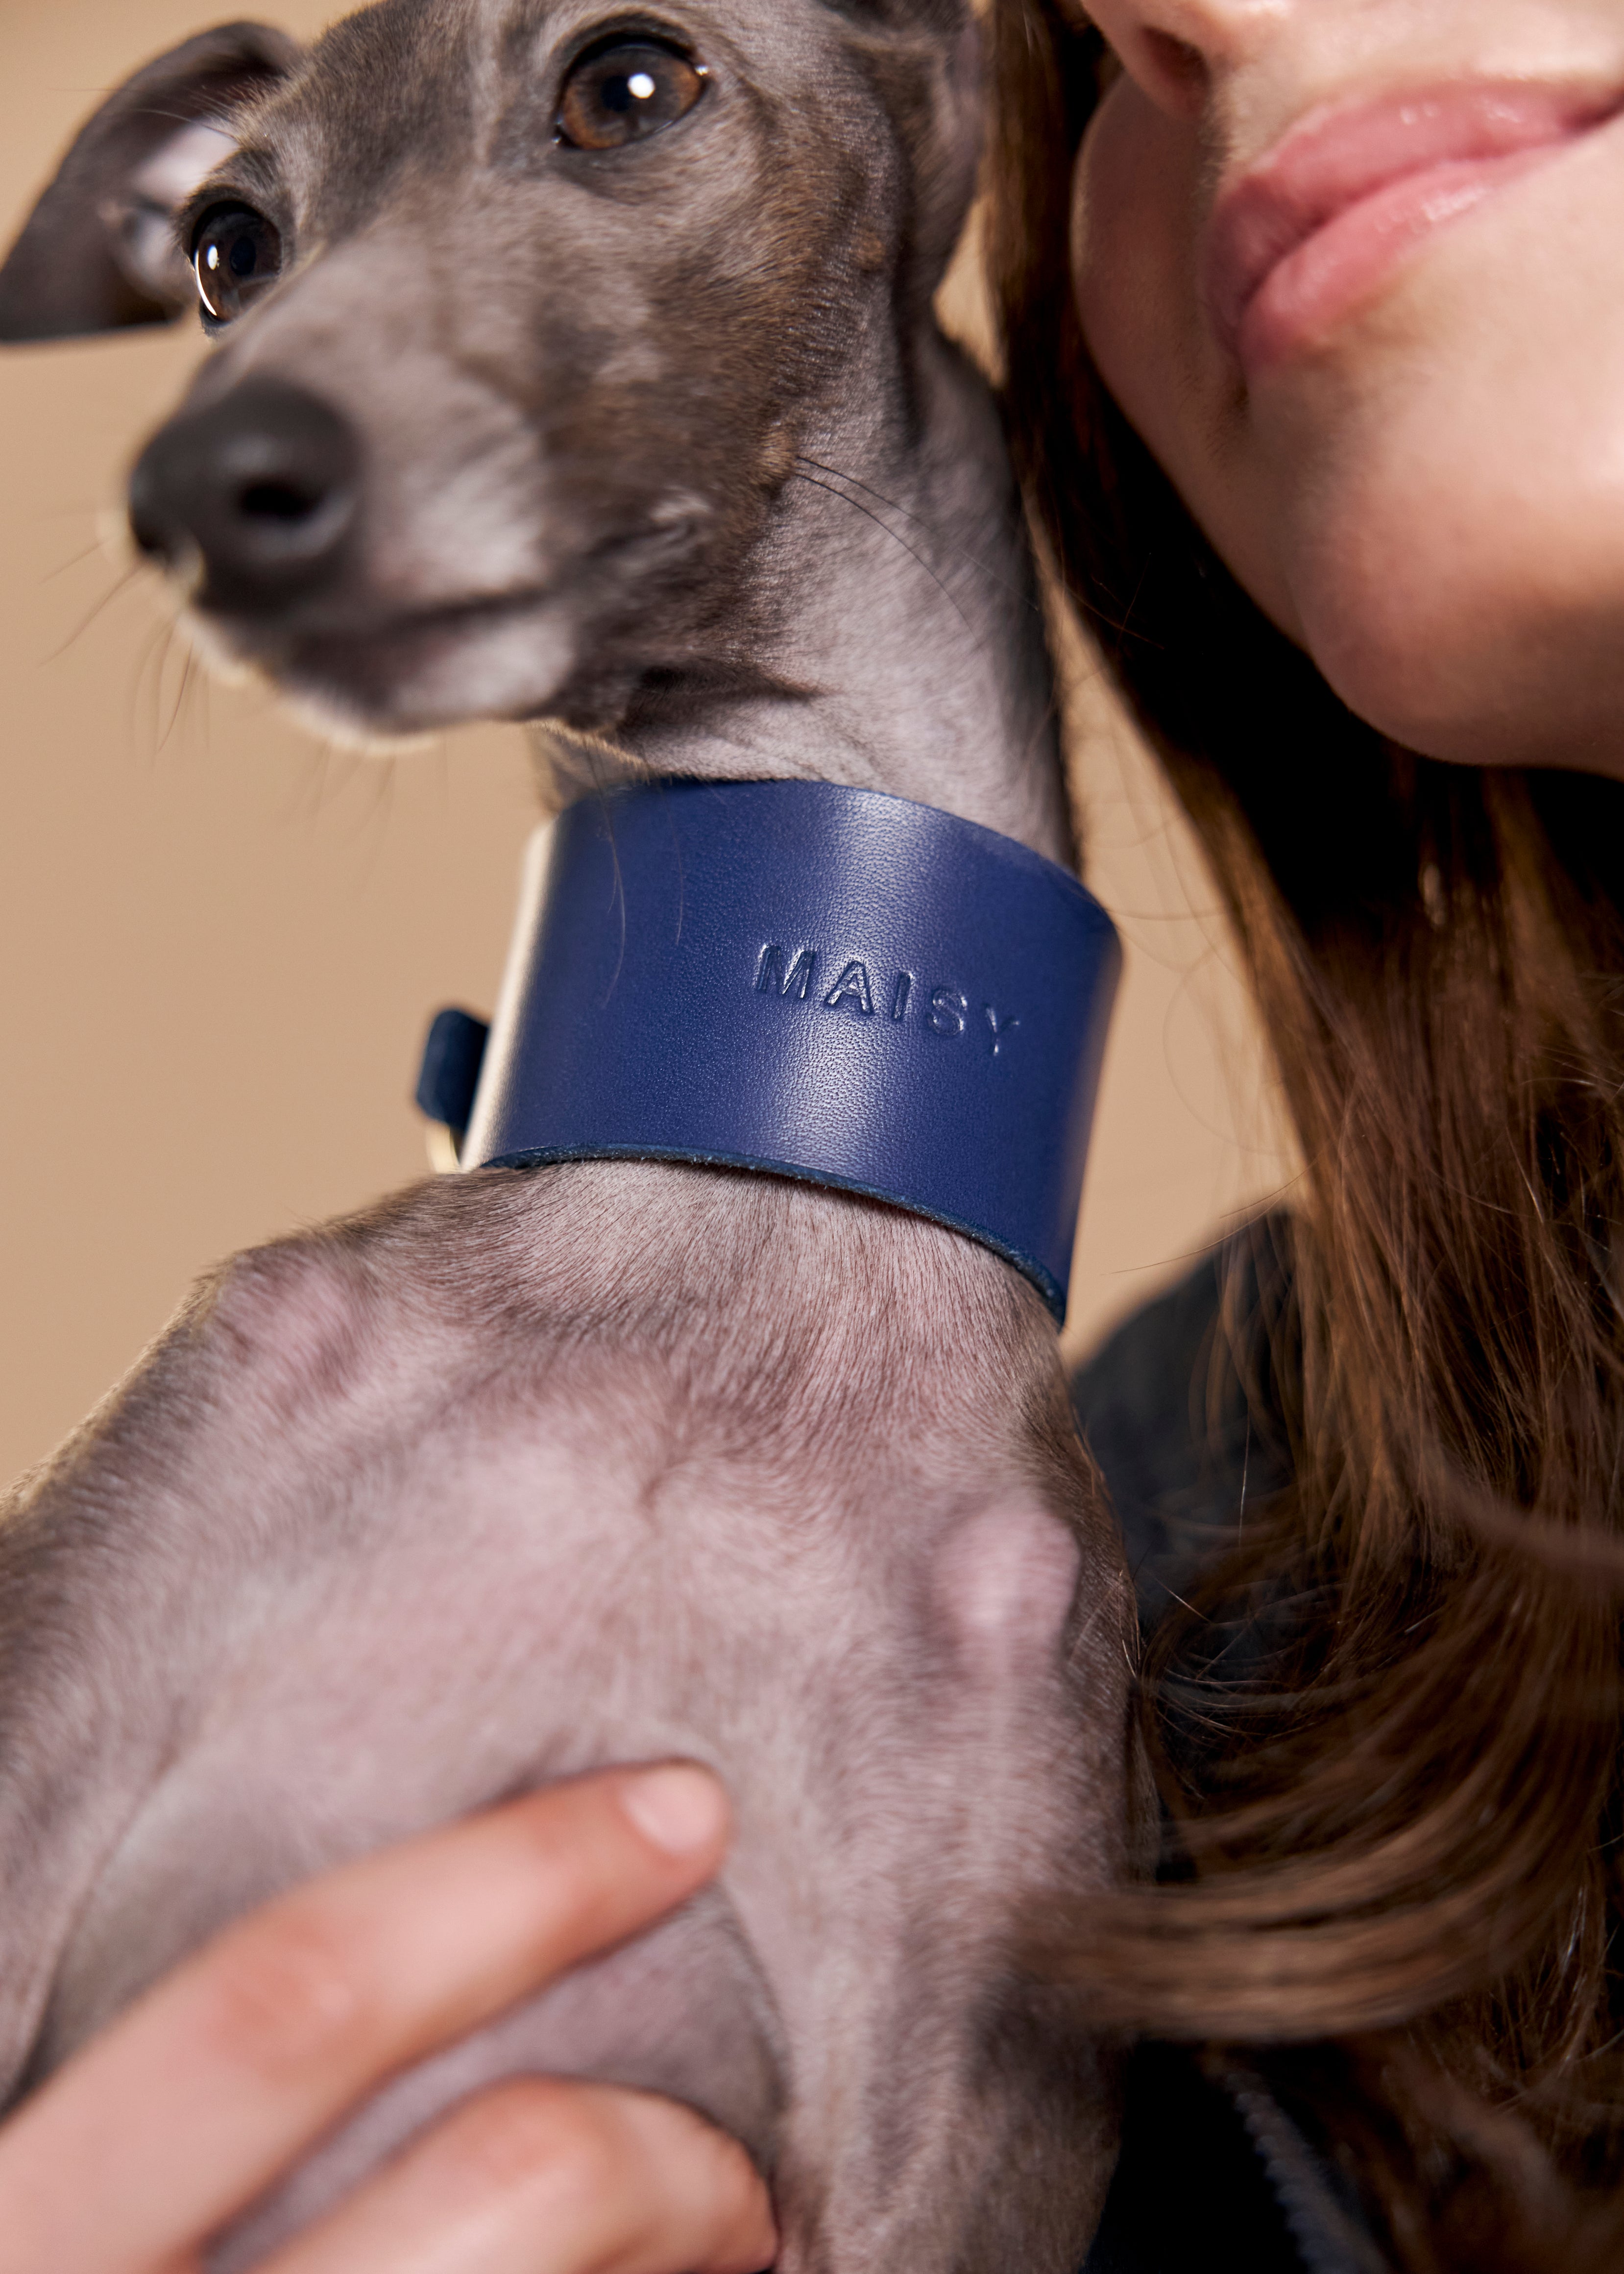
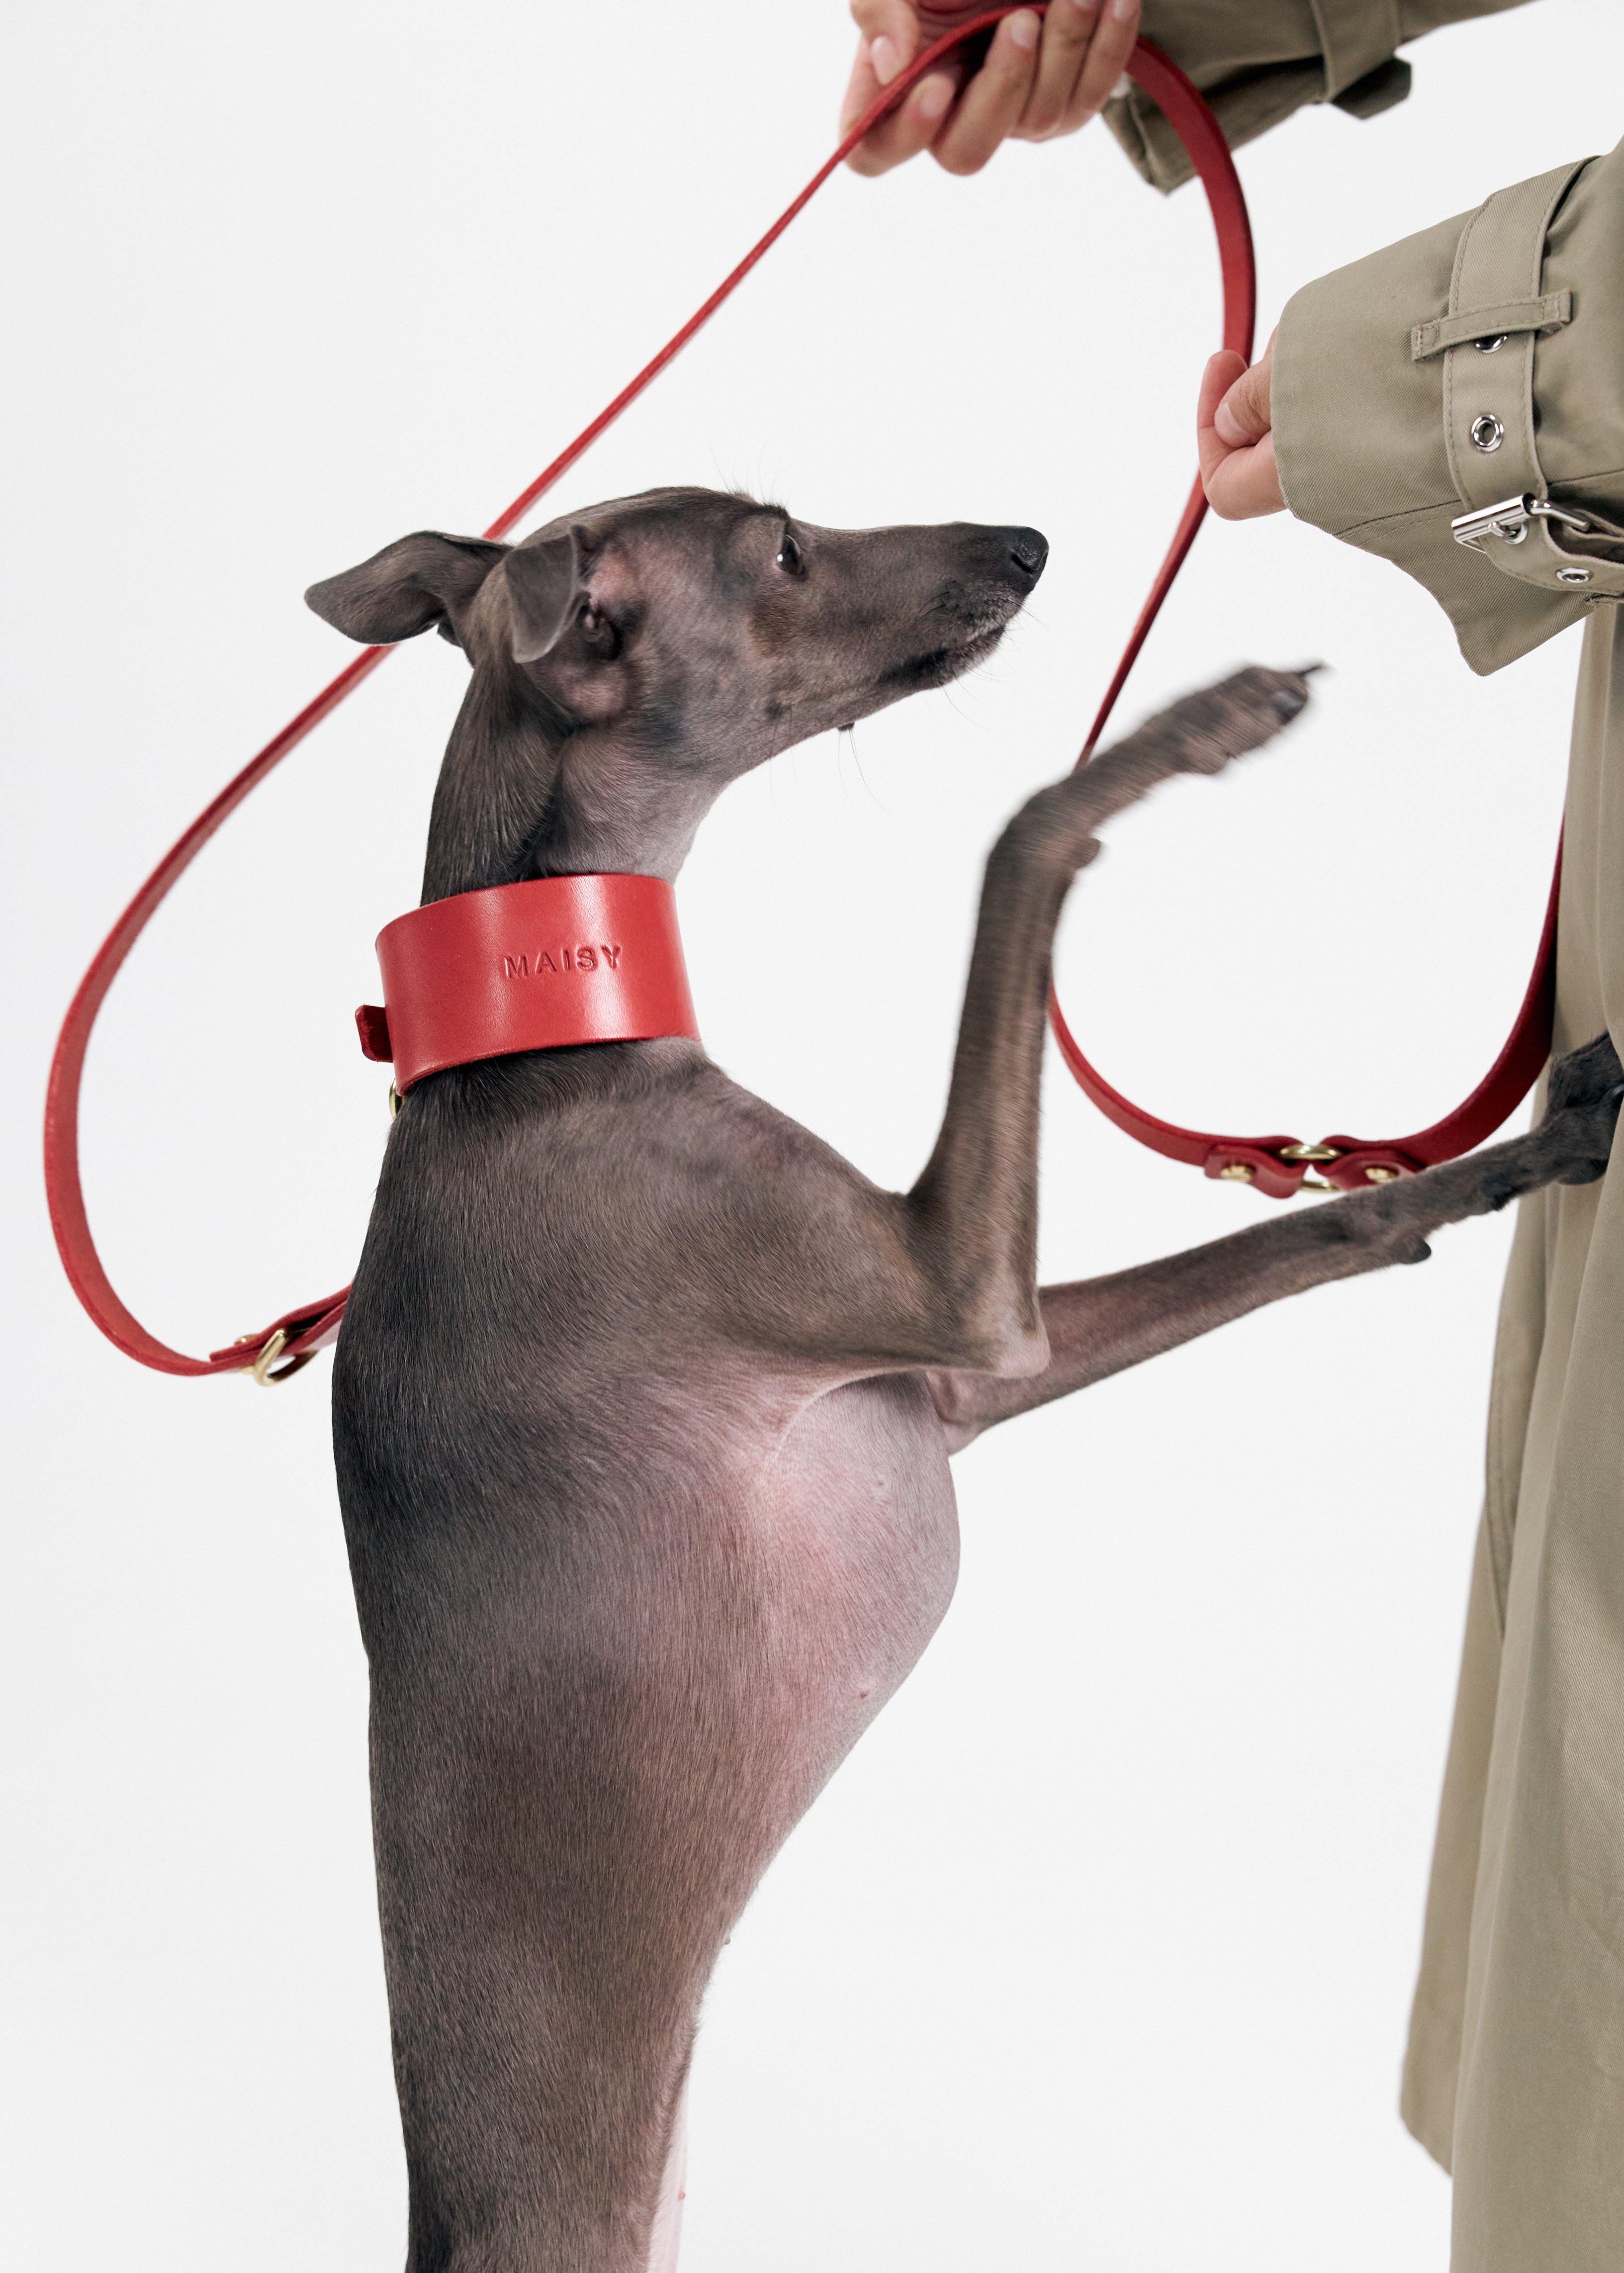
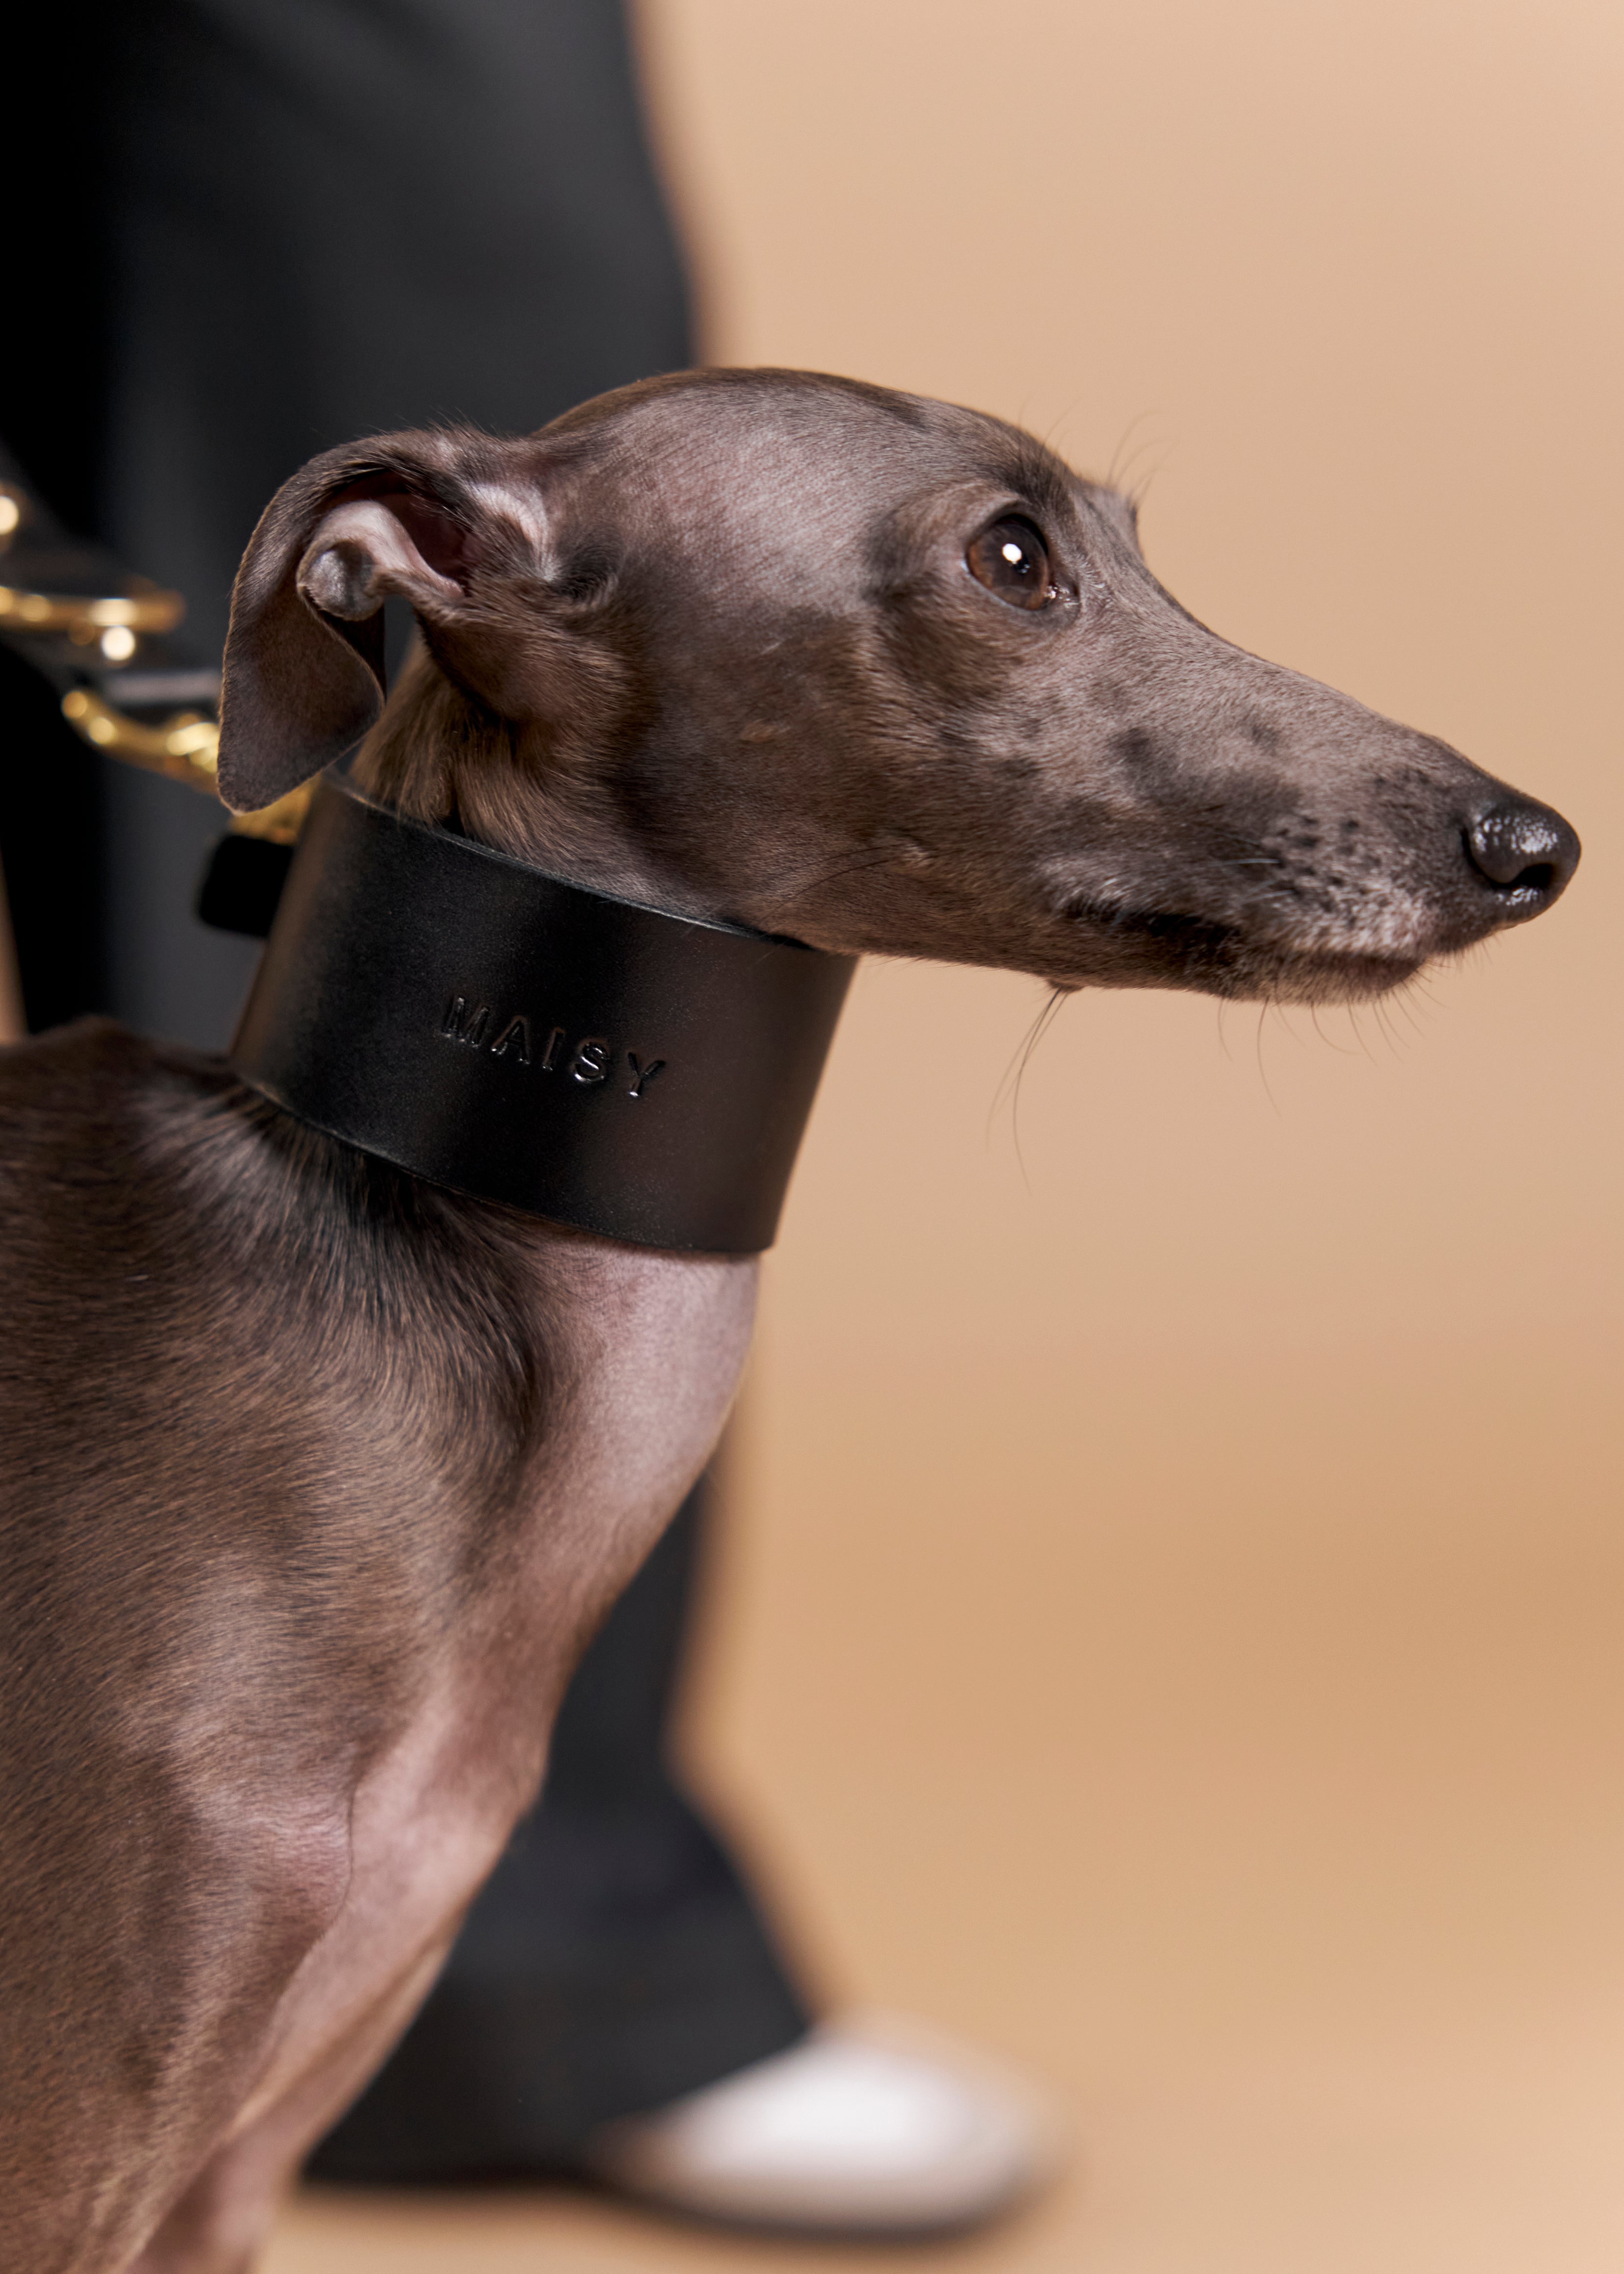
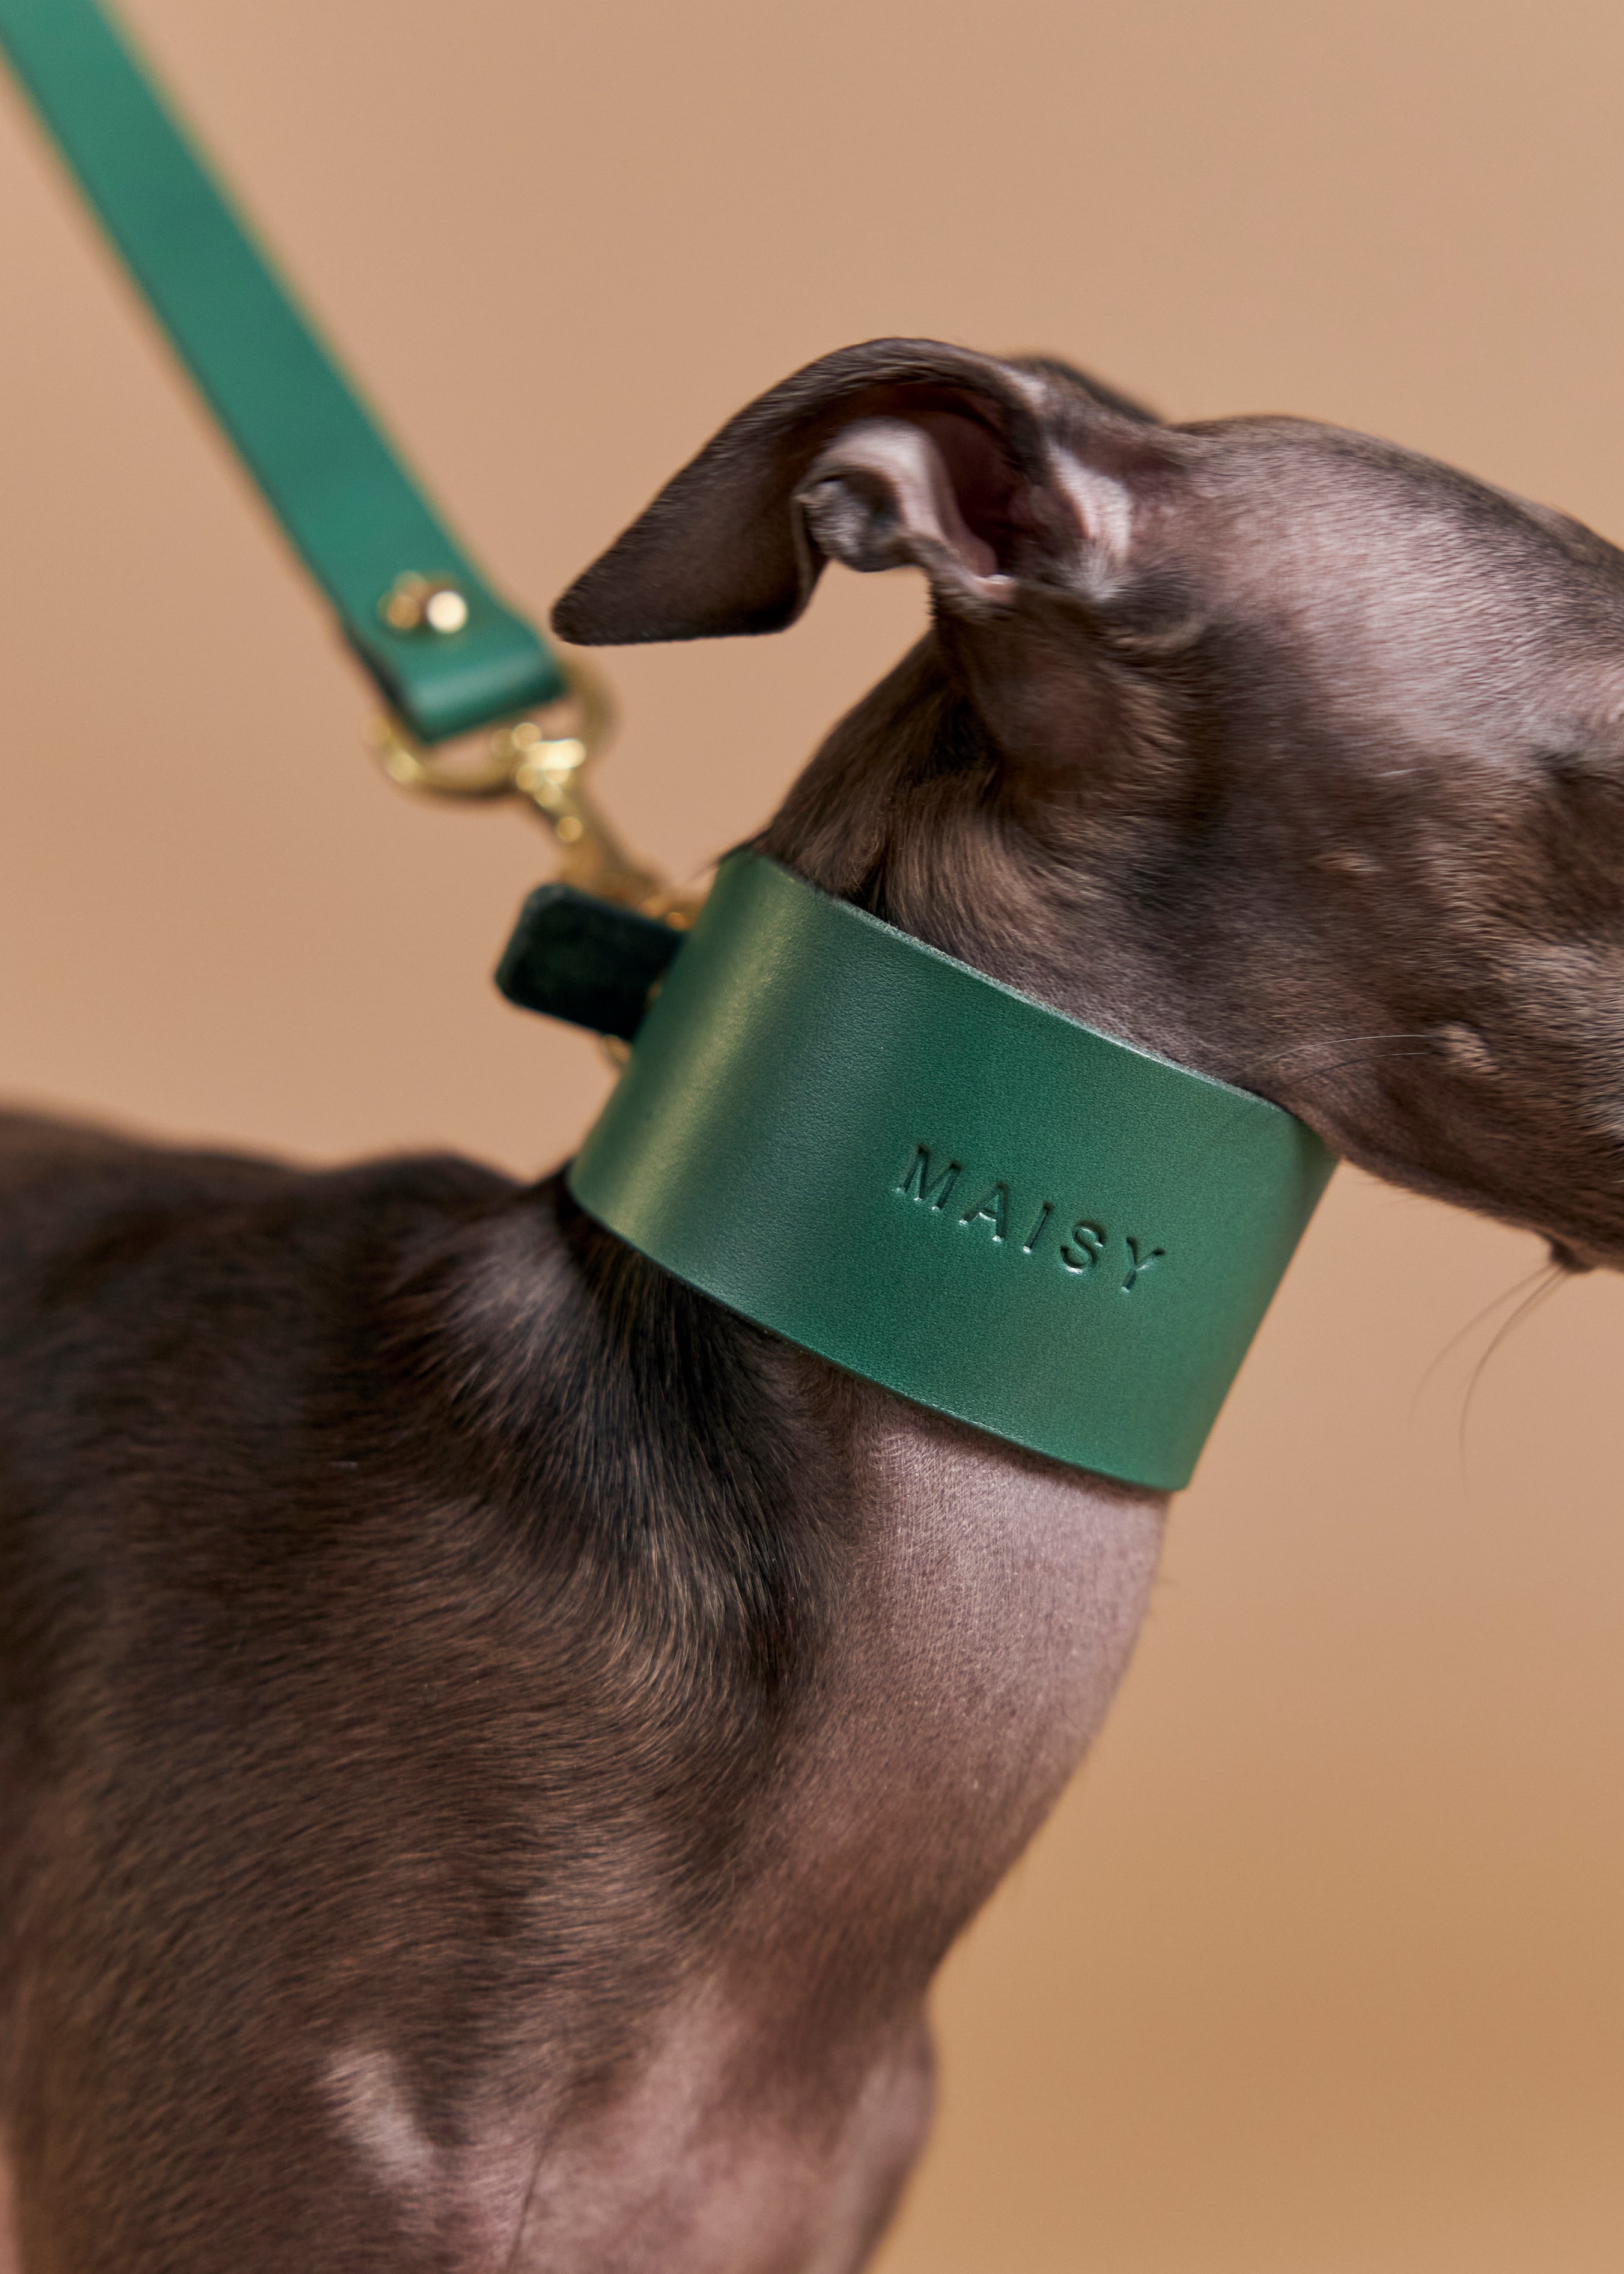
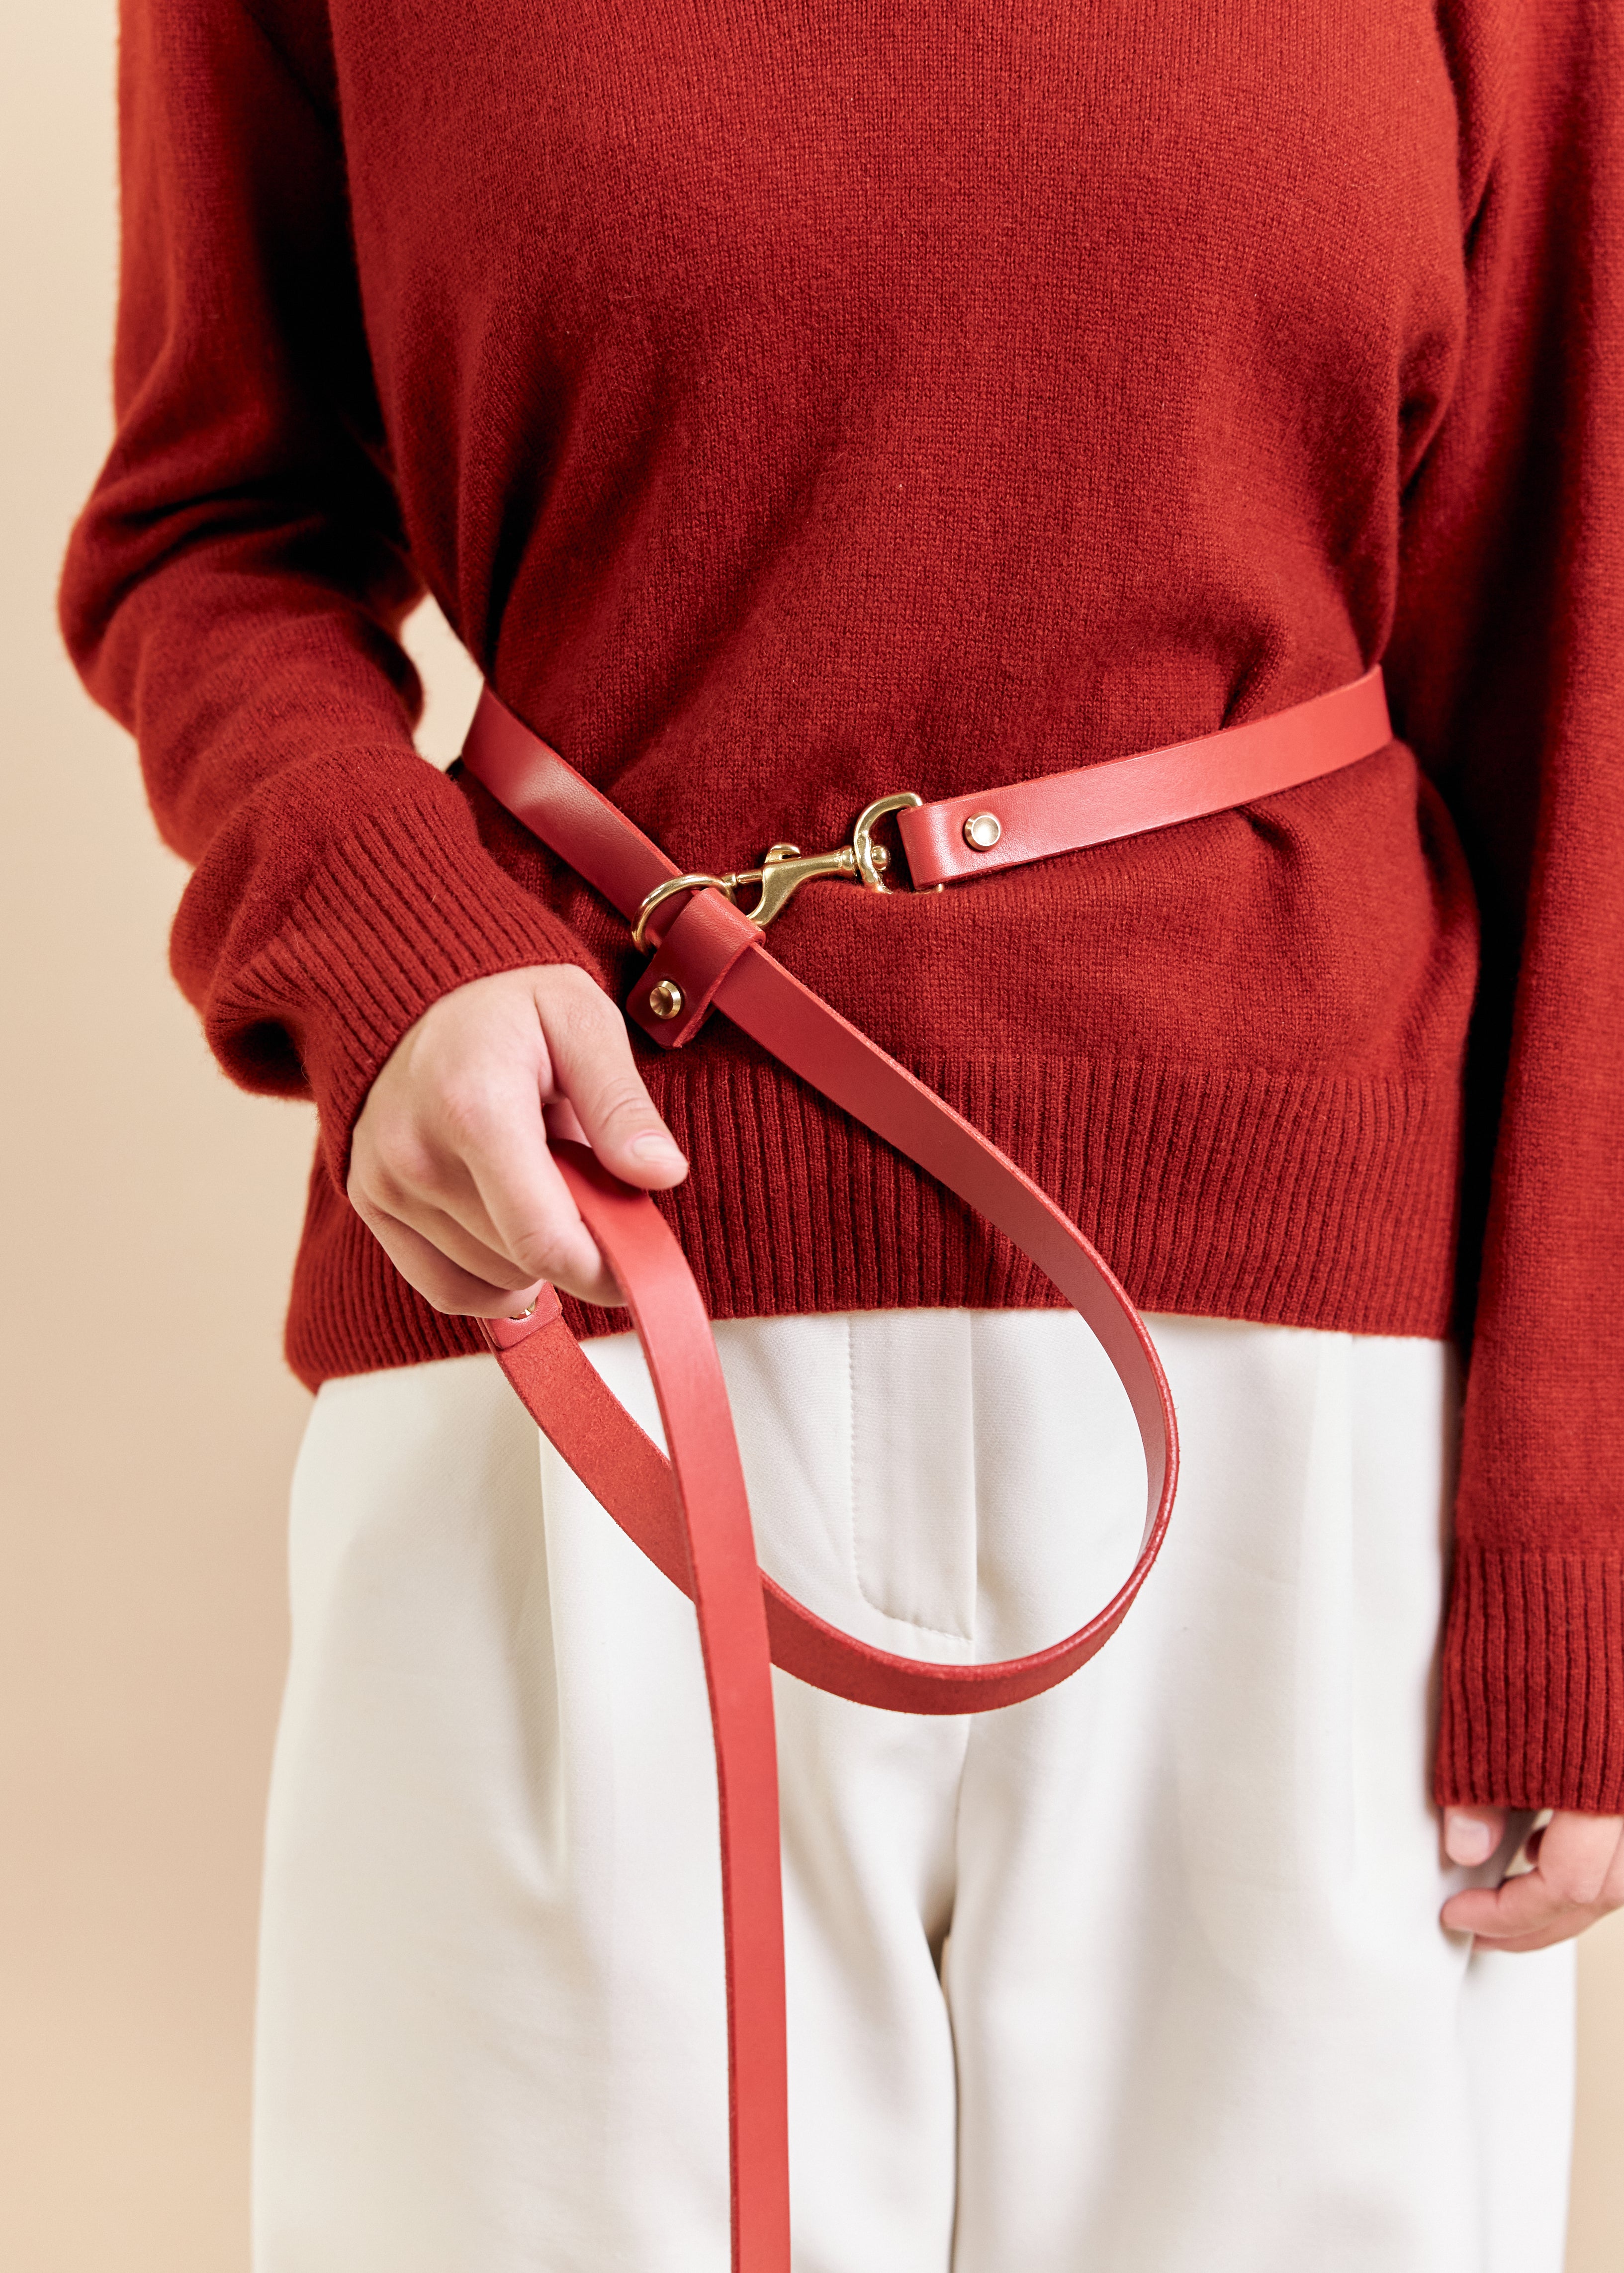
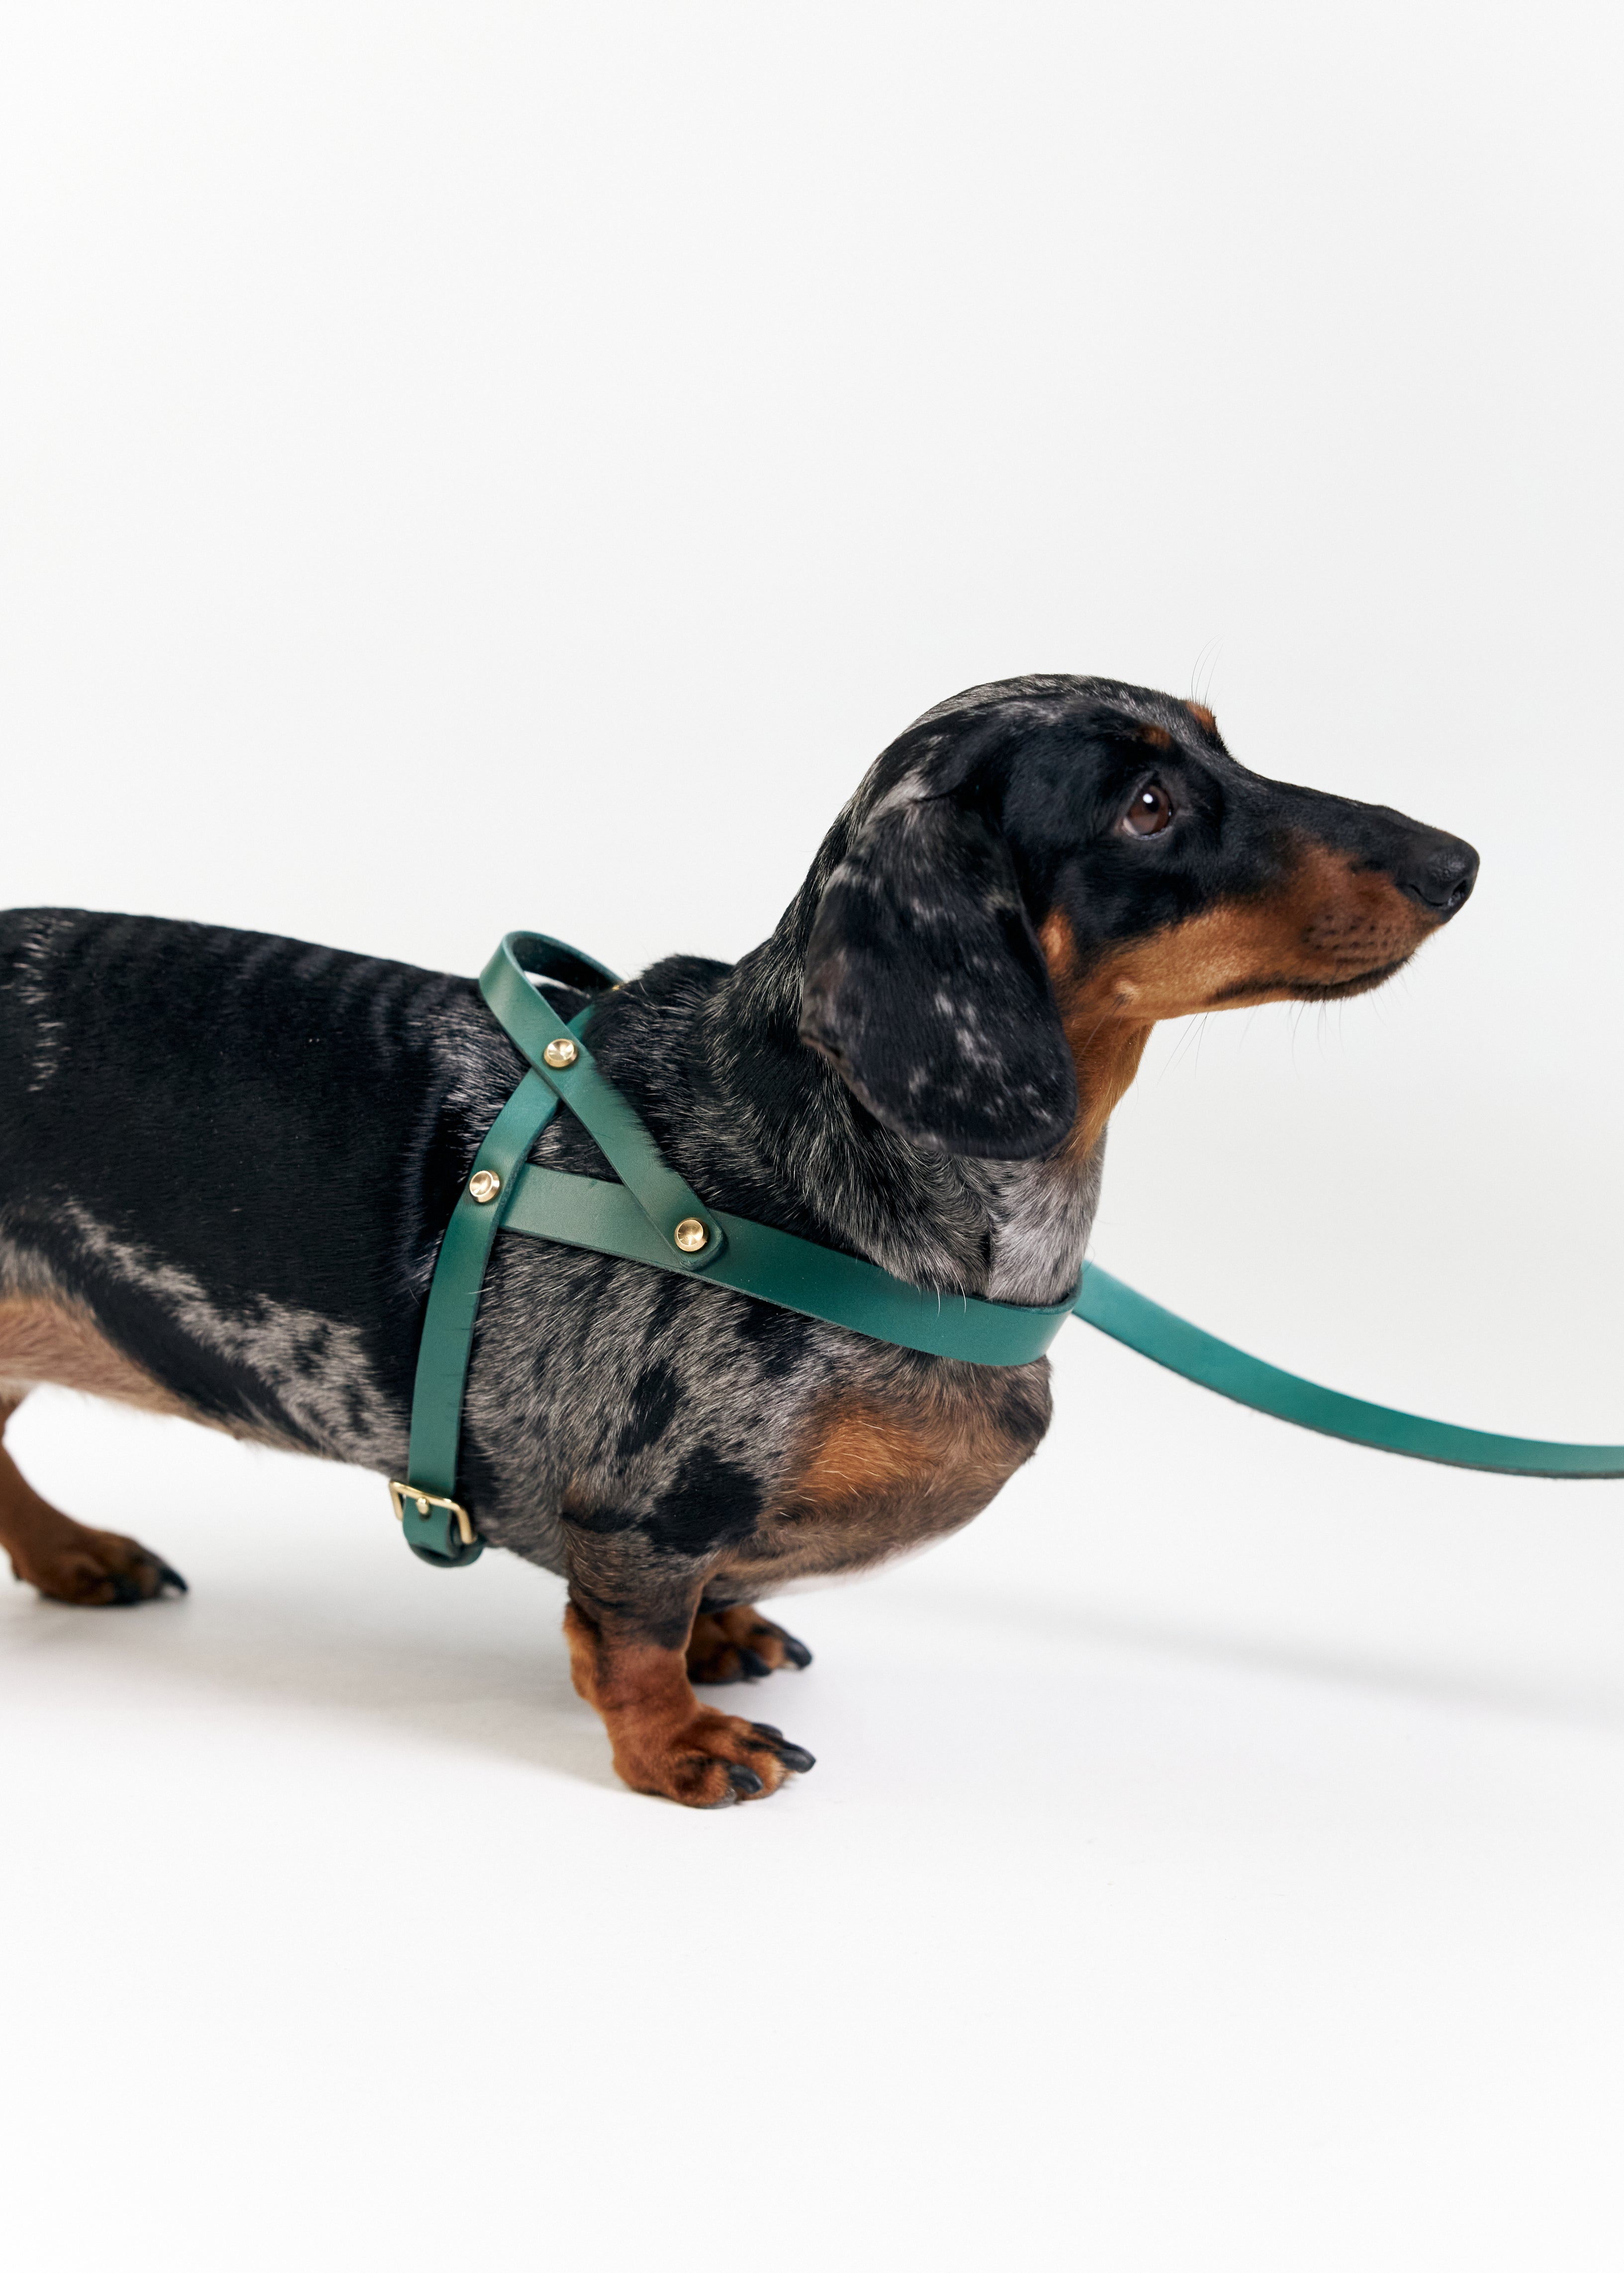
Of course, proper fit and sizing absolutely crucial. If a collar is too tight, it will cause your pup lots of discomfort and even lasting injury, while a collar that is too loose will likely slip off. The ‘two finger rule’ is something that we stand by. If you can fit two of your own fingers snuggly between the collar and your pup’s neck, then you are good to go!
There are a few other factors to consider including things like the weight of the collar itself and how adjustable it is or isn’t. It makes sense that lightweight collars are preferable for small breeds and little puppies, with adjustable options coming into play as they grow.
When you do find a collar that meets all of your dog’s unique requirements, it can be a complete game changer for comfort and safety on your daily walks!
The Two-Finger Rule: How to Know the Fit Is Correct
Before putting the collar on, measure your dog’s neck correctly: wrap a soft tape measure snugly around the middle of the neck where the collar will naturally sit. That measurement is your size on The Lille Björn chart directly.
After buckling: slide two flat fingers between the collar and your dog’s neck. Two fingers with light resistance is the correct fit. Cannot fit two fingers then it is too tight, loosen or size up. Two fingers slide through easily and the collar rotates freely then it is too loose, tighten or size down.
For a complete measurement walkthrough, see our dog collar measuring guide.
Step-by-Step: How to Put a Collar on a Dog
Okay, so let’s get back to the business of actually putting on the collar when you’ve selected it! This doesn’t have to be a stressful task at all. Follow these steps and we promise that you won’t have to endure any pre-walk drama with your canine companion.
Step 1: Air Out the Collar
Before you even think about introducing the collar to your dog, make sure to air it out. New collars can retain some strong smells from their manufacture or packaging, and this could bother the sensitive nose of your pup. Leave it out for at least a couple of days to help neutralize the odors.
Step 2: Introduce the Collar Gradually
Start slow. Let your dog sniff the collar and maybe place it near their bedding areas and favorite spots around the home. That way, they can sniff and investigate at their own pace. It’s really important not to try to force the collar on immediately, because this is the number one way to create resistance and anxiety.

Step 3: Use High-Value Treats
Dogs always respond really well to positive-reinforcement training. Your pup will definitely have a list of favorite treats, and use them to start associating the collar with tasty outcomes for them! Every time they interact well with the collar, make sure to reward them with a treat and some verbal praise.
Step 4: Create a Calm Environment
If you have a pup that is prone to either overexcitement or nervousness, then it's a good idea to try and create a calm environment before you attempt to put the collar on them. Simple things like sitting quietly with them and engaging in some gentle petting can help to relax them before you try.
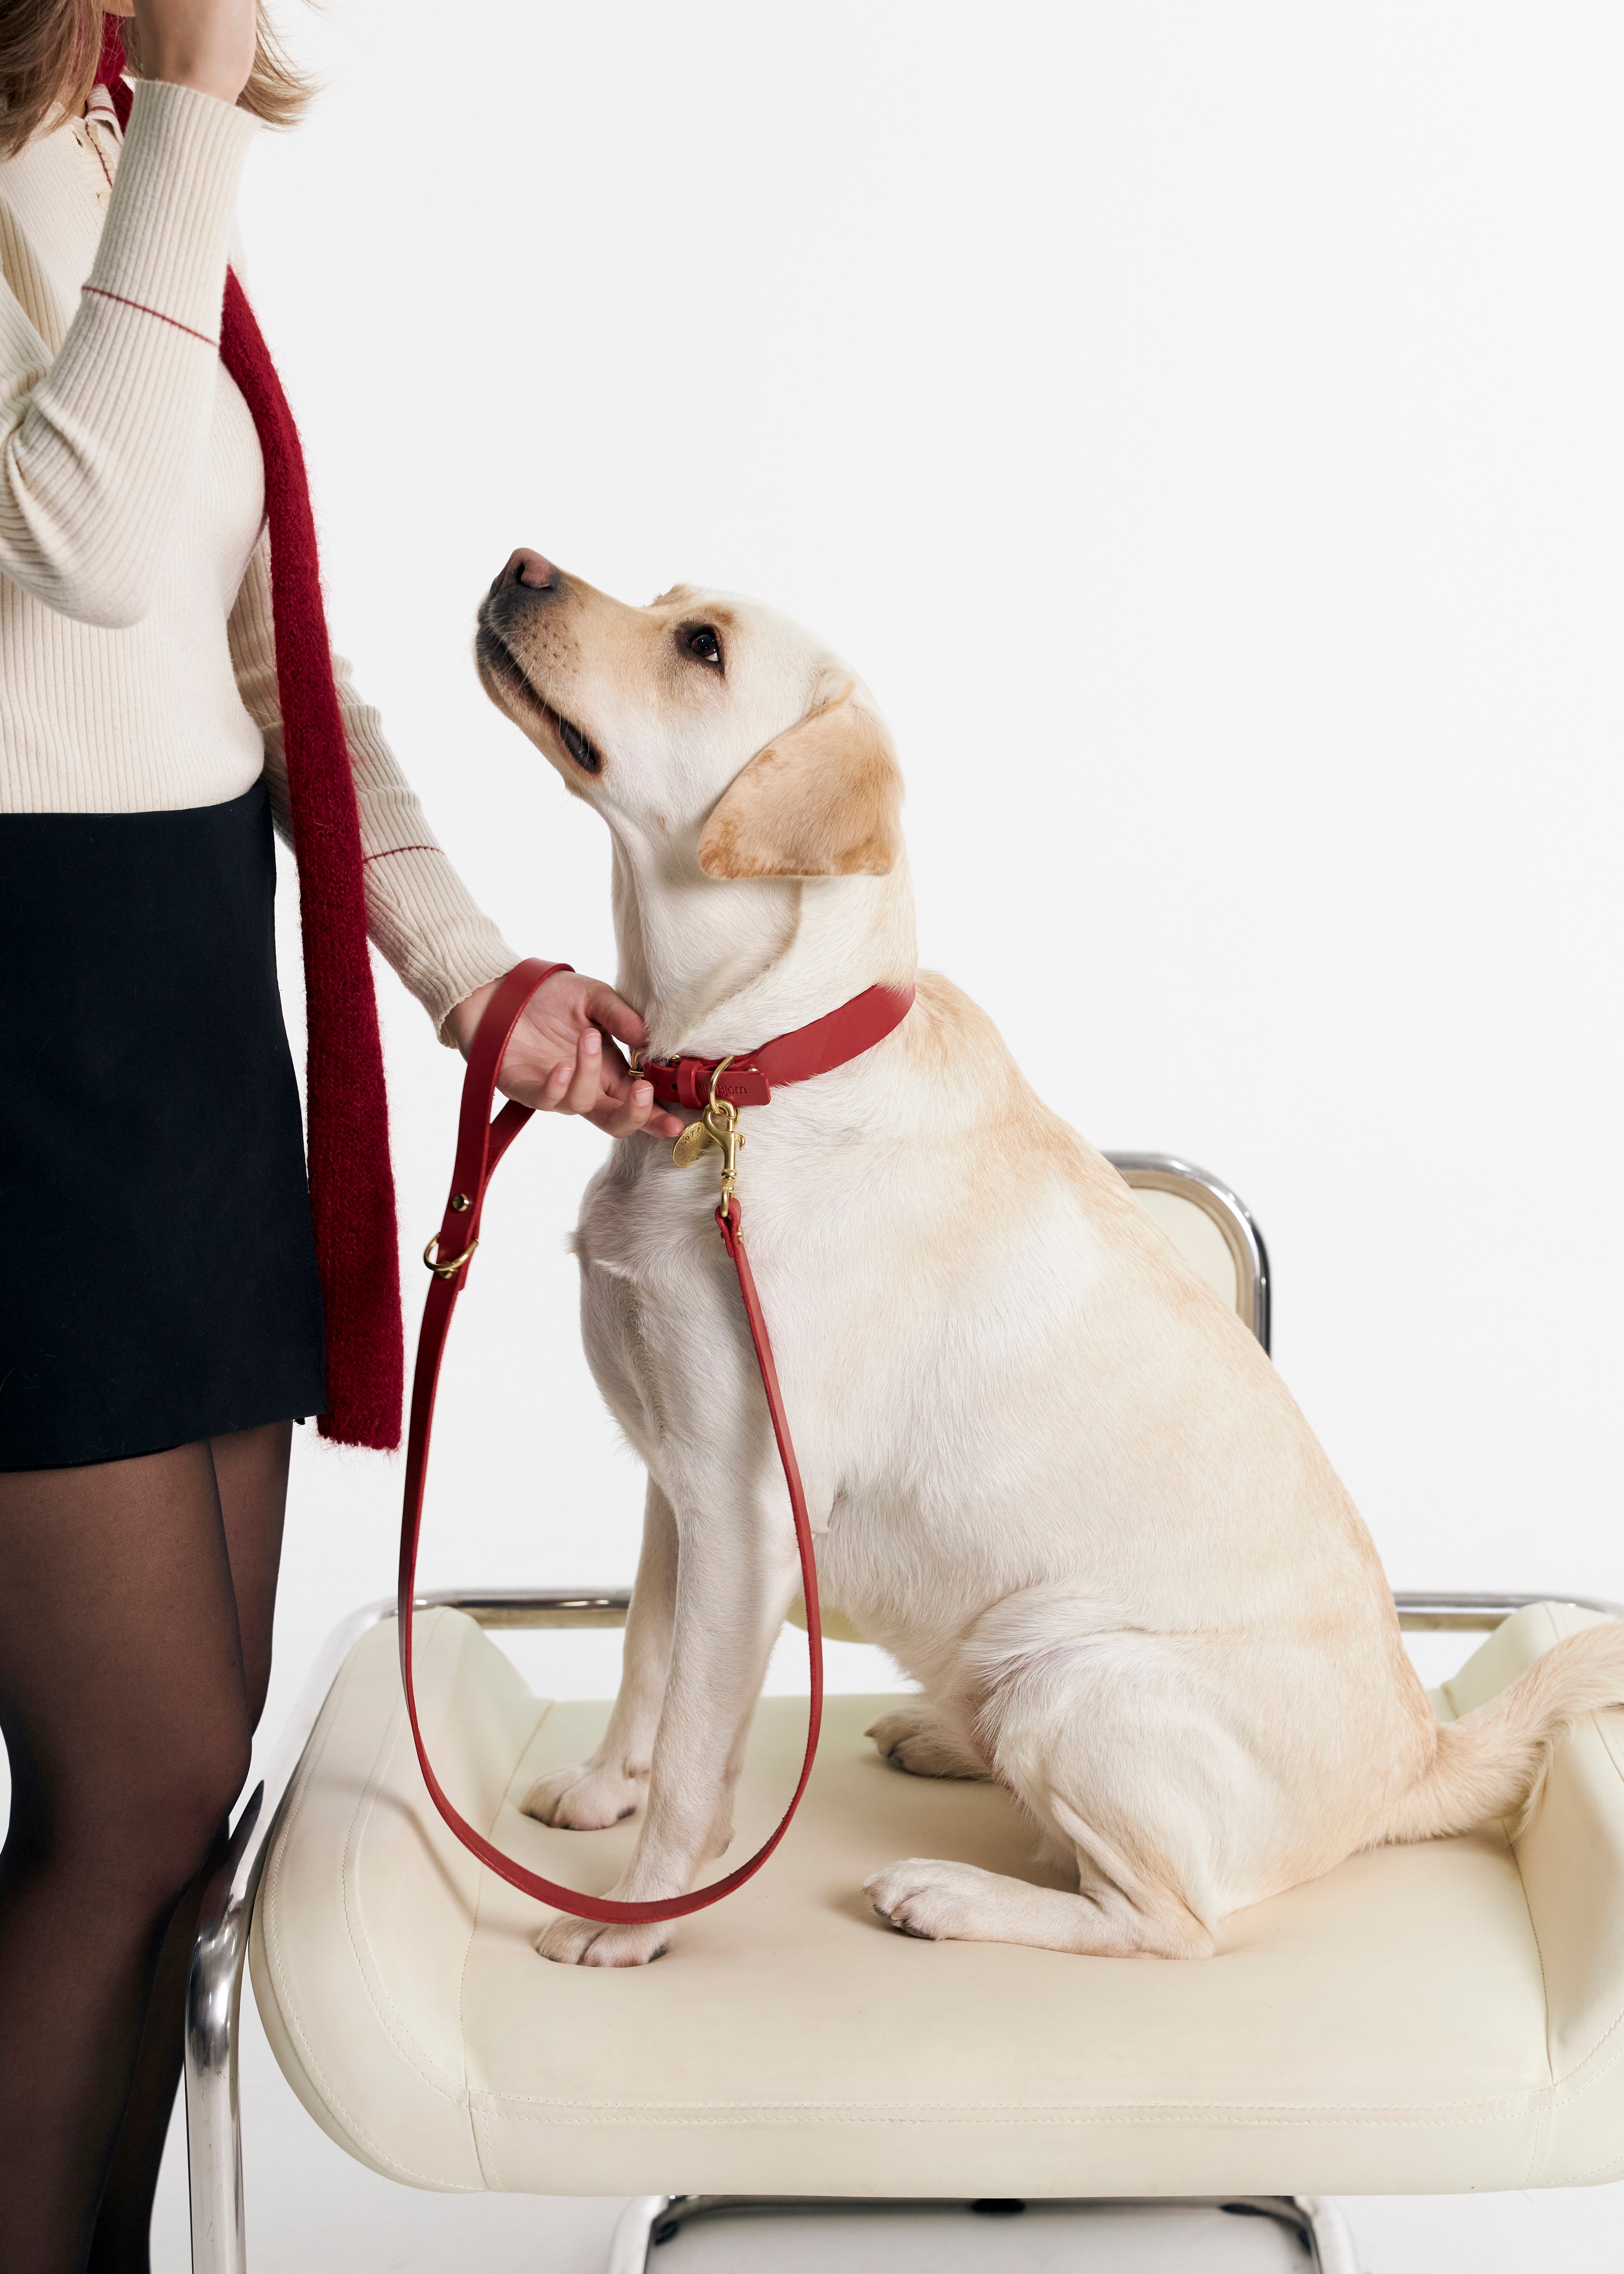
Step 5: Secure the Collar Properly
When your dog is as calm as they are going to be, try to gently place the collar around their neck. Don’t go too quick, but also don’t drag the process out unnecessarily. Perform a quick ‘two finger rule’ check to ensure the fit is right, and then take your hands away so as not to overwhelm them.
Step 6: Observe and Adjust
Take some time to observe your pup and see how they are reacting to their new accessory. It’s completely normal for them to have a little paw at it or perform an initial shake of head, but if this doesn’t subside quickly, there could be an issue with the fit. You know your own dog better than anyone, so you should be able to pick up on even the smallest changes in behaviour. See our guide to signs your dog’s collar is causing discomfort for a full diagnostic.

How to Put a Collar on a Dog That Bites or Snaps
Some dogs snap or bite when their head or neck area is approached, a behaviour rooted in anxiety, past negative experiences, or pain. This requires a modified approach that removes the head-approach from the equation initially.
- Start with collar target training: teach the dog to voluntarily put their nose through the collar loop by holding it open and rewarding them each time they approach and push their nose through. Build this behaviour over multiple sessions before any attempt at fastening.
- Use management tools during introduction: a head halter or muzzle worn briefly and positively while you practice calm collar handling removes the bite risk while you build the positive association.
- Work at distance first: reward the dog for looking at the collar, moving toward it, sniffing it before any attempt to put it near the head. Systematic desensitisation builds tolerance gradually rather than forcing a response.
- Consult a professional: biting during collar handling that does not improve with patient desensitisation warrants assessment by a qualified, positive-reinforcement-based trainer or behaviourist.
How to Put a Collar on a Puppy for the First Time
Puppies are generally more adaptable than adult dogs to new experiences but the first collar introduction still benefits from a careful, positive approach. The younger the puppy, the more durable the positive association you are building will be.
- Choose the right size from the start: measure the puppy’s neck at the time of purchase and choose the smallest size that fits correctly. Check the fit every two weeks as puppies grow rapidly and a correctly fitting collar at eight weeks can be too small by twelve.
- Keep initial wear periods short: start with five to ten minutes of collar wear during active, positive activities (play, feeding, cuddles) and gradually extend duration over days. The goal is to build familiarity before requiring extended wear.
- Pair with high-value rewards: every collar-on moment should be followed immediately by treats and praise. The collar predicts good things and build this association from the very first session.
- Remove for sleep and unsupervised time: until the puppy is fully accustomed to the collar and the fit has been verified as stable, remove it during crate time and unsupervised periods to eliminate entanglement risk.
Overcoming Common Challenges
-
Excitable Dogs
If you have a pup that just doesn’t seem to want to sit still, then a good way to approach collars is to introduce them after a big play session where they might be more tired out than usual, and relaxed from their boisterous activities! -
Fearful Dogs
If your dog is showing a great deal of fear and anxiety around a new collar, we recommend taking lots of extra time on steps 2 and 3 above. Go super slow, and make sure you have plenty of treats on hand to cement that positive reinforcement. Go at their pace, and help them to build confidence.
Pro Tips for Long-Term Collar Success
Consistency really is key when it comes to having success in the collaring process. Here are a few extra tips that will help you on your way.
Start Early with Puppies
The earlier you start, the better. Introduce a collar to your dog when they are still a puppy and they will be more adaptable to having it. Puppies are not as set in their ways as older dogs, so take the opportunity to associate the collar with positive experiences as soon as possible.
Pair with Positive Activities
Work on creating lots of positive association by pairing the collar with all of the activities that they love the most. This doesn’t have to just be walk time, but also things like playing in the home and meal time. All of these combined with help to reinforce the idea that a collar is an item for fun experience.
Routine Fit Checks
It’s important to play your part and regularly check the dog collar for any signs of wear and tear that could make it uncomfortable or unsafe. If you notice things like broken buckles, frayed edges or sharp spots, it’s time to throw away and replace.
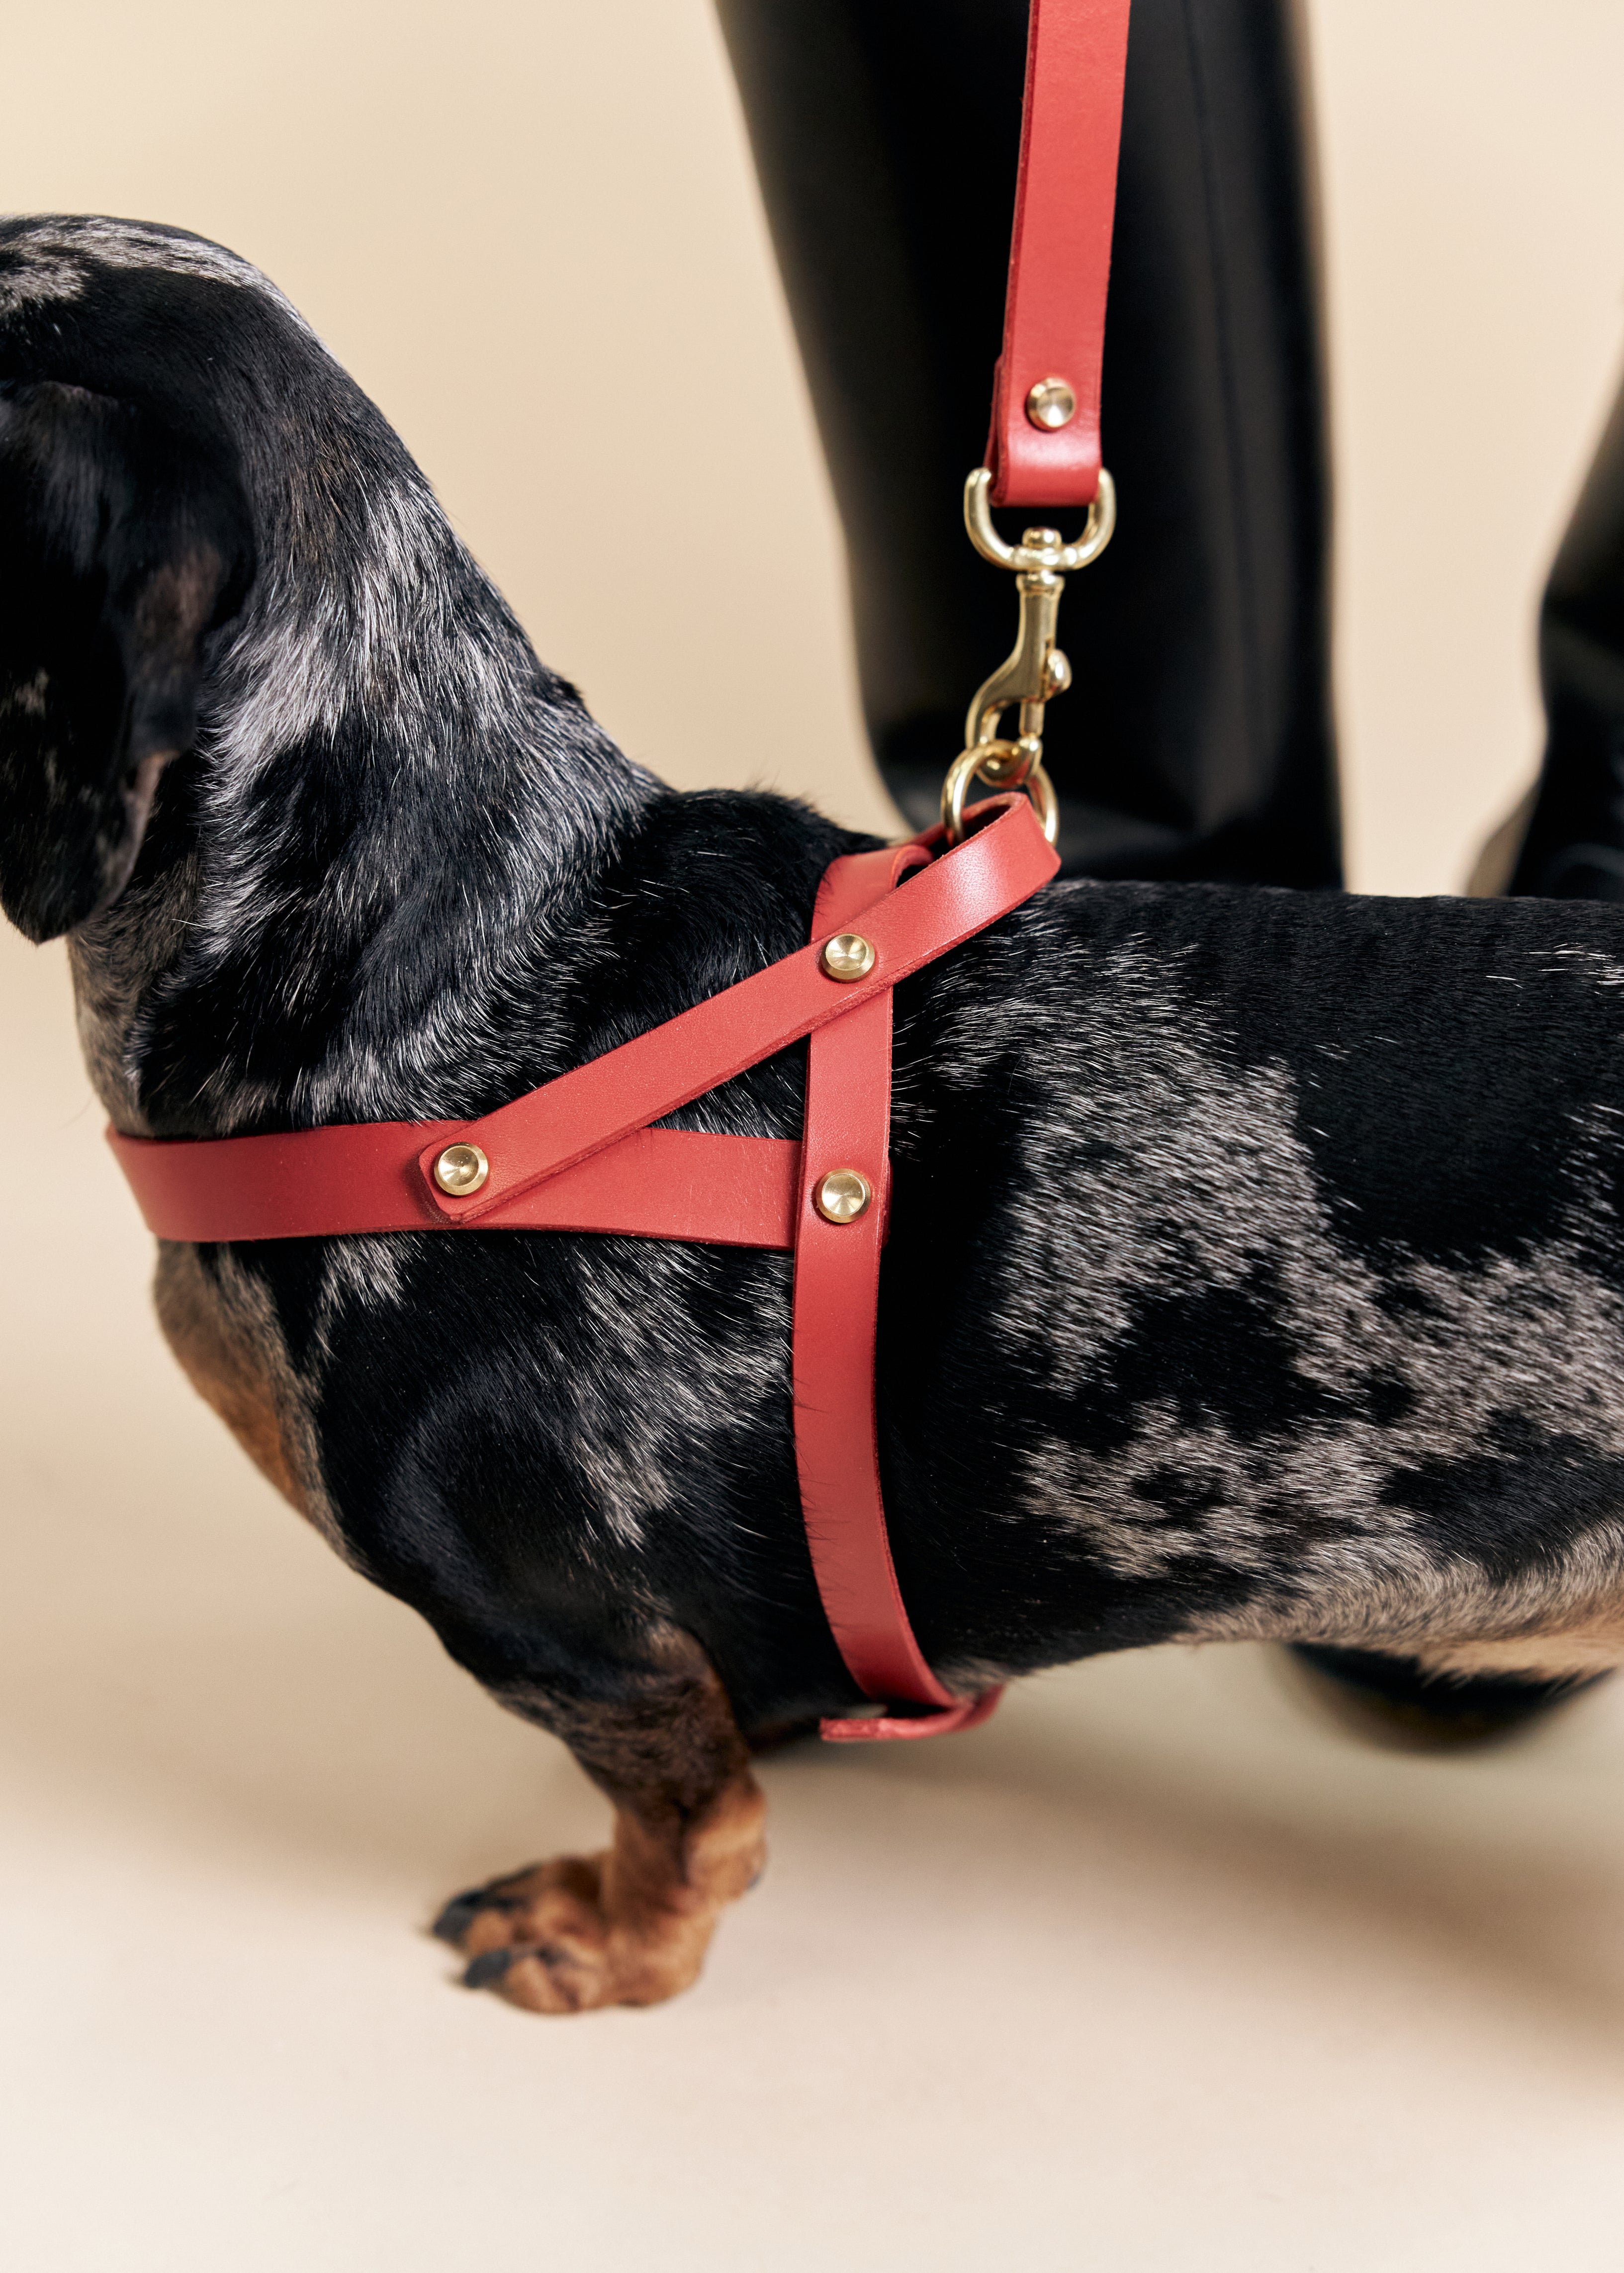
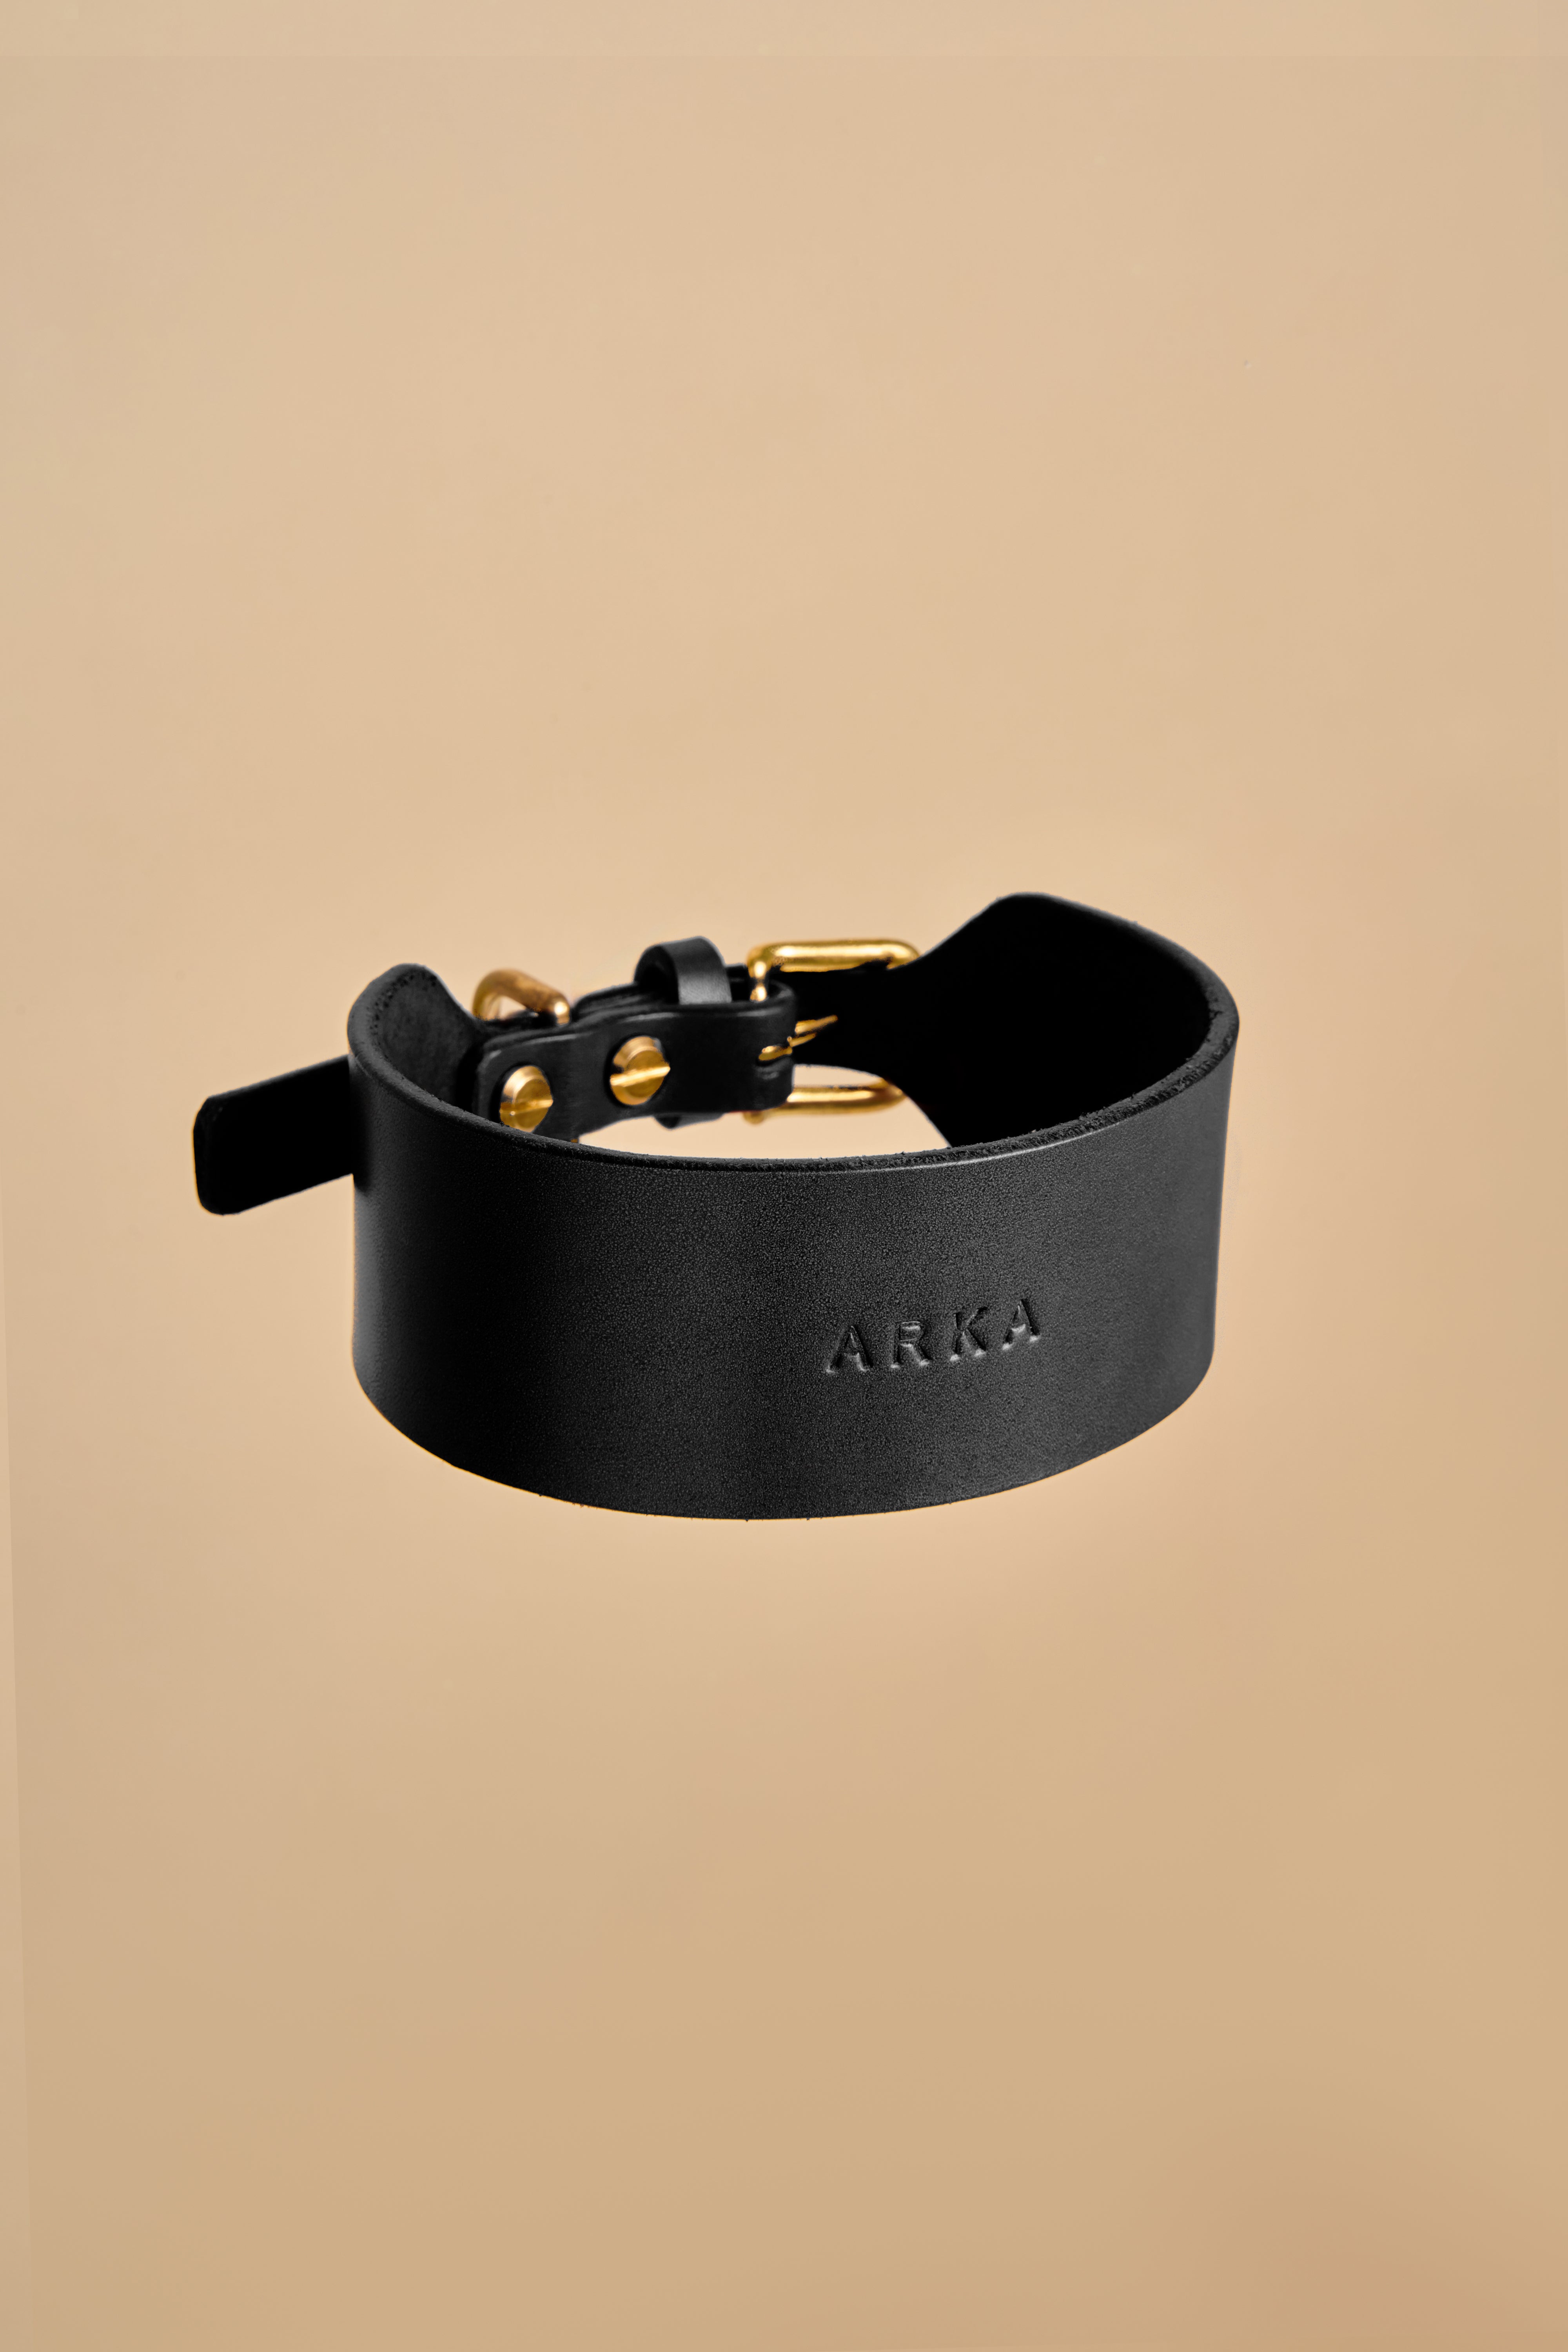
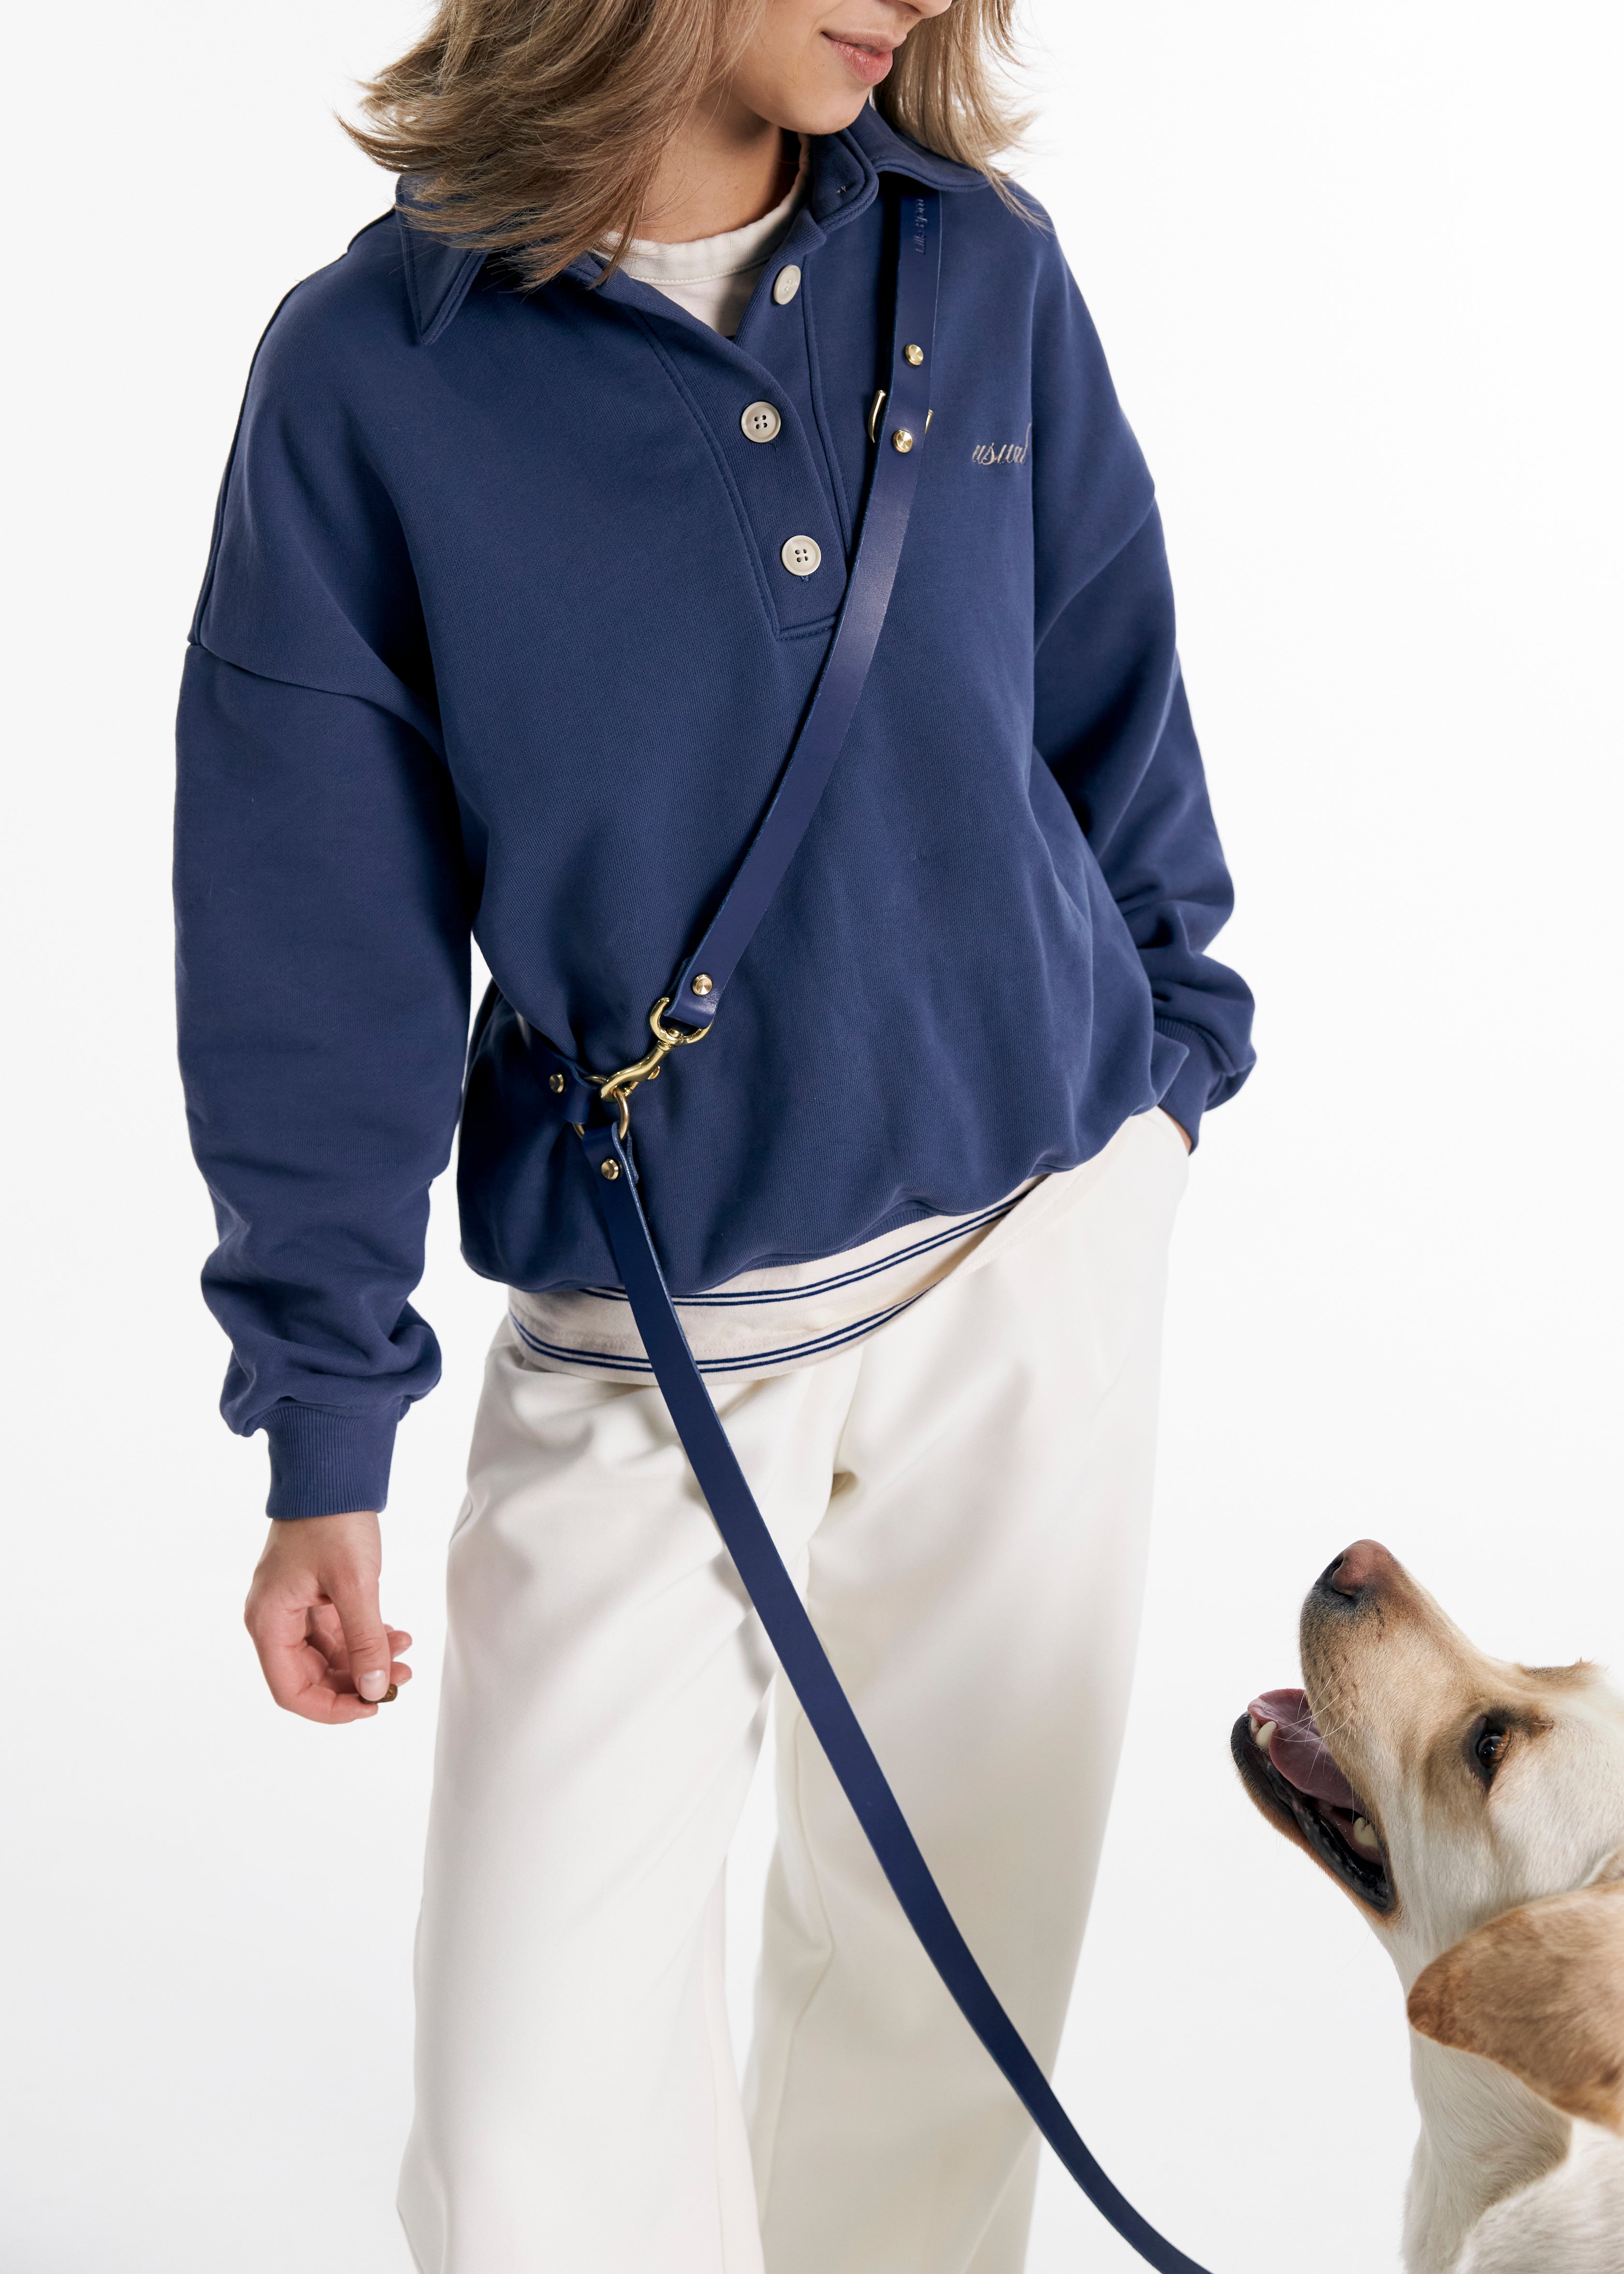
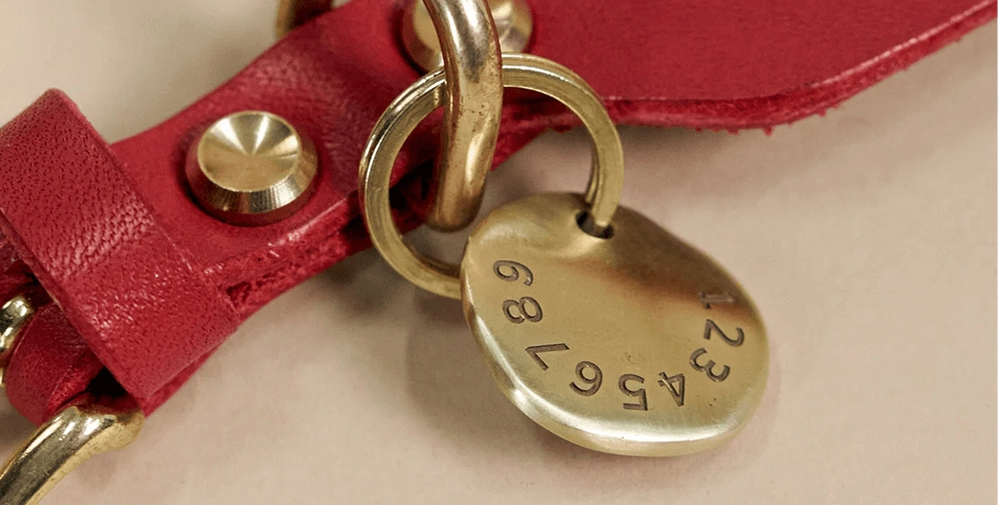
Hardware and Wear Checks
Inspect the buckle, D-ring, and stitching regularly. On a quality leather collar with solid brass hardware, look for: the buckle moving smoothly through its full range, the D-ring sitting flat and rotating freely, and the leather showing no cracking at the holes or stitching points. If any component shows damage, replace the collar promptly.
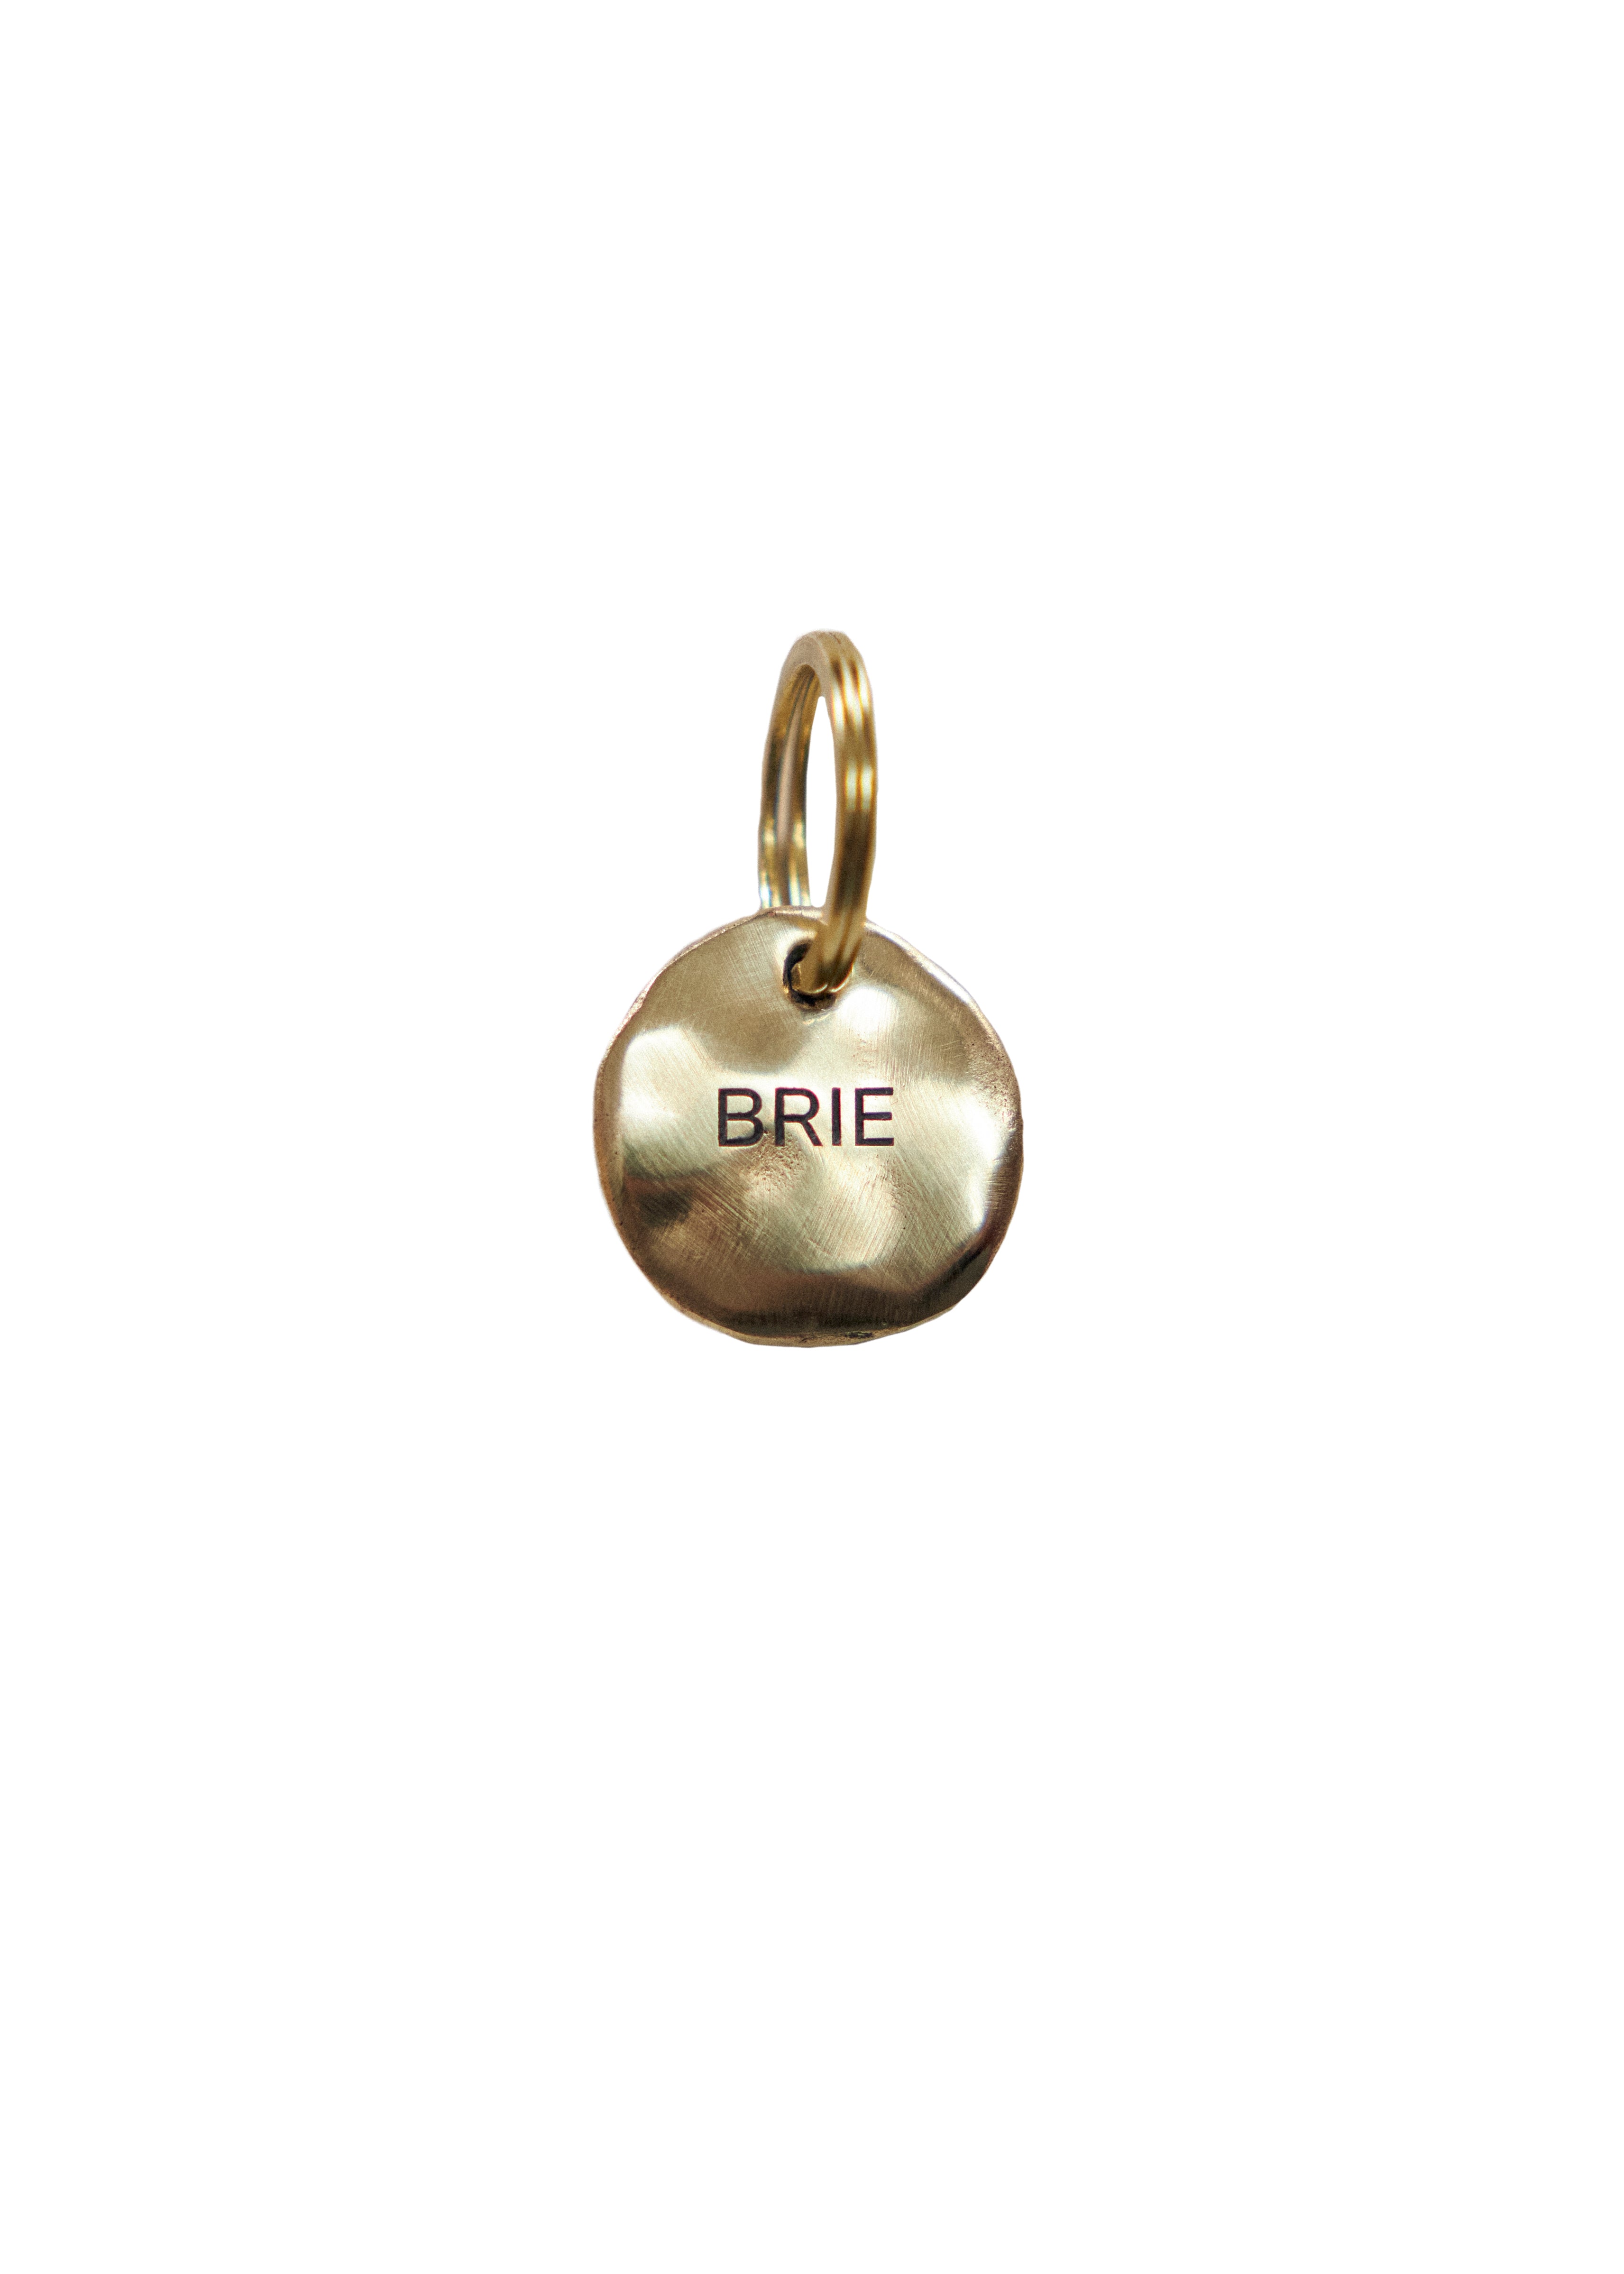
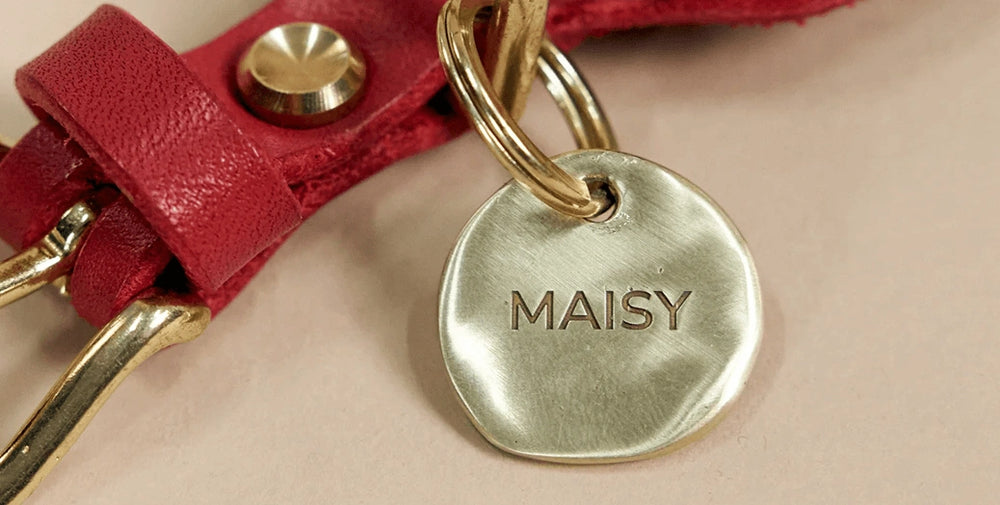
Add a Personalised ID Tag
For that extra level of safety, it’s always a good idea to pair your collar with a personalised brass ID tag. Include things like your dog’s name and your own contact info to ensure that if they do end up getting away from you, they can be returned as quickly and smoothly as possible!

Frequently Asked Questions: Putting a Collar on a Dog
How do you put a collar on a dog?
Hold the collar open with both hands, approach the dog calmly from the front or side, slip it over the head and around the neck in one smooth movement, fasten the buckle, then apply the two-finger check. Two flat fingers with light resistance between the collar and the neck is the correct fit. If the dog is reluctant, spend two to three days introducing the collar gradually with treats before attempting to put it on.
How tight should a dog collar be?
Two flat fingers with light resistance between the collar and the neck is the correct fit. Any tighter and the collar restricts movement and causes pressure on the neck; any looser and it rubs, chafes, and risks slipping over the head. Check the fit monthly for adult dogs and fortnightly for puppies, as weight and coat changes affect fit over time.
How do you put a collar on a dog that hates it?
Through systematic desensitisation and positive reinforcement. Start by placing the collar near the dog’s bedding for several days. Reward any calm interaction with the collar using high-value treats. Gradually progress from the dog sniffing the collar to touching it with the collar to finally buckling it rewarding at every step. Never force it. A session that ends with the dog voluntarily approaching the collar is a successful session, regardless of whether the collar went on.
How do you put a collar on a dog that bites?
Use collar target training: hold the collar open and reward the dog for voluntarily pushing their nose through the loop, without any fastening. Build this behaviour over multiple positive sessions before attempting to fasten. Keep initial sessions very short and end on a positive note. If biting during collar handling does not improve with patient desensitisation, consult a qualified positive-reinforcement-based trainer.
How do you put a collar on a puppy for the first time?
Choose a correctly sized collar for the puppy’s current neck measurement. Allow the puppy to sniff and investigate the collar before putting it on. Apply it during a calm, positive moment and immediately follow with treats and praise. Keep the first wear periods short, five to ten minutes during play or feeding, and extend gradually over days. Check the fit every two weeks as puppies grow rapidly.
How do I know if a dog collar is too tight?
If you cannot fit two flat fingers between the collar and the neck with light resistance, the collar is too tight. Additional signs include: persistent collar pawing or scratching that does not settle within minutes, visible indentation in the neck fur or skin, difficulty swallowing or breathing, and redness or hair loss at the collar contact zone. A too-tight collar should be loosened or replaced immediately.
When should a dog not wear a collar?
Remove the collar during crate time, unsupervised indoor time, and vigorous play sessions where it could catch on objects or other dogs’ teeth. There is no identification requirement that demands continuous wear, and the break benefits the neck skin. The collar goes on before every walk and comes off when it is no longer actively needed.
The Right Start Makes Everything Easier
Putting a collar on a dog is one of the most repeated interactions in a dog’s life. Getting it right the first time, the right collar, the right fit, the right introduction, means every subsequent collar moment is unremarkable and calm. Getting it wrong creates resistance that compounds with every attempt.
Browse The Lille Björn’s collection of vegetable-tanned leather collars, lightweight, hypoallergenic, and designed to soften toward a custom fit with daily wear. Pair with a personalised brass ID tag for complete identification from day one.